


Instruction for use
9
En
PRO-36
The monitor, the batteries and the cuff, must be disposed of according to local
regulations at the end of their usage.
7.2. Using a mains adapter
1) Plug the mains adaptor into a 100-240 V, 50/60Hz power socket.
2) Plug the DIN plug into the socket at the
r
ight side of the instrument.
No power is taken from the batteries while the mains adaptor is connected to the instrument.
Warning
If You need mains adapter, You may purchase it separately. Use only the mains adaptor AD-155.
The use of any other adapters can make your warranty void.
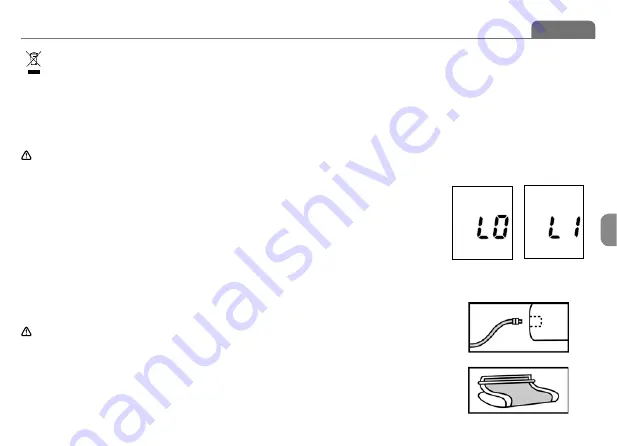
7.3. Voice setting
a. Voice language setting: In turn-off mode, you can select the voice language by keeping on press
the “START” button. Now LCD blink “L0”, “L1”, “L2” … “Ln” (n means the number of language) circu-
larly, see Picture 2 & Picture 2-1. “L0” represents closing voice function, “L1” represents language
1, “L2” represents language 2,…,“Ln” represents language n, and so on. You can select the wanted
language by releasing “START” button when display the corresponding language code.
b. Voice volume setting: Once you have selected a language, while the monitor is speaking some-
thing, you can roll the Voice Knob to setting the voice volume.
7.4. Connecting the cuff to the monitor
Insert the Air Tube Plug fi rmly into the Air Tube Socket on the side of the Monitor. Make
certain that the Plug is completely inserted in order to prevent air leakage during use.
Avoid compression or restriction of the connection tubing during measurement,
which may cause infl ation error, or harmful injury due to continuous cuff pressure.
7.5. Applying the cuff
a. Pulling the cuff end through the medal loop (the cuff is packaged like this already), turn it outward
(away from your body) and tighten it and close the Velcro fastener.
b. Place the cuff around a bare left arm 1-2cm above the elbow joint.
Picture 2 Picture 2-1