4
For detailed installation and instruction of AzureWave wireless audio driver/utility, please
refer to Chapter 4 and Chapter 5.
Step 2: Power on your AW-GA100, connect AW-GA100 to powered speaker or
decoder.
Plug-in the power adapter bundled with AW -GA100, the power LED will be light up. AW -
GA100 DON’T built-in speaker, so you have to connect to “Powered
Speaker” ,Decoder(For SPDIF output) or Home stereo.
Step 3: Connect PC to AW-GA100, Run the utility to enable wireless audio
feature, then your can start to enjoy the convenience of
Please connect your PC to AW -GA100 via 802.11 WLAN or 802.3 wired networks.
For 802.11 WLAN setup, please refer to your PC WLAN adapter manual. The AW -
GA100 default SSID is AW -GA100,
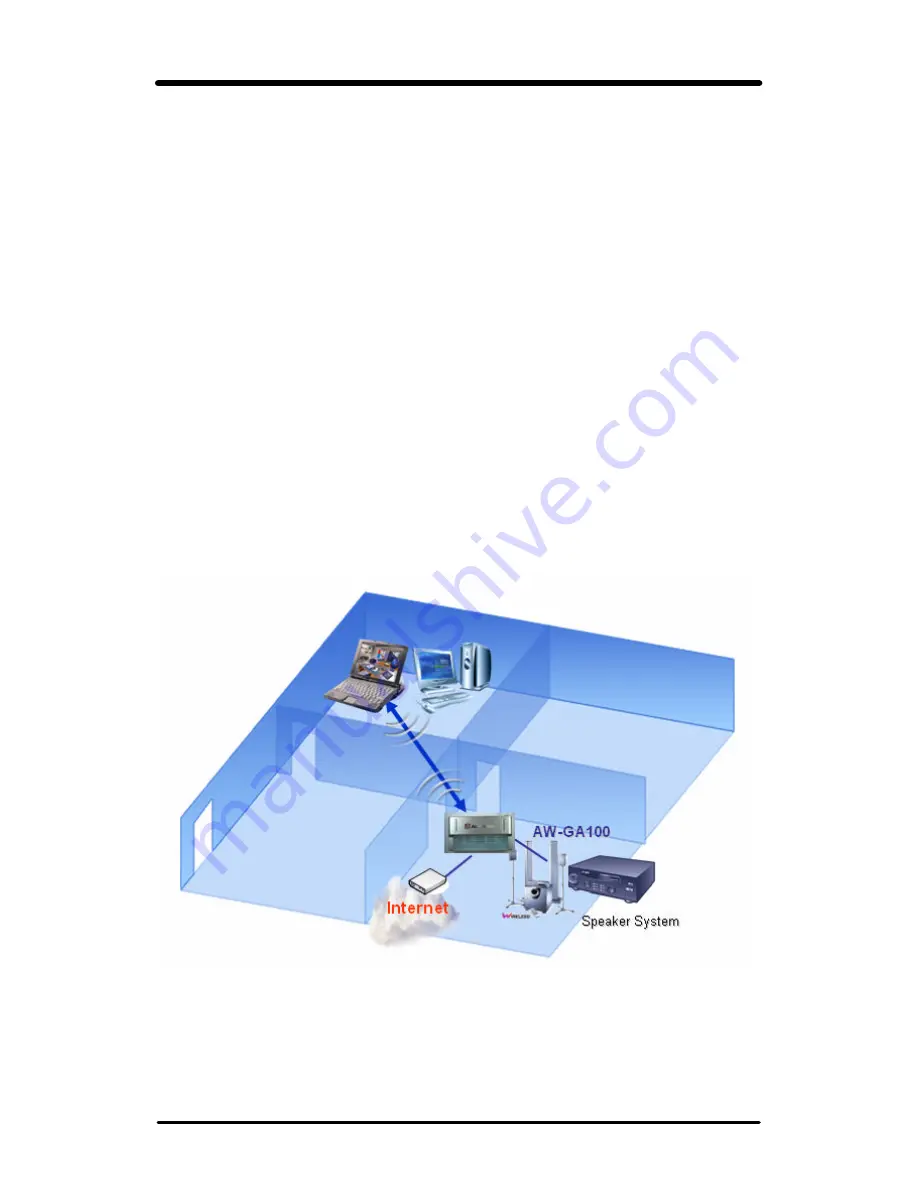
When you got successful network connection, the Access Point feature of AW -GA100
will be working. But you still have to run wireless audio utility to enable wireless audio
feature. For the instruction of wireless audio utility, please refer to chapter 5.
When wireless audio feature is enabling, the blue “wireless” LED will be lighing up. If
you start to stream wireless audio to AW -GA100, the blue LED will be flashing, it means
wireless audio transmission is acting.
Figure: AW -GA100 works as Access Point
You may have an available network existing at your home, or your home stereo is far
away from your wireless DSL/Cable modem. Under this situation, you can configure
AW-GA100 as “Client” mode, it mean the device will join your available network, diable
Access Point feature, just connect to available network and receive the audio from PC.
Figure: AW -GA100 works as Client


