


LCD Touch Screen
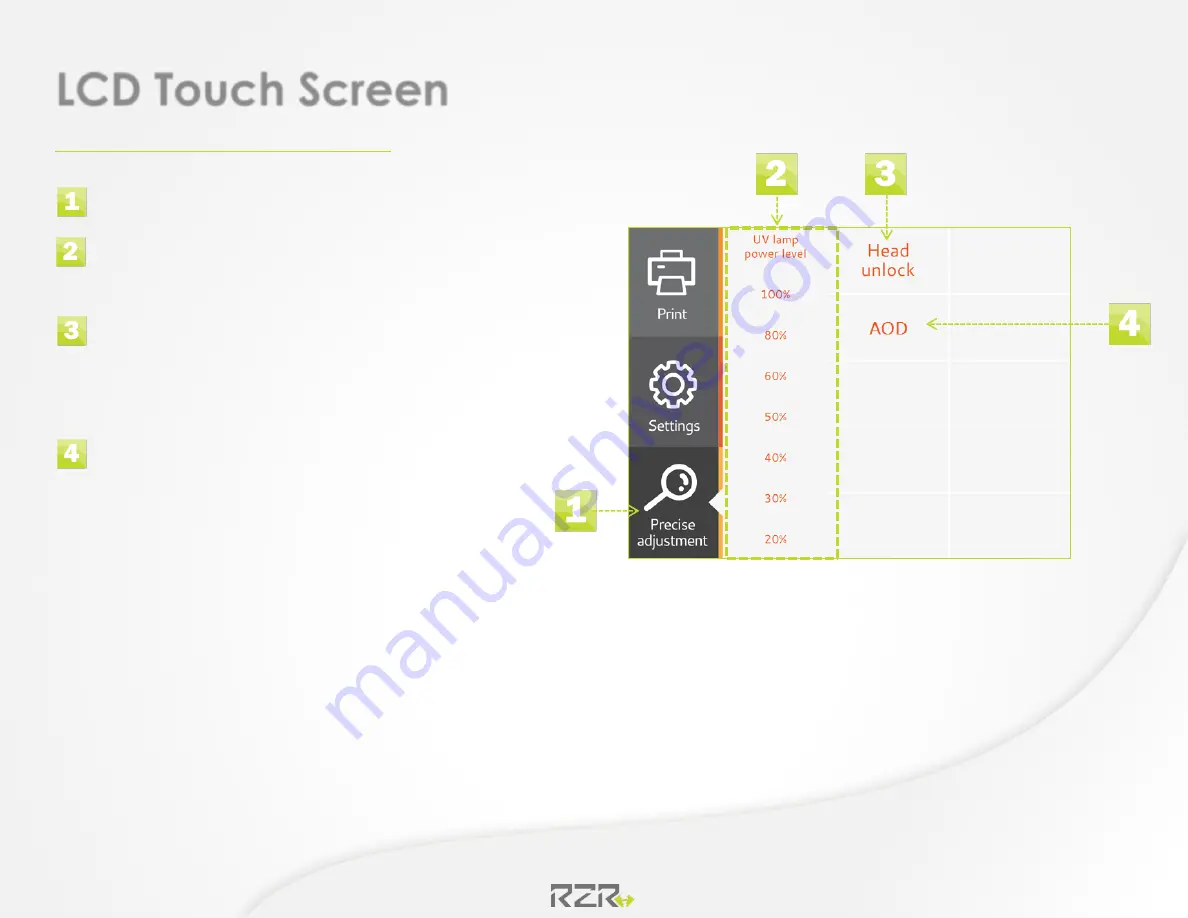
Precise Adjustment Menu
Precise Adjustment Menu
UV Light Power Levels
• This allows you to select how intense you want
the UV/LED light to be
Head Unlock
• This will unlock the print head carriage ,so it can be
moved manually across X axis [ scan]
After task is finished tap head unlock again and printer
will return print head carriage in its original position
AOD [Agitation on demand]
• In case of long hours printing, if opacity of white ink decrease
shake white ink bottles and tap AOD button
[this function is used to ensure optimal white ink opacity]
15
Summary of Contents for Razor Hale
Page 1: ...Getting Started Guide...