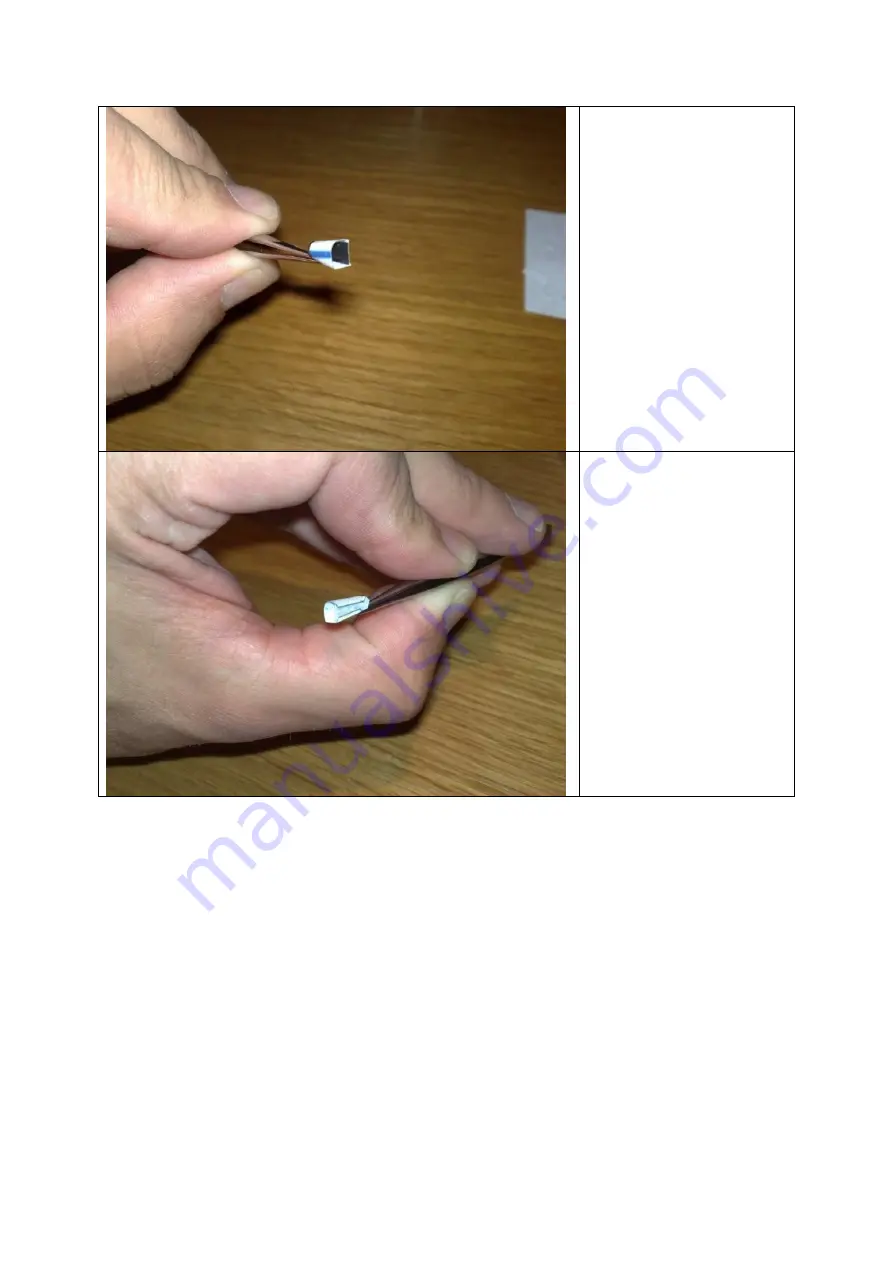
21: Parts nr.20a/b (left jet intake) seen from the rear. The front is half round.
22: Notice: the tabs are on the OUTSIDE, so you will not see them once they are attach to the fuselage.
Page 1: ...embly manual 1 These are all the tools and materials I have used 2 Tip Because the parts are so small it is better to put a drop of glue on a piece of paper and then apply to your model with a wooden toothpick ...
Page 2: ...ointed pair of tweezers to shape the nosecone part nr 1 4 YEP I did cut out all the small tabs part nr 2 5 This is part nr 3 It is round at the front and at the rear the top is flattened This is were the canopy will be ...
Page 3: ...er and will be used as reinforcement bulkhead Same goes for parts 7a b and 12a b 7 Here you see part 5a b glued inside the back of part nr 4 8 This is part nr 6 with nr 7a b inside Notice the shape of this part It is half rounded at the front and square at the rear ...
Page 4: ...9 These are parts 1 to 8 assembled 10 Same as previous but from a different angle ...
Page 5: ...Make sure you got the seam in a straight line 12 Part nr 9 Top of the aft fuselage NOTE do NOT fold the tabs along the side of this part just round them off and make small cuts at the markings between them ...
Page 6: ...ers to make a dent at the back end of the aft fuselage in order to create the shape of the two jet pipes a little 14 Again part nr 13 This is what it should look like from behind 15 Part nr 9 with 10 and 11 attached and part nr 13 with 12a b on top Now put them together ...
Page 7: ...16 The after fuselage complete 17 Now it is time to unite the front and rear fuselage Just slide it in 18 And there you have it ...
Page 8: ...19 Again make sure the alignment is correct 20 Parts nr 18 and 19 canopy attached ...
Page 9: ...21 Parts nr 20a b left jet intake seen from the rear The front is half round 22 Notice the tabs are on the OUTSIDE so you will not see them once they are attach to the fuselage ...
Page 10: ...23 Top view 24 Underside ...
Page 11: ...hen put parts 15b and 16b inside them with the black side facing inwards Part nr 17 is double folded and glued on top 26 Tip for the pitot pipe first double fold it before cutting it out 27 Just a small detail If you look inside the jet intake you will see the turbines ...
Page 12: ...28 Complete ...