background image


19 

Copyright © 2014 Axess Products Corporation. All Rights Reserved 


Click 

  to set the color effect or restore to default settings.   

 
10. Connect with external device 
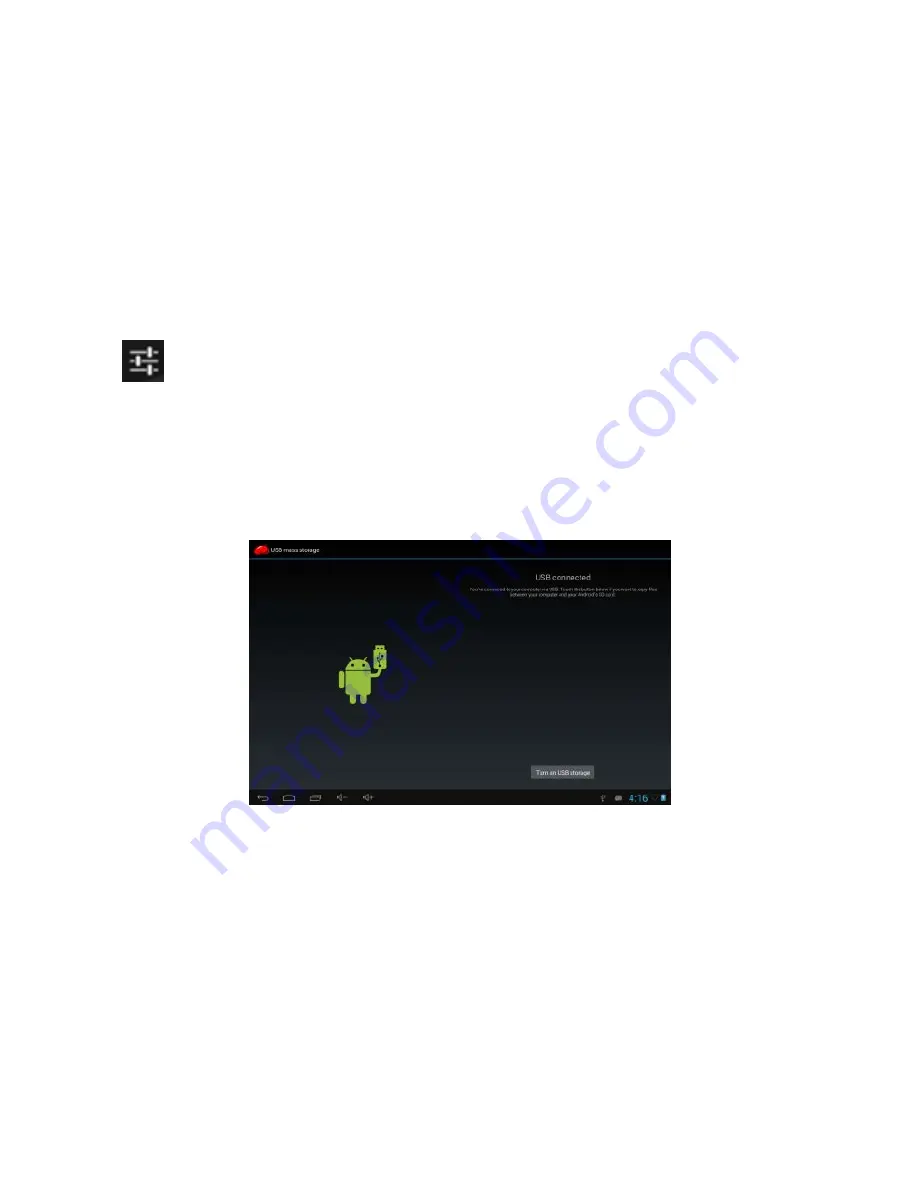
10.1. Connect with PC 

Connect the device with the PC via USB cable. Two new disk symbols will appear on the 
PC, after being connected successfully. One is the TF card, and the other is the built-in 
flash memory. 


Summary of Contents for TA2511-7

Page 1: ......

Page 2: ...ting instructions before operating the unit we do not assume any liability arising out of improper operation or incidental damages For better services the content of this operation manual may be chang...

Page 3: ...ecially before you upgrade the firmware The company will not take charge in any loss caused by loss of data 4 Do not disassemble the unit Do not wipe the unit s surface by alcohol thinner or benzene 5...

Page 4: ...served 9 Specifications are subject to change and improvement without notice II Introduction of cover 1 Power on off 2 Earphone Jack 3 Micro USB interface 4 DC charger interface 5 HDMI 6 Front Camera...

Page 5: ...to turn the unit off Sleep While the device is at working status press the power switch and it will enter the sleep mode turning the screen off Press the power switch again and it will shift to normal...

Page 6: ...the main interface and the main menu will appear It includes the system settings music playback video playback web browser and other applications you installed in the main menu 2 Settings Click in the...

Page 7: ...6 Copyright 2014 Axess Products Corporation All Rights Reserved...

Page 8: ...xess Products Corporation All Rights Reserved 2 1 Date and Time Setting Click Date Time in the setting interface to set the date and time You may set the date time zone time time format and date forma...

Page 9: ...8 Copyright 2014 Axess Products Corporation All Rights Reserved 2 2 Brightness Select Display in the setting interface Click Brightness to enter and slide the bar to adjust the brightness...

Page 10: ...ll Rights Reserved 3 Wi Fi connection Click Settings in the main interface and click Wireless Network to enter the wireless and network setting interface Click Wi Fi to turn on the Wi Fi Click the Wi...

Page 11: ...program We introduce installation by Apps Installer here Click the Explorer or Apkinstaller in the main interface Select the APK file you want and enter the application installation interface Click I...

Page 12: ...the browse history Click the web page you want to open it To save a bookmark for the web page you may click to enter and click add to save it 6 Audio and video playback 6 1 Audio playback Click Music...

Page 13: ...12 Copyright 2014 Axess Products Corporation All Rights Reserved...

Page 14: ...menu to enter the video playback interface It lists the video files in the device and you may click the file name to play it In the video playing interface touch the screen to pop up the operation ico...

Page 15: ...cture folder list Select and click the folder you want to enter and it will display thumbnails of the pictures Click the thumbnail of the picture to view it Touch the screen s pop up operation icons w...

Page 16: ...15 Copyright 2014 Axess Products Corporation All Rights Reserved...

Page 17: ...16 Copyright 2014 Axess Products Corporation All Rights Reserved...

Page 18: ...Corporation All Rights Reserved 8 3G DONGLE The device supports an external 3G Dongle connect the 3G dongle to the device via the external transfer cable port After the dongle indicator lights up you...

Page 19: ...Camera in the main interface 9 1 Camera If the cursor is in position the device is in Camera mode Click to take a picture Click to set the scene mode picture size picture quality and color effect 9 2...

Page 20: ...color effect or restore to default settings 10 Connect with external device 10 1 Connect with PC Connect the device with the PC via USB cable Two new disk symbols will appear on the PC after being con...

Page 21: ...20 Copyright 2014 Axess Products Corporation All Rights Reserved...

Page 22: ...Reserved 10 2 Use of OTG and USB host This unit supports the movable device with FAT32 format such as U disk and MP3 Connect the movable device to the unit Note Only OTG could support USB mouse and k...

Page 23: ...be used in some areas because of network service IV Troubleshooting 1 What if the device is functioning abnormally during operation Answer 1 Reboot the device to see if it works OK 2 Charge the devic...

Page 24: ...ncreased volume and operation frequency VI Specifications Item TA2511 7 Dimension 7 54 191 5mm W x 4 31 109 5mm H x 0 4 10 2mm D Display 7 TFT touch panel OS Android 4 2 2 Input method Soft Keypad Cap...

Page 25: ...SB2 0 High Speed OTG Supported Temperature 20 to 60 Power supply AC 100 240V 50 60Hz DC 5V 2A Battery High Capacity 2800 mAh Lithium Ion Polymer Battery Note The pictures listed in the manual are for...

Page 26: ...25 Copyright 2014 Axess Products Corporation All Rights Reserved...

Reviews: