


EN
QUICK INSTALLATION GUIDE - continuation
DISK ARRAY SETTING PROCEDURE
•
Disk array setting can be performed when both hard drives are connected to your controller.
• The disk array can also be set right in BIOS of the controller that is loaded during PC start.
• You can enter BIOS by pressing down the [F4] key or by means of the [Ctrl+S] keys. Make the required
settings and terminate everything by pressing down the [Ctrl+E] keys.
• Optionally, you can install the SATARAID5 Manager (Fig. B) to set up the disk array in the Windows
environment (from the CD X:\PCES-30\Sil3132_RAID\Utility SATARAID5 Management Software\3132-W-
R.msi).
• The Java software is necessary to have been installed for the installation to work correctly (unless it has been
installed in your PC, its installation will be launched from the CD supplied).
• Creating disk arrays using the SATARAID5 Manager software, or by the controller’s BIOS, reserves the
connected disks for these arrays.
• To return the disk to its initial state (when it is seen also in Disk Manager), remove all arrays and execute the
Low Level formatting (QUICK mode) in controller’s BIOS or use the "Device / Make Pass-Thru" option in the
SATARAID5 Manager. After that, initialize the disk and create a partition in the Disk Manager.
WARNING
: this
option clears all the data on the disk.
INSTALLING OS ON THE NEW DISK CONNECTED TO YOUR CONTROLLER
• Before installing a new Operating System onto the disk connected to the controller, prepare a diskette with
drivers by copying all files contained in directory X:\PCES-30\Sil3132_RAID\Windows\ or \Windows_64bit\
according to your version of Operating System. In Windows Vista, it is possible to load the drivers also from
the CD supplied or from USB flash disk.
• Before installing the Operation System, it is always necessary to create a RAID array in the BIOS of the
controller from two disks at least. You can create more RAID arrays as well. If you are going to install the
Operating System on a single disk, create a CONCATENATION type of array. When creating or changing the
type of RAID array, always carry out Low Level (QUICK mode) formatting all hard disks related to the change.
WARNING
: All data on these disks will be deleted by creating RAID arrays and Low Level formatting.
• It is necessary to set the boot priorities in BIOS in the motherboard correctly (we are giving examples to set
AMI BIOS and AwardBIOS):
►
Set the hard drive boot priority in Boot/Hard Disk Drives (AMI) menu or in Advanced/Hard Disk Boot
Priority (Award). Always set the RAID array where you are going to install your Operating System as the
first boot device.
►
Set the order of booting from detected devices in Boot/Boot Device Priority (AMI) menu or in
Advanced/First resp. Second Boot Device (Award). Set the CD-ROM with installation medium as the first
device and the second RAID array as the second device.
•
Win XP
: At the beginning of Windows XP installation, the bottom line reads: "If you want to install other SCSI
or RAID device, press F6". Press down [F6] key, insert a diskette with the controller driver and press [Enter]
key. Select a suitable driver for your OS and continue in your installation.
•
Win Vista
: During Windows Vista installation select the Load driver option. Set to Browse and select the disk
unit and directory with the controller driver. Select the .inf file according to your Operating System
(\si3132r5.inf for Windows Vista or Windows Vista 64bit). Select the desired RAID array where the OS is to be
installed and continue in installation.
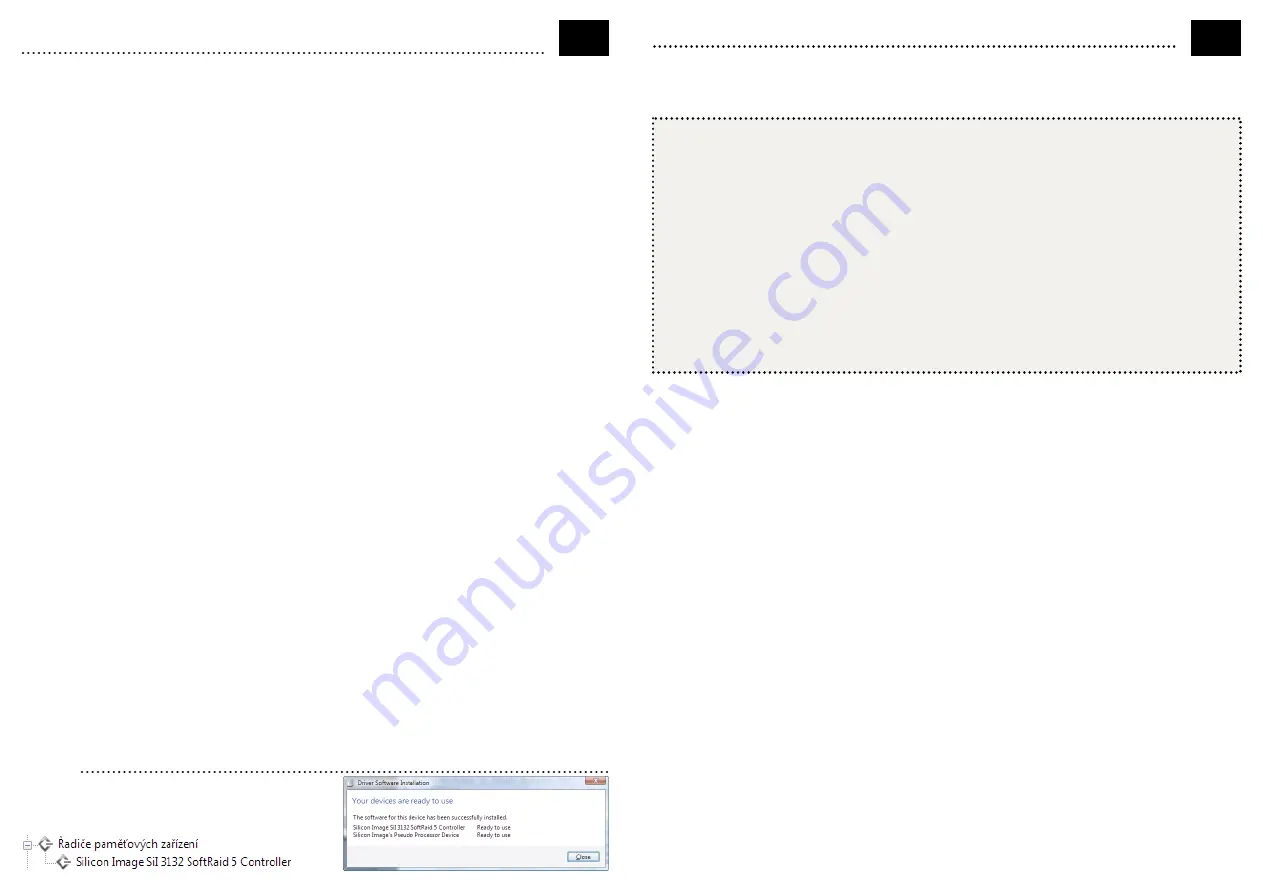
FIGURE 1
Checking the successful installation of the card in
Windows Vista
(the devices added to the Device
Manager during card installation are only displayed)
PROCEDURA INSTALACJI
1. Utwórz kopię zapasową danych z dysków twardych podłączanych do sterownika.
2. Wyłącz komputer i odłącz przewód zasilający.
3. Zdejmij obudowę komputera i wsuń sterownik do wolnego wejścia PCI-Express.
4. Odpowiednim kablem podłącz wewnętrzny dysk twardy lub napęd do sterownika.
5. Podłącz zasilanie dysku twardego lub napędu.
6. Do złącza JP1 można podłączyć wskaźnik aktywności dysku HDD LED PC (rys. A).
7. Zamknij obudowę, podłącz przewód zasilania i włącz komputer.
8. Sterownik zostanie wykryty i uruchomi się kreator instalacji.
9. V průvodci naveďte systém k vyhledání ovladačů na CD.
10. Włóż płytę CD ze sterownikami. Sterownik zostanie automatycznie zainstalowany.
11. Sprawdź w menedżerze urządzeń, czy instalacja powiodła się (rys. 1).
12. Zainicjuj nowy dysk i sformatuj go w Menedżerze dysków.
PL
KRÓTKA INSTRUKCJA INSTALACJI
Sterownik PCI-Express AXAGO PCES-30 umożliwia rozszerzenie komputera stacjonarnego o dwa wewnętrzne
porty Serial ATA z możliwością konfiguracji pola RAID. Obsługiwana jest nie tylko prędkość transferu 3 Gb/s, ale
i inne technologie SATA II, takie jak Hot-Plug, NCQ, Staggered Spin-Up lub Port Multiplier.
USTAWIENIA MACZIERZY DYSKOWEJ
•
Ustawienia macierzy dyskowej można przeprowadzić, podłączając dwóch dysków do sterownika.
• Macierz można nastawić bezpośrednio v BIOSie sterownika, który wczytuje się po włączeniu komputera.
• Do BIOSu można wejść naciskając klawisz [F4] albo jednocześnie klawisze [Ctrl+S]. Należy wprowadzić
odpowiednie ustawienia i zakończyć naciśnięciem klawiszy [Ctrl+E].
• Ewentualnie można zainstalować aplikację SATARAID5 Manager (rys. B) do ustawienia macierzy dyskowej w
środowisku Windows (z CD z X:\PCES-30\Sil3132_RAID\Utility SATARAID5 Management Software\3132-W-
R.msi).
• Aby aplikacja działała poprawnie należy mieć zainstalowane oprogramowanie Java (jeżeli nie zostało
wcześniej zainstalowane na PC, instalacja zostanie automatycznie uruchomiona z dostarczonej płyty CD).
• Utworzenie macierzy dyskowych przy pomocy oprogramowania SATARAID5 Manager, albo przy pomocy
sterownika BIOSu, rezerwuje podłączone dyski dla tych macierzy.
• Aby przywrócić pierwotny stan dysku (w którym jest widoczny w Menedżerze dysków), należy usunąć
wszystkie pola i przeprowadzić formatowanie Low Level Format (tryb QUICK) w BIOSie sterownika albo
skorzystać z opcji "Device / Make Pass-Thru" w aplikacji SATARAID5 Manager. Następnie w Menedżerze
dysków należy przeprowadzić inicjalizację dysku i utworzenie partycji.
UWAGA
: wybór tej opcji spowoduje
skasowanie wszystkich danych na dysku.
INSTALACJA OS NA NOWYM DYSKU PODŁĄCZONYM DO STEROWNIKA
• Przed instalacją nowego systemu operacyjnego na dysk podłączony do sterownika należy przygotować
dyskietkę ze sterownikami, kopiując wszystkie pliki w folderze X:\PCES-30\Sil3132_RAID\Windows\ lub
\Windows_64bit\ w zależności od wersji systemu operacyjnego. W Windows Vista można również wczytać
sterowniki z dostarczonej płyty CD albo z PenDrive’a.
• Przed instalacją systemu operacyjnego należy zawsze stworzyć macierz RAID w BIOSie sterownika minimalnie
z dwóch dysków. Można również stworzyć więcej macierzy RAID. Przy instalacji systemu operacyjnego tylko
na jednym samodzielnym dysku, należy stworzyć macierz typu CONCATENATION. Przy tworzeniu lub zmianie
typu macierzy RAID, zawsze należy przeprowadzić formatowanie Low Level (tryb QUICK) wszystkich dysków
twardych, których dotyczy zmiana.
UWAGA
: tworzenie macierzy RAID i formatowanie Low Level skasuje
wszystkie dane na tych dyskach.


