Avtech DGC1304XFT User Manual Download Page 4


CONNECTION 

1. DC12V Input Terminal 

Connect the power terminal of the camera to a DC 12V regulated power supply. 

Note: 

Please use the correct power adaptor, DC12V (regulated), to operate this unit. The power 

tolerance of this unit is DC12V ± 10%. Over maximum DC 12V power input will damage this 

unit.


2.  Video Output Connector (VIDEO OUT) 

Connect the camera video output to the video input of a DVR with 75

 coaxial cable. 

Note: 

To ensure the camera has sufficient protection against moisture, an extra waterproof 

measure, such as by using an insulating tape, must be used to cover the power and video 

connectors after connection. 


FOCAL LENGTH & FOCUS ADJUSTMENT 

This camera supports remote focal length and focal adjustment remotely from our HD CCTV DVR.   

Note: 

The access paths described below are available only when the camera is connected to our HD CCTV 
DVR. 


On the DVR live view, click the channel which connects this camera to display in the full screen mode, and 
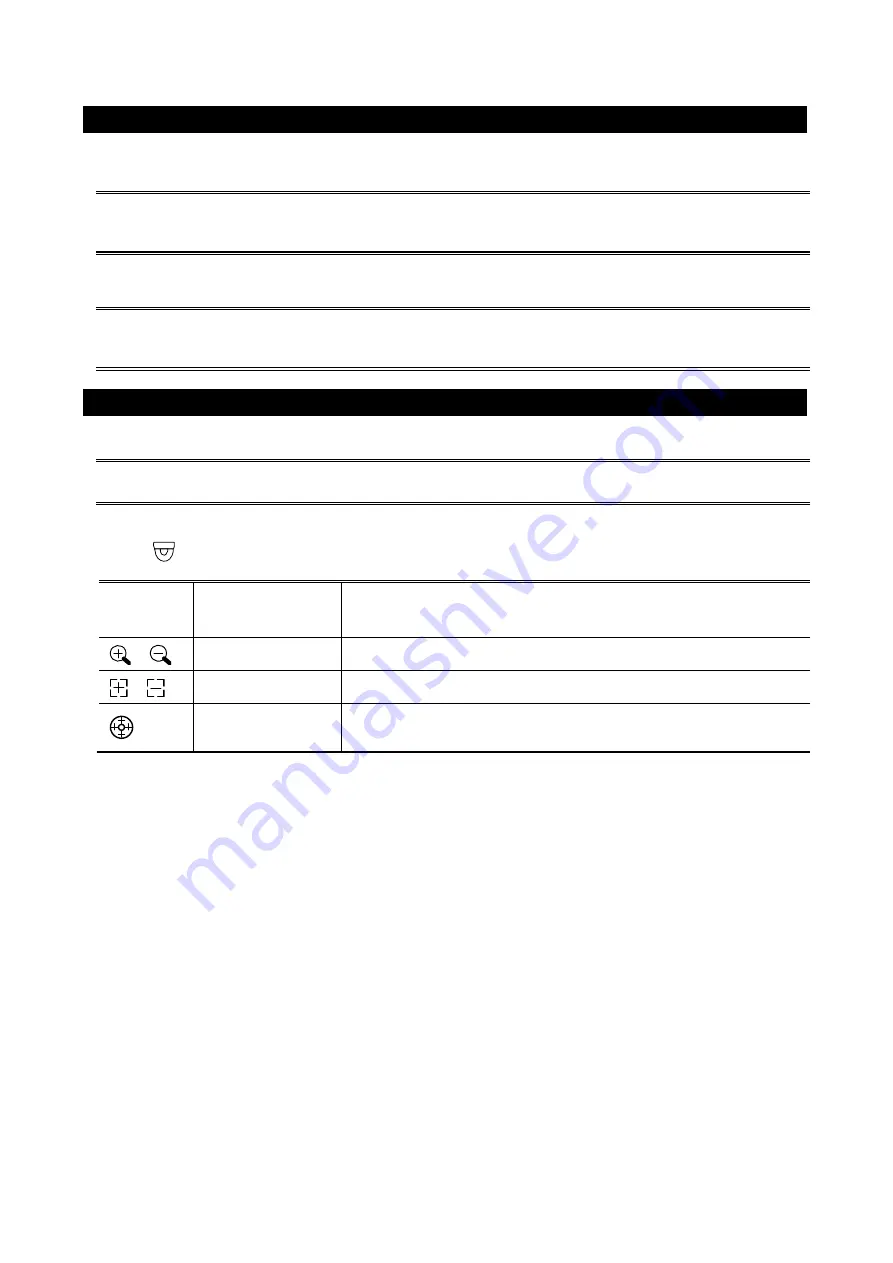
select 

  on the bottom left side of the screen to show the PTZ control panel. 

 / 


Zoom in / out max 

Click to zoom in on the image to the largest / zoom out on the image to its 
original size. 

 / 


Zoom in / out 

Click to zoom in / out the image. 

 / 


Focus near / far 

Click to adjust the focus of the image. 


Lens Reset 

Click for lens calibration when you feel the focus is not clear after each 
zoom-in / -out. 


Summary of Contents for DGC1304XFT

Page 1: ...e to constitute a risk of electric shock to persons This exclamation point within an equilateral triangle is intended to alert the user to the presence of important operating and maintenance servicing...

Page 2: ...o Frame Rate 1080P 30fps 1080P 25fps Min Illumination 0 1 Lux F1 6 Wide F2 8 Tele 0 Lux IR LED ON S N Ratio More than 48dB AGC OFF Shutter Speed 1 30 1 25 sec 1 720000 1 600000 sec Lens Motorized f2 8...

Page 3: ...tep3 Drill 4 holes and screw the base to the wall or ceiling Figure 2 Figure 3 Step4 Put together the case and the lens and slightly adjust the camera lens Make sure it faces your target surveillance...

Page 4: ...er the power and video connectors after connection FOCAL LENGTH FOCUS ADJUSTMENT This camera supports remote focal length and focal adjustment remotely from our HD CCTV DVR Note The access paths descr...

Page 5: ...GC 0 65535 Set the level of Auto Gain Control to detect and enhance the image signals when the light condition is poor The higher the value the stronger the signals will be enhanced and the more noise...

Page 6: ...color for the area selected in MASK SEL You can choose NO COLOR to disable this function MOSAIC for mosaic display or 1 14 for different colors MASK SEL Select the area you want to mask Up to four ar...

Page 7: ...ding Correction to correct the phenomenon of vignetting when the focal length is short MIRROR OFF ON Enable ON to turn the images horizontally based on your installation situation when necessary BPC D...

Reviews: