User Manual
Luminaire Installation:
1. Undo the clips on each side and hinge open the controller.
2. Fix the base. The base can be fixed via the following methods; once chosen, prepare
the ceiling/mounting points ensuring the fixing surface/mechanism is enough to
support the luminaire weight and its application:
•
Surface fixing
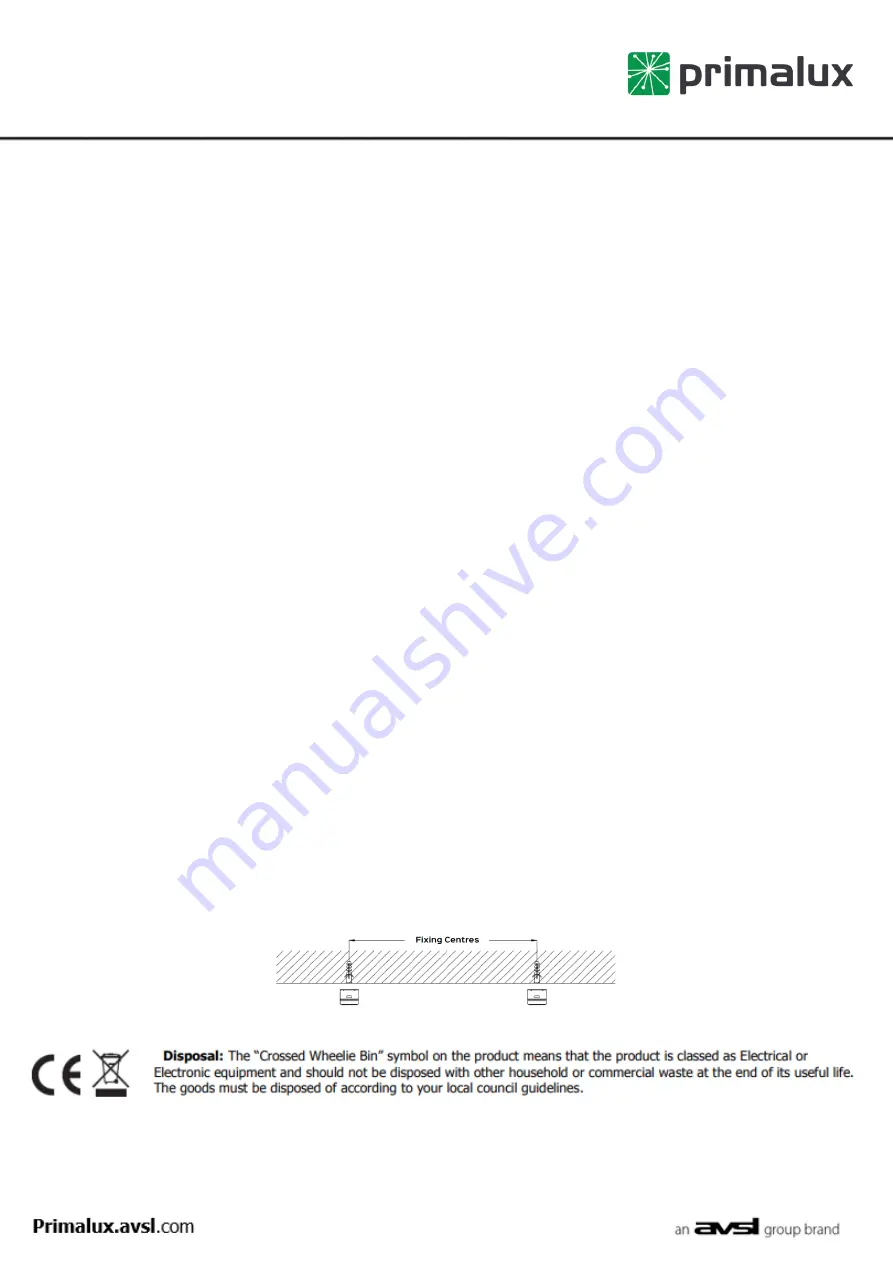
: Mount the two stainless steel surface mount fixing clips provided to
the ceiling at the specified fixing centres. Offer the base up to the clips and push to
snap fit.
•
Chain or Wire suspension
: Mount the two stainless steel surface mount fixing clips
to the base. Then add a V hook (provided in the pack) to each of the surface mount
clips. This will then provide connection points for chain or wire suspension at the
specified fixing centres.
•
Conduit Suspension
: The base comes with specific 20mm diameter drill out points.
These points are reinforced for conduit suspension purposes. Care must be taken to
drill a clean hole and not to remove any of the reinforced wall around the hole.
3. Route the mains supply cable into the base. This can be via the pre-drilled hole with
compression gland at one end, or via drilling a hole at one of the allocated positions.
It is the installer
’s responsibility to ensure the IP65 rating is maintained.
4. Refit the gear tray on to the retaining straps via the snap hooks.
5. Route the mains supply cable to the terminal block and terminate, ensuring correct
termination is observed.
6. Fully locate the gear tray into the base by aligning the slots with the clips in the base
and securing.
7. Fit the controller by hinging back into position & securing using the snap-fit clips.
8.
If vandal resistance is required, fit the small screws provided into each clip.
9.
Reconnect power supply & check for correct operation.
Errors and omissions excepted.
Copyright© 2019. AVSL Group Ltd.


