operating instructions
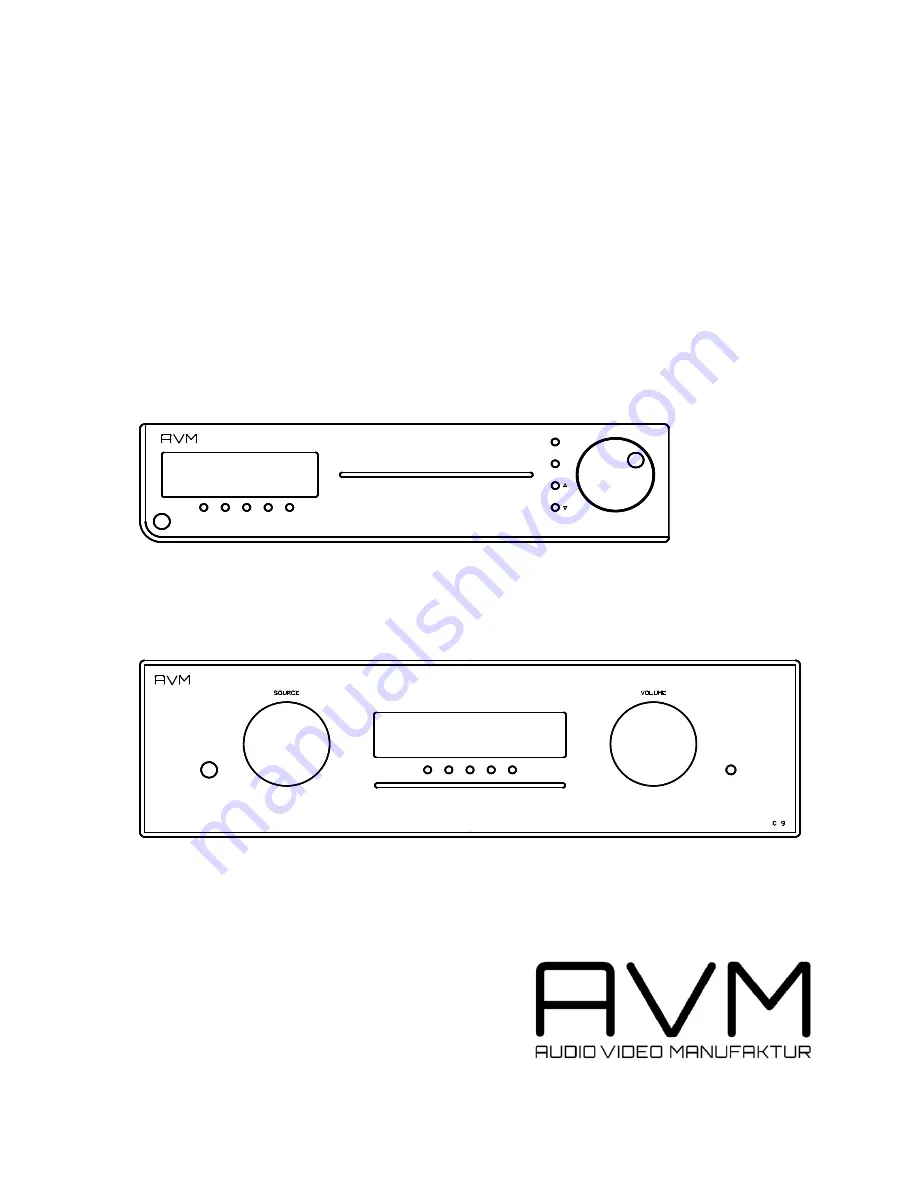
INSPIRATION C8/9EVOLUTION C9
C8
FM
CD
Page 1: ...operating instructions INSPIRATION C8 9 EVOLUTION C9 C8 FM CD ...
Page 2: ... Type Ga Al As Wavelength 755 815 nm 25 C Output power 0 7 mW max NOTE Use only high quality cables for connection between the unit and the other components of Your hifi set We recommend cable lengths under 50 cm to avoid interference which can affect the reception of radio and TV tuners Declaration of conformity for EC only We herewith confirm that the unit to which this manual belongs fulfills t...
Page 3: ...t 11 3 2 Switching on standby 11 3 3 Selecting the signal source 11 3 4 Volume setting 11 3 4 1 Setting of input sensitivity 11 3 5 Tuner 12 3 5 1 Tuning 12 3 5 2 Station memory 12 3 5 3 Selecting a station 12 3 6 CD player 13 3 6 1 Insert eject 13 3 6 2 PLAY PAUSE STOP 13 3 6 3 SKIP SEARCH 13 3 6 4 Programming a playlist 14 3 6 5 Random play 14 page 4 Menu system 15 4 1 Repeat 15 4 2 RDS Display ...
Page 4: ...echnique allows a very compact circuit layout and thus extremely short signal paths The volume control is done by highly precise integrated circuits They allow setting in 0 5 dB steps and their channel balance is better than 0 05 dB All this provides an absolutely precise musical sound reproduction from lowest to highest listening levels If You whish to correct the frequency response at low listen...
Page 5: ... 192 kHz 24 Bits When re converting the upsampled signal the upsampling converter produces the same amount of noise energy as a conventional converter The difference is that the noise energy is spread over a much broader frequency band So the part of noise energy which is within the audible spectrum decreases You can imagine that like if You have a certain volume of fluid in a small glass If You f...
Page 6: ...ue signal out of the digital data Two converters on the same chip are used to output balanced signals These signals are fed into a differential amplifier The difference between the signals is twice the audio signal because one of the signals is inverted and the difference of the inaccuracies of the converters As the two converters are on the same chip their inaccuracy is nearly the same and thus a...
Page 7: ...31 30 29 28 27 26 25 24 23 22 21 20 19 18 17 16 15 O I DIGIAL OUTPUTS DIGITAL INPUTS TRIGGER OUT EXT IR RS 232 MAIN IN PRE OUT FIX OUT OUT IN VIDEO PLAYER AUDIO PLAYER SUPPLY PLAYER IN3 IN2 IN1 PHONO FM GND LEFT RIGHT SPAKERS 15 Ground socket for turntable chassis 16 Antenna socket 17 Phono input 18 High level analogue inputs 19 Speaker terminals 20 Supply output for music players USB 21 Audio inp...
Page 8: ... 15 O I 15 Ground socket for turntable chassis 16 Antenna socket 17 Phono input 18 High level analogue inputs 19a Speaker terminals 19b Speaker terminals 20 Supply output for music players USB 21 Audio input for music player 22 Video in out for music player 23 Output for recorder fixed level 24 Pre amplifier output 25 Power amplifier input 26 Digital input USB 28 Digital input RCA Cinch 29 Digital...
Page 9: ...ty can be adjusted see 3 4 1 Music player To connect a music player cell phone to the nit you must use an adapter cable The USB connector if equipped should be connected to the USB supply output 20 the audio outputs of the player are connected to the input sockets 21 In case the player has a video output You can connect it to the video input 22 and the monitor to the video output right above For o...
Page 10: ... subwoofer can be connected to the processor in output Connect the subwoofer s inputs to the pre outputs 24 and the subwoofer s outputs to the main inputs 25 Additionally You must activate the processor loop see 4 13 If the subwoofer has a trigger input connect it to the trigger output 32 see also chapter 2 2 2 10 Connecting the loudspeakers INSPIRATION C8 Connect the speakers to the speaker termi...
Page 11: ...ll stop first This may take a few seconds If you activate a digital input that has no valid signal NO DIG SIGNAL is indicated in the display 3 In this case the volume cannot be changed 3 4 Volume setting Use the rotary encoder 14 to set the desired volume Depending on rotating speed the volume increases decreases in 0 5 dB steps slow or 2 dB steps fast The actual setting is shown in the display 3 ...
Page 12: ...n for storage for example if 5 stations are already stored position 6 will be proposed Using the MOVE buttons 4 5 you can change the position Modifying moving or deleting an existing station If the tuner is set to an already stored station you can change it s settings move it to a different position or delete it If you want first change settings mono stereo bandwidth or other Then press the button...
Page 13: ...ce he unit will automatically change to CD from any other input after you have inserted a CD 3 6 2 PLAY PAUSE STOP While the player is stopped the buttons or 4 5 select the title A short tip switches to the next previous title Holding the button down scans automatically up down The number of the actual title is shown in the display Pressing 8 starts the player While playing the button changes it s...
Page 14: ...etting is active You must exit first see 3 4 1 EXAMPLE The CD inside the player contains 15 titles You want to play only titles 7 3 and 8 Press MENU 6 for more than 2 seconds The display now shows TRCK 1 15 Select title 7 using the buttons SELECT 4 5 Display shows TRCK 7 15 Now add this track pressing ADD 6 to the playlist Select title 3 using the buttons SELECT 4 5 Display shows TRCK 3 15 Now add...
Page 15: ...ding on actual setting the threshold for auto tuning will change sensitive in MONO less sensitive in STEREO 4 5 Bandwidth tuner must be selected as source Select bandwidth narrow wide for best reception 4 6 Sensitivity tuner must be selected as source Choose between local in case the tuner operates from a cable and distant if operated from antenna 4 7 Tone control see also 10 1 6 Set tone control ...
Page 16: ...ght and left channel for optimal stereo image 4 12 Set poweramp INSPIRATION C8 You can set the poweramp ON or OFF This is useful if you have connected a headphone amp or a separate power amplifier to the pre out 24 EVOLUTION C9 Activate deactivate the two speaker outputs 19a 19b 4 13 Set processor see also 2 8 2 9 Switches processor function on off If the processor is activated it influences the s...
Page 17: ...ramp see4 12 c PROCESSOR function is activated Switch processor off see 4 13 d Inadvertent switching to standby by remote control Press power button 1 If the LED indicator and display do not light up a fuse can be blown due to overvoltage thunderstorm Please contact Your dealer 2 Amplifier switches off during normal operation This can happen if the temperature inside the unit becomes too high In t...
Page 18: ...oper handling or misuse Return the unit to us only in its original packing If this is not possible we are entitled to refuse acceptance We will not assume responsibility for transport damage under any circumstances A short description of the defect is to be included with the returned unit In cases of doubt we reserve the right to request a copy of the bill of sale We also reserve the right to levy...
Page 19: ...nverter Formats CD Audio CDR Upsampling 192 kHz 24 Bit Frequency response 20 Hz 20 kHz up to 90 kHz depending on input sample rate Deemphasis automatically Input format dig in opt SPDIF linear PCM 33 kHz 96 kHz 16 24 bits Input format dig in coax SPDIF linear PCM 33 kHz 192 kHz 16 24 bits USB input up to 48 kHz 16 bits Input impedance dig in coax 75 Ohms Input level dig in coax according to IEC 90...
Page 20: ...skip unused inputs Deactivate unused inputs SKIP The unit will then skip these inputs when the source selector 36 is rotated or if you select the inputs via the remote control 10 1 4 define input names You can individually set the names max 8 characters of the different sources shown in the display 3 Proceed as follows Press SELECT The display shows now on the left side the old name on the right s...
Page 21: ...ode If desired you can now shift certain stations to different positions change the settings and store back or delete unwanted stations see 3 5 2 10 1 7 Set autoplay When AUTOPLAY is ON the CD player will start playing automatically every time a new CD is inserted If AUTOPLAY is OFF the player will read the TOC of the inserted disc and then go to STOP mode 10 2 Reset This function cancels certain ...