
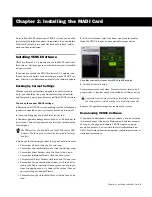


Chapter 2: Installing the MADI Card
7
11
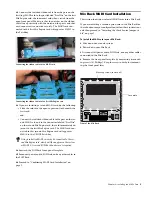
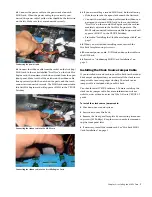
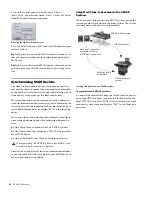
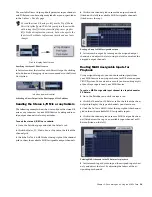
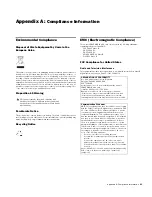
Connect the power cable to the power socket on each
MADI card. When the power cable plug is correctly con-
nected, the power cable’s yellow wire should be the first wire
on the left. Make sure they are connected securely.
12
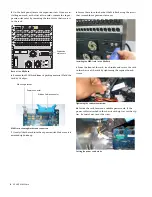
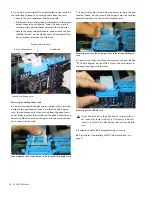
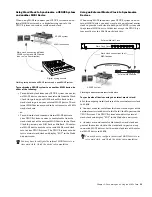
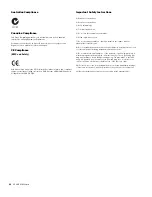
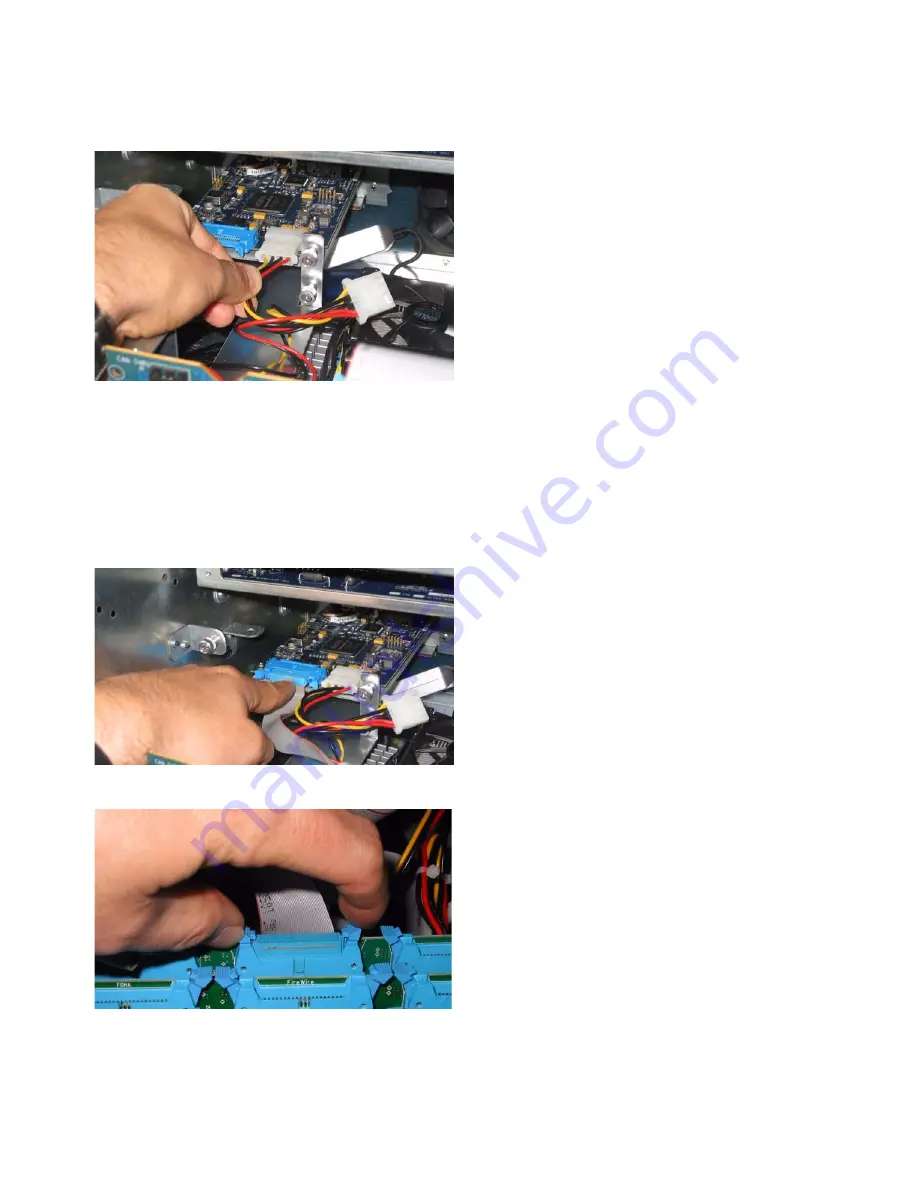
Connect the ribbon cable from the socket on the first (top)
MADI card to the socket labelled “FireWire” on the first Mix
Engine card, the innermost card when viewed from the open
front panel. Make sure that the notches on the ribbon cable
line up correctly with the notch on the ports, and that each
connector is connected securely. The MADI card connected to
this first Mix Engine card will appear as
MADI1
in the VENUE
Patchbay
13
If you are installing a second MADI card, do the following:
• Slide the card into the open slot beneath the first card.
• Connect the included ribbon cable from the ribbon con-
nector on the second MADI card to the socket labeled
“FireWire” on the second Mix Engine card, the card im-
mediately adjacent to the first Mix Engine card. The
MADI card connected to this second Mix Engine card will
appear as MADI 2 in the VENUE Patchbay.
• Proceed to “Installing the Clock Source Jumper Cable” on
page 7.
14
When you are finished installing cards, reattach the
Mix Rack faceplate using its screws.
15
Reconnect power, audio, FOH Link, and any other cables to
the FOH Rack.
16
Proceed to “Confirming MADI Card Installation” on
page 9.
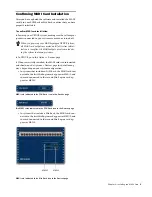
Installing the Clock Source Jumper Cable
If you installed a second card in your Mix Rack for the redun-
dant output configuration, you must install the clock source
jumper cable to ensure proper clocking. The clock source
jumper cable is included with your Mix Rack.
You should install VENUE software 2.9 before installing the
clock source jumper cable. For more information visit our
website, www.avid.com, or see the
What’s New in VENUE 2.9
guide.
To install the clock source jumper cable:
1
Shut down your sound system.
2
Power down your Mix Rack.
3
Remove the front panel faceplate by unscrewing its mount-
ing screws (#1 Phillips). Keep the screws nearby for remount-
ing the front panel later.
4
If necessary, install the second card. See “Mix Rack MADI
Card Installation” on page 5.
Connecting the power cable
Connecting the ribbon cable to the MADI card
Connecting the ribbon cable to the first Mix Engine Card


