


Creating a Contact Group
A contact group, known in previous versions of Outlook as a
distribution list, lets you group e-mail addresses together. A
contact group can save you time when you have to send e-mail
to:
•
All employees in the same department or organization
•
Colleagues on the same project or committee
•
A group of friends
Contact groups appear in your Contacts list the same way that
a person’s name does. To address an e-mail message using a
contact group, follow the same steps that you would with any
other message.
Before you can send e-mails to recipients in a contact
group, you need to create the group.
1.
Click the
Contacts
button in the Navigation Pane.
The Contacts list appears.
2.
Click the
Home
tab on the Ribbon and click the
New
Contact Group
button in the New group.
The Untitled – Contact Group window appears.
3.
Enter a name for the contact group in the
Name
text
box.
For example, you could name the contact group
“Family” or “Management Team”.
Now you’re ready to choose which recipients you
want to include in the contact group.
4.
Click the
Contact Group
tab on the Ribbon and
click the
Add
Members
button in the Members
group.
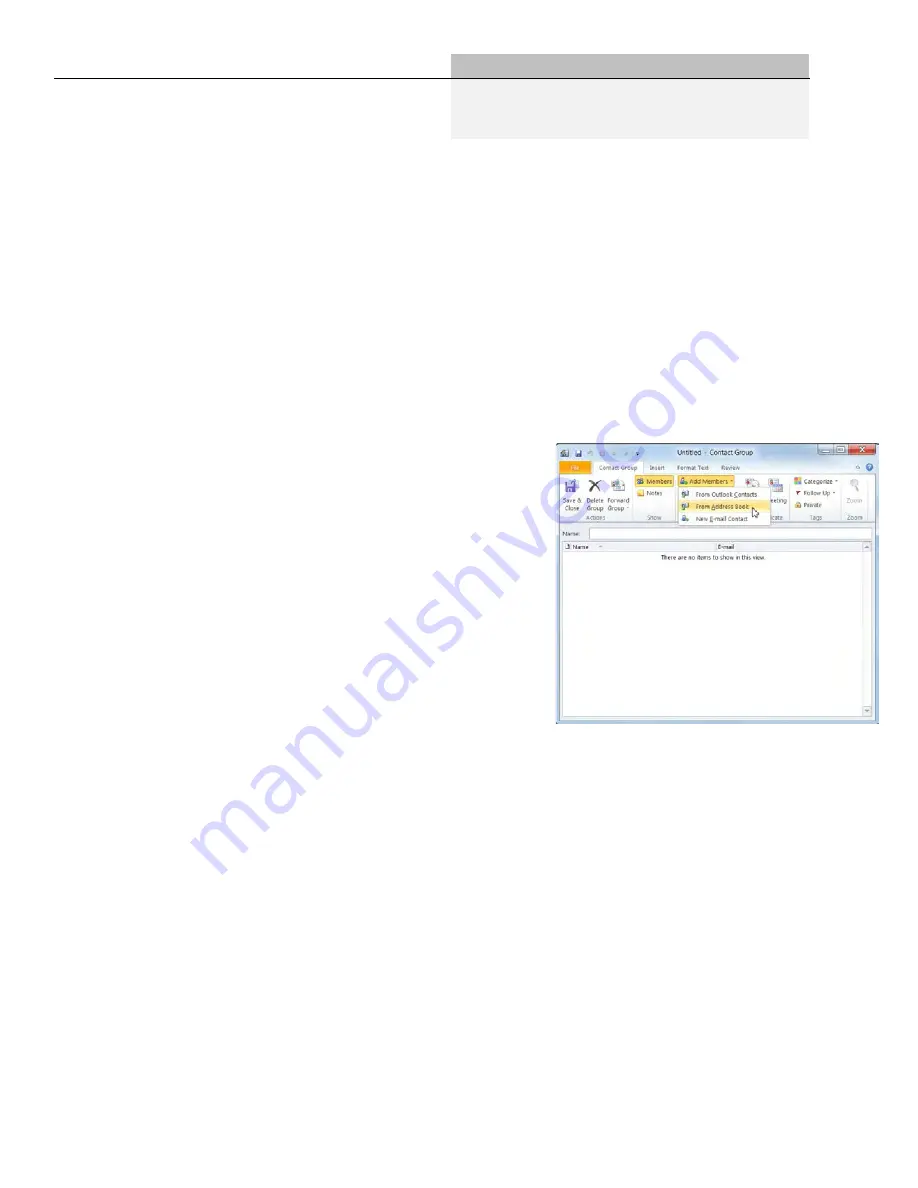
There are three sources you can use to add
recipients to a contact group:
•
From Outlook Contacts
: Use this option to add a
recipient already in your Outlook Contacts list.
•
From Address Book
: Use this option to add a
recipient from the Address Book, including any
recipients in the Global Address List.
Exercise
•
Exercise File:
None required.
•
Exercise:
Create a contact group named “Friends” and add
several contacts to the group.
Figure 6-1:
The Untitled – Contact Group window
Working with Contacts
Summary of Contents for F30
Page 1: ...PROCEDURE MANUAL BIG SPRING ISD TECHNOLOGY 3600 11TH PLACE 432 264 4155 ...
Page 6: ...You will need to set your profile the first time you login by clicking on my profile ...
Page 7: ...Choose the correct campus that you are assigned to and then choose Save Changes ...
Page 8: ...You will need to click Request New Ticket ...
Page 9: ...Please select the problem type you are having from this list ...
Page 10: ...Click on yes to start your ticket Once you start your ticket there is no way to quit ...
Page 12: ...Click on the home button when you are done to see your open ticket ...
Page 65: ...Email Certificate Installation 3 Click Next 4 Click Next again ...
Page 66: ...Email Certificate Installation 5 Select Finish 6 Select Yes on the Security Warning screen ...
Page 68: ...Email Certificate Installation 9 Click Yes in the Security Alert box ...
Page 77: ......
Page 141: ...19 Click Next 20 Click Next 21 Click Install ...
Page 170: ......
Page 190: ......


