17 of 48
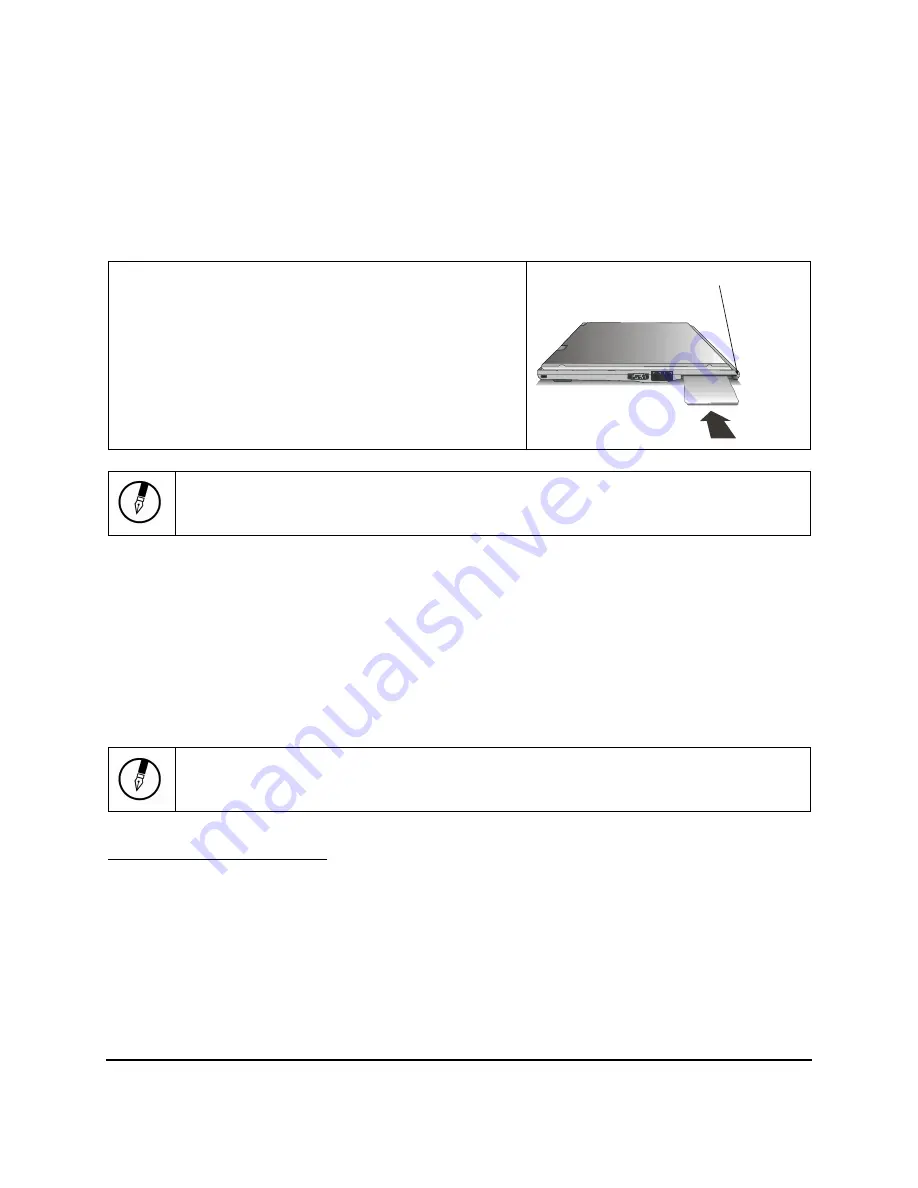
The PC Card Slot
The PC card slot can be used as an interface between your computer and a variety of communications,
multimedia and storage devices. Your computer's PC card slot
supports 16-bit PC Cards and 32-bit
CardBus Cards.
Installing a PC Card
1. The top side of a PC card is usually identified with a
label. Insert the card into the slot with the label side up
and the edge with pinhole contacts going in first.
2. Insert the card into the slot. You will feel some
resistance as the card slides into the back of the slot.
3. If the PC Card is not automatically configured by
Windows, follow the instructions provided with your PC
Card to install it’s drivers and/or applications.
Note:
Please read the instructions included with individual PC cards. Some cards may be inserted with
power on, while others require that the computer be turned off.
Removing a PC Card
1.
If a card is in use, press the eject button on the card slot to release the button.
2.
Press again to release the card.
Memory
Adding memory allows the computer to operate faster, handle more tasks simultaneously, and work more
smoothly with large files. Users who increase memory demands - by adding additional programs, for
example - may notice a slowdown in operating speed, and should increase the memory. The notebook
includes a memory card slot which is configured with either a 256 MB or 512 MB SO-DIMM.
Note:
Use only one inch high DDR SO-DIMM (200-pin).
Removing the Memory Card
1.
Turn off the computer and disconnect the power adapter. Turn the computer upside down
and lay it on a flat surface.
2.
Carefully remove the two RAM compartment cover screws and remove the RAM
compartment cover.
3.
Gently pull tabbed latched in the direction of the arrows (1). The card will pop up slightly.
4.
Pull upwards on the card and then slide the card out (2).
Slide the card into the slot.
Push the button to eject the card.
Summary of Contents for Notebook computer
Page 1: ...1 of 48 U Us se er r s s M Ma an nu ua al l ...
Page 2: ...2 of 48 C Ch ha ap pt te er r 1 1 I In nt tr ro od du uc ct ti io on n ...
Page 9: ...9 of 48 C Ch ha ap pt te er r 2 2 G Ge et tt ti in ng g S St ta ar rt te ed d ...
Page 23: ...23 of 48 C Ch ha ap pt te er r 3 3 M Ma ak ki in ng g C Co on nn ne ec ct ti io on ns s ...
Page 27: ...27 of 48 C Ch ha ap pt te er r 4 4 S Sy ys st te em m S So of ft tw wa ar re e ...
Page 29: ...29 of 48 C Ch ha ap pt te er r 5 5 P Po ow we er r M Ma an na ag ge em me en nt t ...
Page 43: ...43 of 48 A Ap pp pe en nd di ix x B B S St ta at te em me en nt ts s ...


