TV Setup
Initial Setup Wizard
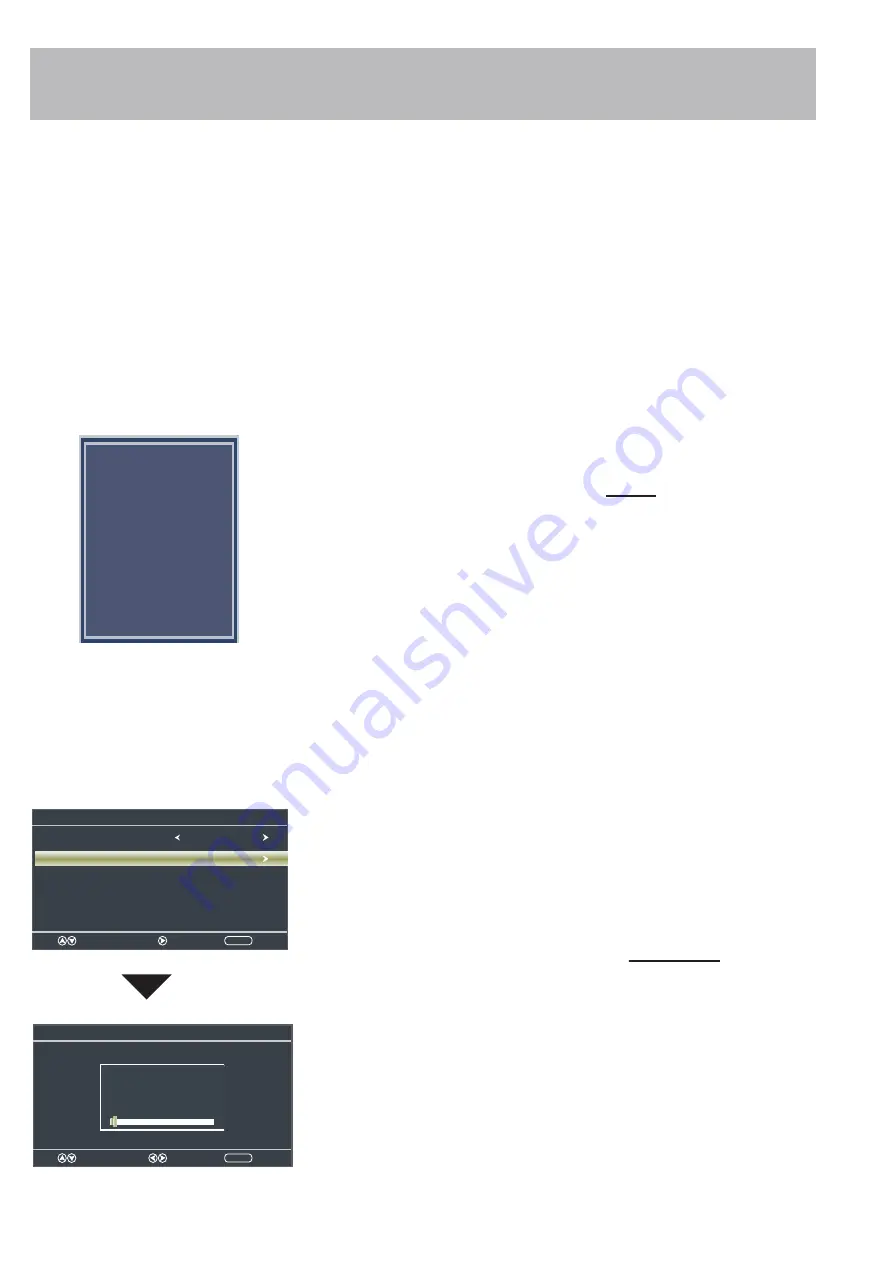
STEP 3: Setting Air/Cable and Channel Auto Scan
Use the
t
u
arrow buttons to select
Air
or
Cable
based on your
type of connection (Antenna or Cable without a set top box).
For Antenna & Cable Connections WITHOUT a set top box:
Use the
q
arrow button to select
Go to next step
and press the
u
button to begin the
Channel Auto Scan
.
Note: Your type of television connection will determine if you should complete the
Channel Auto Scan part of this step.
Channel Auto Scan
may take several minutes to complete.
For Cable/Satellite Connections WITH a set top box:
Press the
MENU
button on the remote control to exit the
Setup
Wizard
.
NOTE: You will see the message “PLEASE RUN AUTO SCAN”
on the screen. Ignore this message as this is not necessary
when using a set top box.
Press the
INPUT
button on the remote control to display the
Input Source
screen
illustrated to the left.
Use the
pq
arrow buttons to highlight the input where the
set top box was installed. Press
ENTER
to select the desired
input.
Once
Channel Auto Scan
has ended, Initial Setup is
complete. You may now begin enjoying your TV, or
make further adjustments to the TV settings which are
explained in the following pages of this manual.
Initial Setup is now complete. You may now begin enjoying your
TV, or make further adjustments to the TV settings which are
explained in the following pages of this manual.
IMPORTANT NOTE: If your TV is connected to a Cable or
Satellite set top box DO NOT run the “Channel Auto Scan”
in STEP 3.
Setup Wizard
Select the antenna type then auto scan
Cable
Next
Move
Exit
MENU
Go to next step
Air / Cable
Next
Setup Wizard
Select
Move
Exit
MENU
Total Found : 0
Analog :
0
Digital : 0
RF CH : 2
Source Select
TV
AV
Component
HDMI1
HDMI2
HDMI3
HDMI4
Media
49EQX10-19


