


www.avenview.com
4
1.8
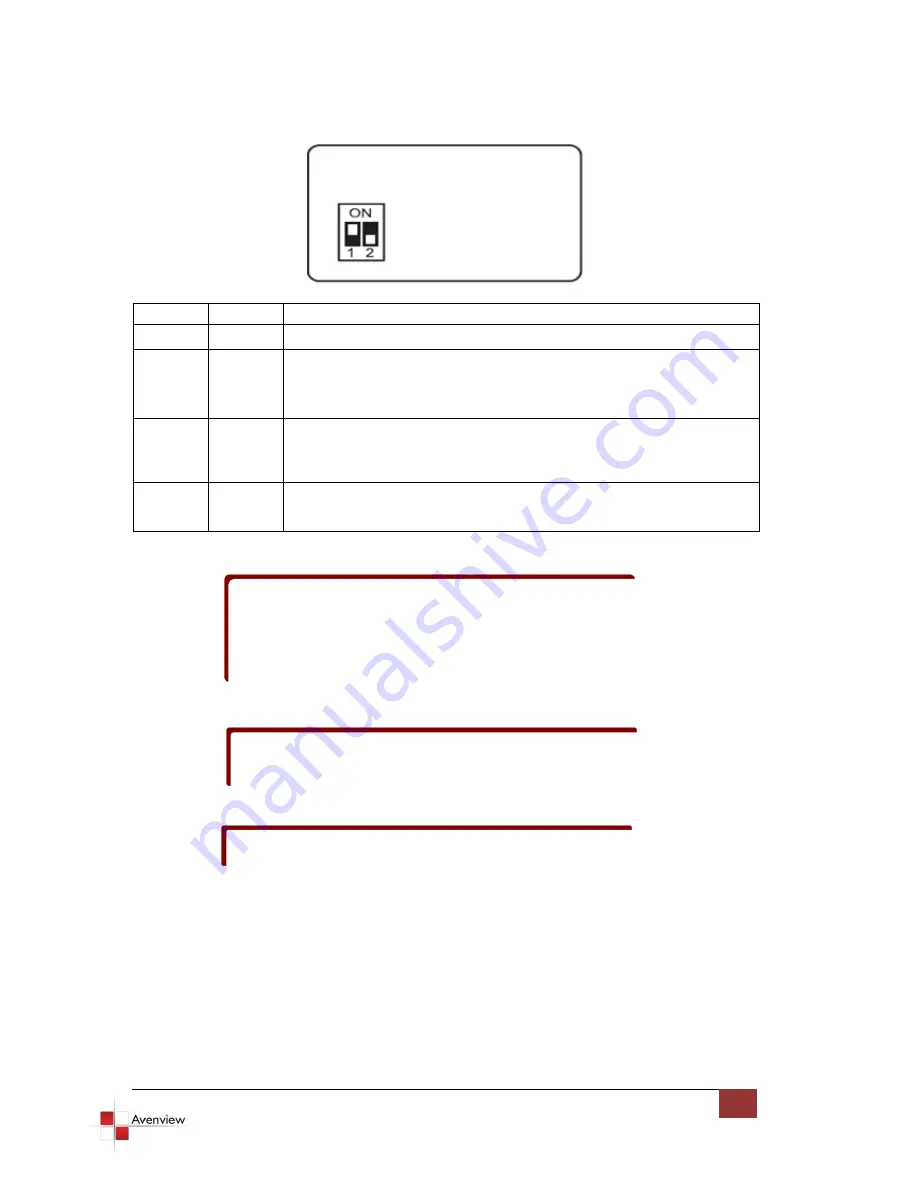
DIP Switch Configuration
1
2
Mode
OFF (
) OFF (
)
Reserved mode
OFF (
)
ON (
)
Recording:
Connect the monitor to the DVI monitor connector. Once the
recording process is completed, C-EDID-RW has copied the EDID from the
monitor into flash memory the green LED will turn off.
ON (
)
ON (
)
Writing Default:
Write the default EDID into C-EDID-RW to replace the existing
EDID in the C-EDID-RW. Once the writing process is completed the green LED
will turn off.
ON (
)
OFF (
)
Connection Mode:
Set DIP switches at this position before you connect your
computer to the C-EDID-RW
To avoid initiating undesired errors during switching between modes (e.g.
changing from Recording mode to Connection mode might overwrite the
EDID of display in the C-EDID-RW by default EDID), please unplug the power
cord before you change on of the above modes to another. Plug in the
power cord after you have changed the position of the DIP Switch.
DO NOT plug DVDI cable into PC DVI connector when you are changing from
one mode to another.
The C-EDID-RW may not work on the monitors with EDID write protection.
Summary of Contents for C-EDID-RW
Page 3: ......


