background image

R412004317/09.2014,

 Replaces: 08.2012, DE/EN/FR/IT/ES/SV

Kompaktejektor

Compact ejector

Ejecteur compact

Eiettore compatto

Eyector compacto

Kompaktejektor

ECS

Betriebsanleitung | Operating instructions | Mode d’emploi |
Istruzioni per l’uso | Instrucciones de servicio | Bruksanvisning

Summary of Contents for ECS

Page 1: ... DE EN FR IT ES SV Kompaktejektor Compact ejector Ejecteur compact Eiettore compatto Eyector compacto Kompaktejektor ECS Betriebsanleitung Operating instructions Mode d emploi Istruzioni per l uso Instrucciones de servicio Bruksanvisning ...

Page 2: ...mungen die ihm übertragenen Arbeiten beurteilen mögliche Gefahren erkennen und geeignete Sicherheitsmaßnahmen treffen kann Eine Fachkraft muss die einschlägigen fachspezifischen Regeln einhalten Allgemeine Sicherheitshinweise W Beachten Sie die gültigen Vorschriften zur Unfallverhütung und zum Umweltschutz im Verwenderland und am Arbeitsplatz W Verwenden Sie AVENTICS Produkte nur in technisch einw...

Page 3: ... fehlende Dichtungen und Verschlüsse Flüssigkeiten und Fremdkörper können eindringen und das Produkt zerstören O Stellen Sie vor der Inbetriebnahme sicher dass alle Dichtungen korrekt sitzen und die Verschlüsse der Steckverbindungen dicht sind 1 IP 40 für ECS 10 15 IP 65 für ECS 20 30 1 2 Symbole Ejektor Ejektor Druckluft und Vakuum anschließen 1 Montieren Sie die Verschraubungen 2 kundenseitig in...

Page 4: ...P2 2 x PNP R412004321 W BDL Drucksensor PE3 PV 2 x PNP 1 x analog R412004326 Ejektor mit Luftsparautomatik ECS R in Betrieb nehmen 1 Verbinden Sie die elektrischen Anschlüsse BN 24 VDC und GY 0 V permanent mit der Betriebsspannung 2 Setzen Sie den angeschlossenen Sauggreifer auf das anzusaugende Werkstück nur für Anwendungen mit dichten und glatten Oberflächen geeignet und schalten Sie den Betrieb...

Page 5: ...beginn nicht abschalten können Sie sich verletzen und das Produkt oder Anlagenteile beschädigen O Stellen Sie sicher dass die relevanten Anlagenteile drucklos und spannungsfrei sind 12 12 13 13 14 Magnetventil Vakuum Abstoßimpuls austauschen nur ECS 20 30 1 Lösen Sie die Befestigungsschrauben 2 2 Ziehen Sie die Leitungsdose 1 mit Dichtung 3 vom Magnetventil 4 3 Lösen Sie die Befestigungsschrauben ...

Page 6: ...the signal words Symbols 2 Notes on Safety The product has been manufactured according to the accepted rules of current technology Even so there is a risk of injury or damage if the following general safety instructions and the specific warnings given in this instruction manual are not observed O Read these instructions completely before working with the product O Keep these instructions in a loca...

Page 7: ...d wear related strain on the device can increase When modifying the adjustment range make sure that the hysteresis is not too small which results in an increased switching frequency and not too large which reduces the bearing capacity e g when the bottom switch on point of the regulator is below the minimum vacuum level required for the system configuration 1 ECS RD The device transmits a digital ...

Page 8: ... commissioning make sure that all the connections on the ejector are proper and all of the tubing is firmly fitted 2 Switch the operating voltage on 3 Switch the working pressure on or 6 Check whether the necessary vacuum has been attained e g with a pressure gauge 7 Test the function of the solenoid valves and pressure sensor 8 Set the pressure sensor Further information can be found in the corre...

Page 9: ...ess the filter insert 5 into the holder 6 only use a new filter insert when replacing filter insert 7 Place the new filter housing 4 with filter insert 5 on the ejector 2 Check that the filter insert 5 is fitted correctly 8 Tighten the new mounting screws 1 MA 0 8 Nm Mounting screws 1 DIN EN 7045 ECS 10 15 2 M3x12 ECS 20 30 4 M3x12 III Exchanging the silencer 1 Loosen the mounting screws 1 2 Remov...

Page 10: ...www aventics com pneumatics catalog Pressure sensor See W Operating instructions PE3 P2 pressure sensor 2x PNP R412004321 W Operating instructions PE3 PV pressure sensor 1x PNP 1x analog R412004326 or W Online at www aventics com pneumatics catalog Français 1 A propos de cette documentation Ce mode d emploi contient des informations importantes pour utiliser le produit de manière sûre et conforme ...

Page 11: ...age dans la version commandée W Mode d emploi éjecteur compact ECS R412004317 W Mode d emploi manostat PE3 P2 R412004321 selon la version W Mode d emploi manostat PE3 PV R412004326 selon la version 4 A propos de ce produit Description des performances L éjecteur est destiné à générer du vide par exemple pour l évacuation de ventouses afin de maintenir des charges utiles ou d autres volumes L éject...

Page 12: ...dement de l air comprimé et du vide 1 Monter les vissages 2 par le client dans le raccordement d air comprimé 3 et le raccordement au vide 4 2 Enficher le tuyau d air comprimé 1 et le tuyau de vide 5 dans le vissage correspondant 2 Utiliser le diamètre intérieur de tuyau suivant Le diamètre de tuyau recommandé se réfère à une longueur max de 2 m En cas de longueur 2 m utiliser le diamètre de tuyau...

Page 13: ...e ECS D PE3 P2 Signal de sortie OUT 1 Fonction de commutation NO Mode Hystérèse Point de commutation 750 mbar Hystérèse 150 mbar Signal de sortie OUT 2 Fonction de commutation NO Mode Hystérèse Point de commutation 550 mbar Hystérèse 10 mbar Remise en service après arrêt 1 Brancher la tension de service 2 Enclencher la pression de service 7 Entretien et maintenance Nettoyage et entretien 1 Obturer...

Page 14: ... accouplement 2 3 Débrancher la prise mâle 1 du manostat 3 4 Détacher les conducteurs 5 Enficher la nouvelle prise mâle industrielle 1 jusqu à ce que le levier d encliquetage 2 s encliquette dans l électrodistributeur 3 6 Enficher la nouvelle prise mâle 1 du câble de connexion CN1 dans le manostat 3 13 14 15 16 17 18 16 18 16 16 16 18 18 18 16 16 16 18 18 7 Serrer l écrou d accouplement 2 8 Raccor...

Page 15: ... le site Internet www aventics com pneumatics catalog Manostat Voir W Mode d emploi manostat PE3 P2 2 x PNP R412004321 W Mode d emploi manostat PE3 PV 1 x PNP 1 x analogique R412004326 ou W Site Internet www aventics com pneumatics catalog AVENTICS ECS R412004317 BDL 001 AE Français 14 ...

Page 16: ...oni antinfortunistiche e di protezione ambientale vigenti nello stato in cui l apparecchio viene usato e sul posto di lavoro W Utilizzare i prodotti AVENTICS esclusivamente in condizioni tecniche perfette Verificare eventuali anomalie del prodotto come per esempio fessure nel corpo oppure viti cuffie e guarnizioni mancanti W Non è consentito in generale modificare o trasformare il prodotto W La ga...

Page 17: ...za corrente aperta NC Posizione di riposo elettrovalvola Vuoto senza corrente chiusa I Elettrovalvola ad impulso di scarico S Valvola antiritorno integrata 1 2 3 4 Eiettore collegare aria compressa e vuoto 1 Montare i raccordi 2 a cura del cliente nell attacco dell aria compressa 3 e nell attacco per il vuoto 4 2 Inserire il tubo flessibile per aria compressa 1 e il tubo flessibile del vuoto 5 nel...

Page 18: ...V DC e GY 0 V in modo permanente alla tensione di esercizio 2 Porre la ventosa collegata sul pezzo da aspirare adatta solo per applicazioni con superfici a tenuta e lisce e inserire la pressione di esercizio ECS NO attraverso la reazione della regolazione interna l apparecchio viene portato nello stato Vuoto OFF non aspirare ECS NC viene attivato il procedimento Vuoto ON aspirare poi attraverso la...

Page 19: ...ssiste pericolo di ferimento e di danni al prodotto o alle parti dell impianto O Assicurarsi di togliere l alimentazione elettrica e pneumatica delle parti rilevanti dell impianto 12 12 13 13 14 15 4 Rimuovere l elettrovalvola 4 con piastra sigillante 6 e guarnizione 5 5 Applicare la nuova elettrovalvola 4 con piastra sigillante 6 e guarnizione 5 all eiettore 8 Accertarsi che piastra sigillante 6 ...

Page 20: ...sonales y materiales si no se tienen en cuenta las indicaciones básicas de seguridad básicas señaladas a continuación ni los carteles de advertencia ante indicaciones de manejo que aparecen en estas instrucciones O Lea estas instrucciones con detenimiento y por completo antes de trabajar con el producto O Conserve las instrucciones de manera que sean siempre accesibles para todos los usuarios O En...

Page 21: ...ulas de accionamiento eléctrico se debe aplicar siempre de forma alterna para que se garantice una aspiración vacío activado y un escape impulso de desprendimiento activado sin solapamiento ECS con regulación interna versiones RE RD La frecuencia de conmutación y con ello el efecto de ahorro de aire dependen de la superficie y de la compactibilidad de la pieza que se va a aspirar o del espacio de ...

Page 22: ...ecte la tensión de la pieza de la instalación relevante antes de montar el producto Las válvulas de accionamiento eléctrico no tiene protección contra polarización inversa Compruebe que los conductores quedan colocados correctamente Asegúrese de que conecta correctamente las válvulas de accionamiento eléctrico con los conectores industriales conectores eléctricos de igual color 5 6 7 7 8 8 9 9 10 ...

Page 23: ...istéresis 150 mbar 7 Conservación y reparación Limpieza y cuidado 1 Cierre todas las aberturas del eyector usando dispositivos o caperuzas de protección adecuados 2 Compruebe si todas las juntas y los cierres de las conexiones por enchufe están fijos para que no pueda penetrar humedad en el eyector durante la limpieza 3 Limpie el eyector exclusivamente con un paño ligeramente humedecido sin fibras...

Page 24: ...n la junta 3 de la válvula de accionamiento eléctrico 4 3 Afloje la tuerca de racor 2 4 Retire el conector 1 del sensor de medición de presión 3 5 Suelte los conductores 6 Inserte el conector eléctrico nuevo forma C 1 con la junta 3 en la válvula 4 7 Apriete el tornillo de fijación 2 MA 0 4 Nm 8 Inserte el conector 1 nuevo en el sensor de medición de presión 3 9 Apriete la tuerca de racor 2 10 Con...

Page 25: ...cifika regler Allmänna säkerhetsanvisningar W Följ gällande föreskrifter för att undvika olycka och för att skydda miljön i användarlandet och på arbetsplatsen W AVENTICS produkter får endast användas om de är i ett tekniskt felfritt skick Kontrollera att produkten inte uppvisar tydliga defekter eller brister som exempelvis sprickor i huset eller avsaknad av skruvar täckbrickor eller tätningar W P...

Page 26: ...O Koppla till spänningen på båda magnetventilerna samtidigt för att nå tillståndet Lossningsimpuls TILL blåsa ut Detta förhindrar en ineffektiv utblåsning när sugning sker samtidigt ECS NC Koppla alltid till försörjningsspänningen för magnetventilerna växelvis för att garantera en överlappningsfri sugning Vakuum TILL resp utblåsning Lossningsimpuls TILL ECS med intern reglering versioner RE RD Til...

Page 27: ...plikationer med täta och släta ytor och koppla till arbetstrycket ECS NO Enheten försätts genom den interna regleringens reaktion i statusen Vakuum FRÅN inte suga ECS NC Funktionen Vakuum TILL suga aktiveras varefter enheten genom den interna regleringens reaktion försätts i statusen Vakuum FRÅN inte suga Den monterade backventilen upprätthåller denna status beroende på slangarnas och arbetsstycke...

Page 28: ...ut ledarna SE UPP Risk för personskador vid demontering under tryck och elspänning Om trycket och elspänningen inte kopplas ifrån innan demonteringen påbörjas finns risk för personskador samt risk för skador på produkten eller delar av anläggningen O Kontrollera att relevanta anläggningsdelar är trycklösa och spänningsfria 13 13 14 15 16 17 Byta anslutningskabel CN1 M8 1 Lossa överfallsmuttern 2 2...

Page 29: ... analog R412004326 eller W på Internet under www aventics com pneumatics catalog Luftsparautomatiken kopplar inte till vakuumet Hysteresen högre än tillslagsläget Ställ in ett högre tillslagsläge eller en mindre hysteres Luftsparautomatiken fungerar inte Kablar eller ledare förväxlade Anslut kablar och ledare korrekt se Ansluta elförsörjningen Fel Möjlig orsak Åtgärd AVENTICS ECS R412004317 BDL 00...

Page 30: ...matik Gerätebeschreibung ECS 20 30 mit Luftsparautomatik Device overview ECS 20 30 with air economizer Description de l appareil ESC 20 30 avec dispositif automatique d économie d air Descrizione dell apparecchio ECS 20 30 con dispositivo di economia dell aria Descripción del aparato ECS 20 30 con dispositivo economizador de aire Beskrivning av enheten ECS 20 30 med luftbesparande automatik Symbol...

Page 31: ...ksensor ECS D E und Magnetventile ECS OUT2 RE Analog RD Digital Electrical connections ECS cable set ECS D E pressure sensor and ECS solenoid valves OUT 2 RE analog RD digital Raccordements électriques jeu de câbles ECS manostat ECS D E et électrodistributeurs ECS OUT2 RE analogique RD numérique Elektrischer Anschluss Magnetventil ECS 20 30 und Leitungsdose CN1 Electrical connection ECS 20 30 sole...

Page 32: ...arti soggette ad usura Piezas de desgaste Slitagedelar Elettrovalvola ECS 20 30 Válvula de accionamiento eléctrico ECS 20 30 Magnetventil ECS 20 30 I filtro ECS 10 15 II filtro ECS 20 30 III silenziatore ECS I filtro ECS 10 15 II filtro ECS 20 30 III silenciador ECS I filter ECS 10 15 II filter ECS 20 30 III ljuddämpare ECS I ECS D E II corpo del filtro ECS 10 15 III corpo del filtro ECS 20 30 I E...

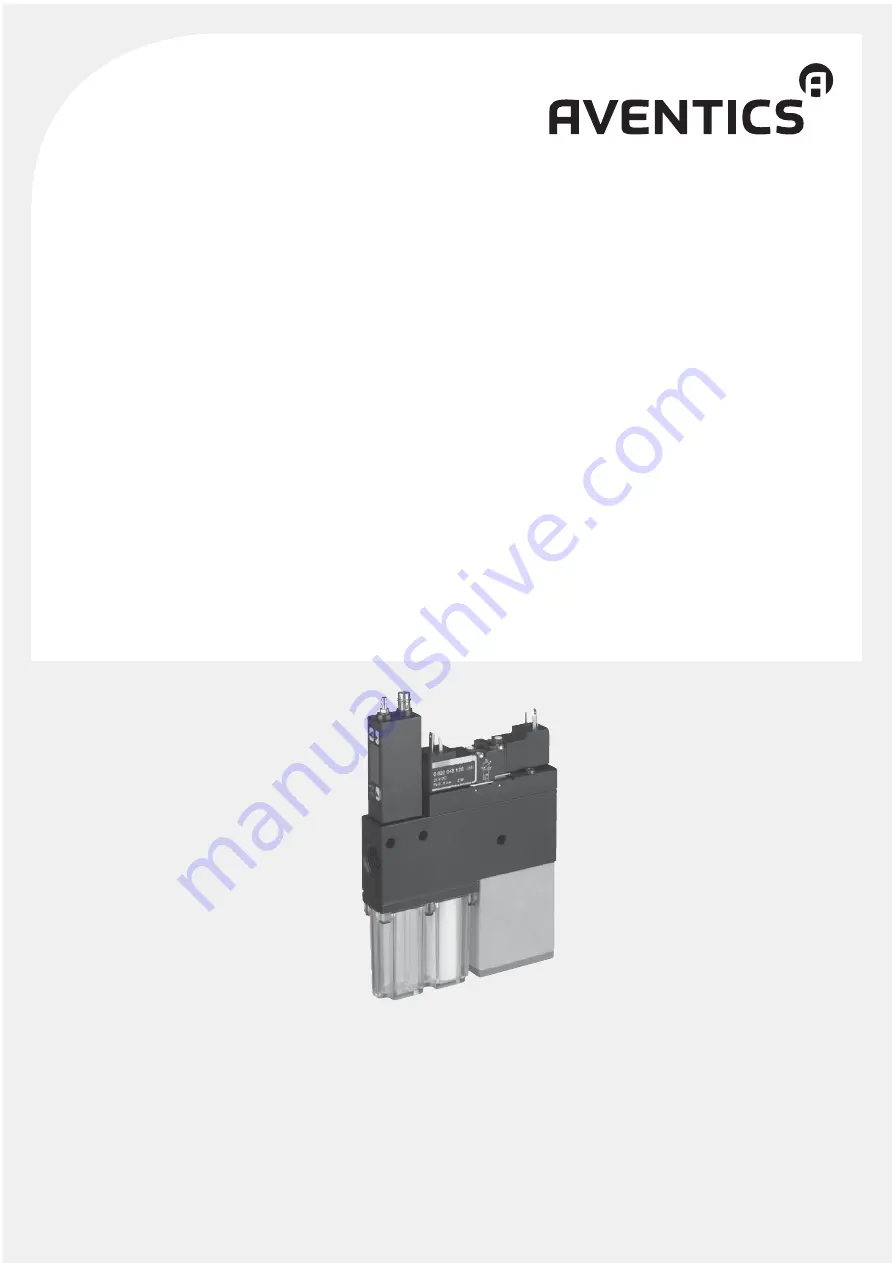
Page 33: ...e obligation of own judgement and verification It must be remembered that our products are subject to a natural process of wear and aging An example configuration is depicted on the title page The delivered product may thus vary from that in the illustration Translation of the original operating instructions The original operating instructions were created in the German language R412004317 BDL 001...

Reviews: