19
e
t
a
D
/
e
m
i
T
N
O
y
a
l
p
s
i
D
D
/
T
r
u
o
H
2
1
t
a
m
r
o
F
e
m
i
T
Y
Y
/
D
D
/
M
M
t
a
m
r
o
F
e
t
a
D
e
t
a
D
/
e
m
i
T
t
e
S
e
t
a
D
/
e
m
i
T
t
e
s
e
R
t
i
x
E
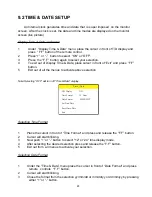
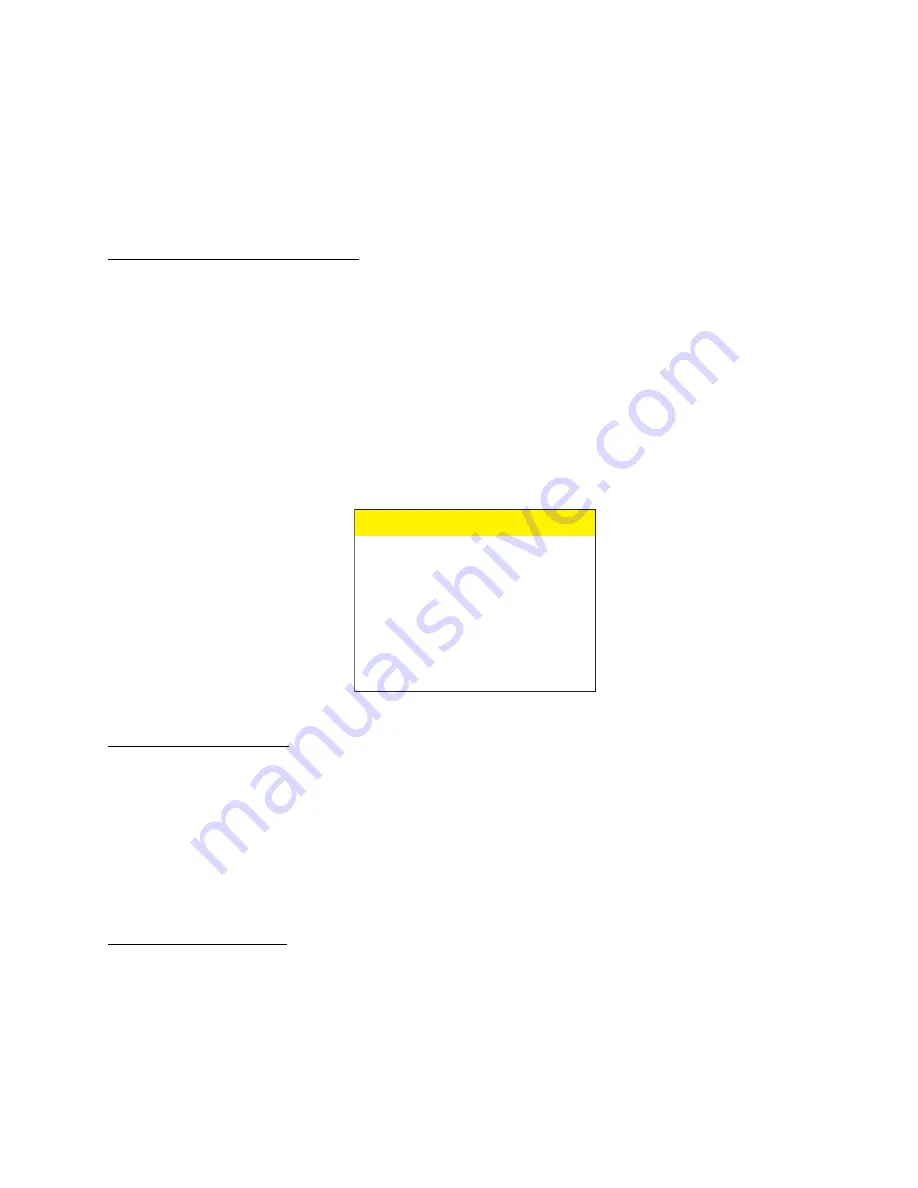
9.2 TIME & DATE SETUP
An Internal clock generates time and date that is super imposed on the monitor
screen. After the clock is set, the date and time modes are displayed on the monitor
screen (live picture).
Display Time & Date on Screen
1
Under “Display Time & Date” menu place the cursor in front of T/D display and
press “ F.F” button of the remote control.
2
Press “+” or “-” button to select “ON” or “OFF”.
3
Press the “F.F” button again to select your selection.
4
To exit out of Display Time & Date, place cursor in front of “Exit” and press “F.F”
button.
5
Exit out of all the menus to activate above selection.
Note: Selecting “OFF” will turn off “Time & Date” display.
Selecting Time Format
1
Place the cursor in front of “Time Format” and press and release the “F.F” button.
2
Cursor will start blinking.
3
Now push “+” or “-” button to select “12” or “24” time display mode.
4
After selecting the desired selection press and release the “F.F” button.
5
Exit out from all menus to activate your selection.
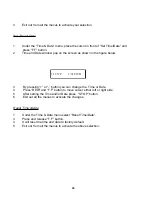
Selecting Date Format
1
Under the “Time & Date” menu place the cursor in front of “Date Format” and press
remote controls “ F.F” button.
2
Cursor will start blinking.
3
Chose the format from the selection yy/mm/dd or mm/dd/yy or dd/mm/yy by pressing
either “+” or “-” button.
Summary of Contents for VCR 322 PLUS
Page 1: ...VCR 322 PLUS MOBILE VIDEO CASSETTE RECORDER VHS OPERATION MANUAL NTSC PAL ...
Page 2: ......
Page 4: ......
Page 35: ...35 ...


