AW49200HTA, HTS
User’s Manual
PAGE 6
Technical Support
(650) 384-0000
www.avalanwireless.com
Changing The Configuration - Step by Step
Please be aware that if you change the IP Address or User Password and forget their new values, you
have locked yourself out of the browser interface. The AW49200 runs self-diagnostics at boot-up and
will auto-correct most system configuration errors. Prior to calling technical support, it is recom
-
mended to power cycle the radio and confirm that the problem remains.
In the event of a lost IP address, reboot the AW49200 to create a temporary IP address of 192.168.88.88
that can be used to access the radio to reset the user-defined IP address. This IP address expires after
3 minutes from reboot. In the event of a lost password, please contact AvaLAN technical support for
assistance.
If you are changing parameters over the RF link (we do not recommend this), be sure to make the re-
mote changes first because the link will be broken if the network name or Security Keys do not agree.
1. Setting the IP Address and Subnet Mask, Gateway and Device Name:
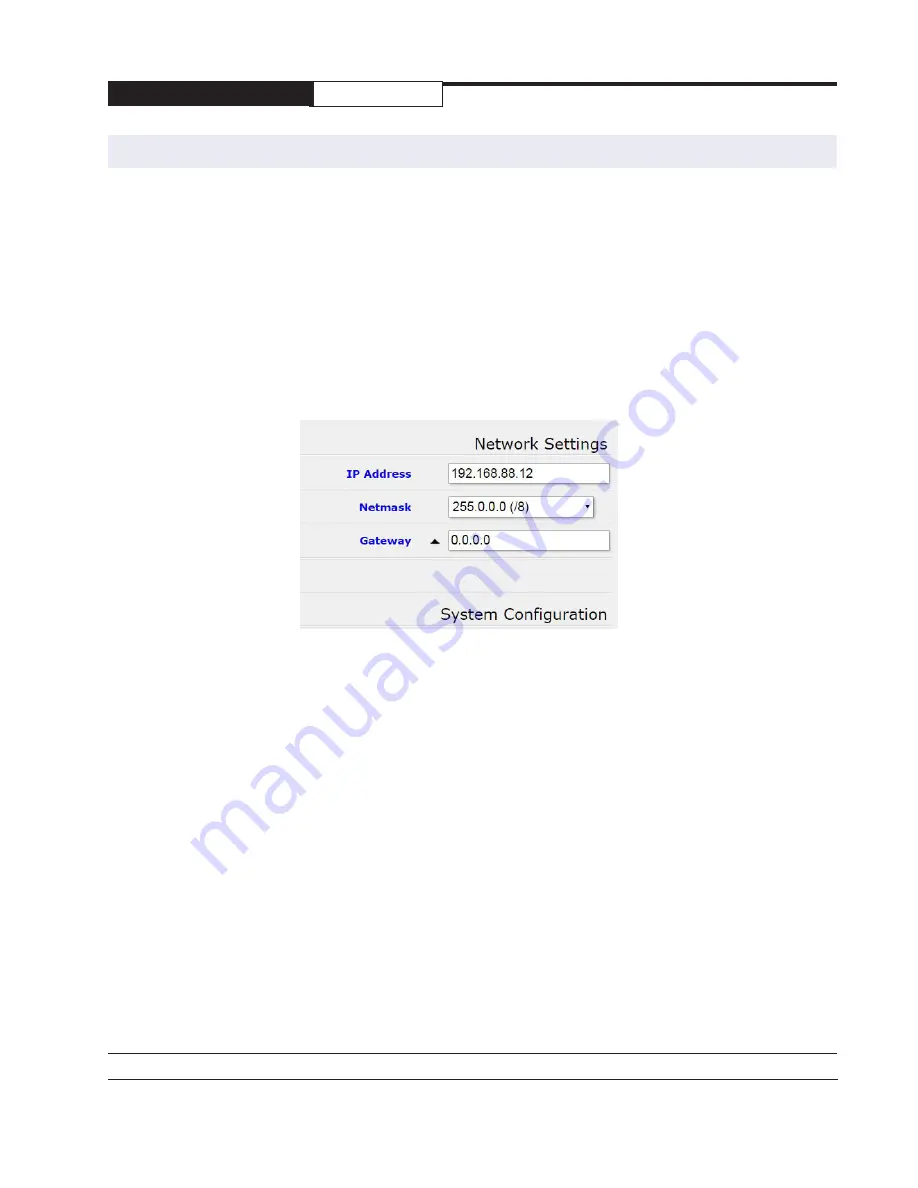
• In the upper right area of the Quick Set page are the data entry boxes for these parameters.
They contain the current values.
• A special notation is used for the IP Address and Subnet Mask: Use /x at the end of the
IP Address to specify the subnet mask: /8 for 255.0.0.0, /16 for 255.255.0.0 and /24 for
255.255.255.0. Enter a new IP Address and subnet making sure you will be able to browse to
the new address with your computer. Also, make sure that the new IP address is unique on your
LAN.
•
The Gateway address should be specified if it is necessary to communicate with the radio
through the Gateway. Your system administrator should have this value.
• The Device Name is an arbitrary string and simply allows you to attach a human-friendly name
to this specific radio.
•
Click “Apply Configuration” when you have entered new values. Nothing appears to happen, but
you have been disconnected and will need to browse to the new IP Address to login again.
2. Setting the User Password:


