2
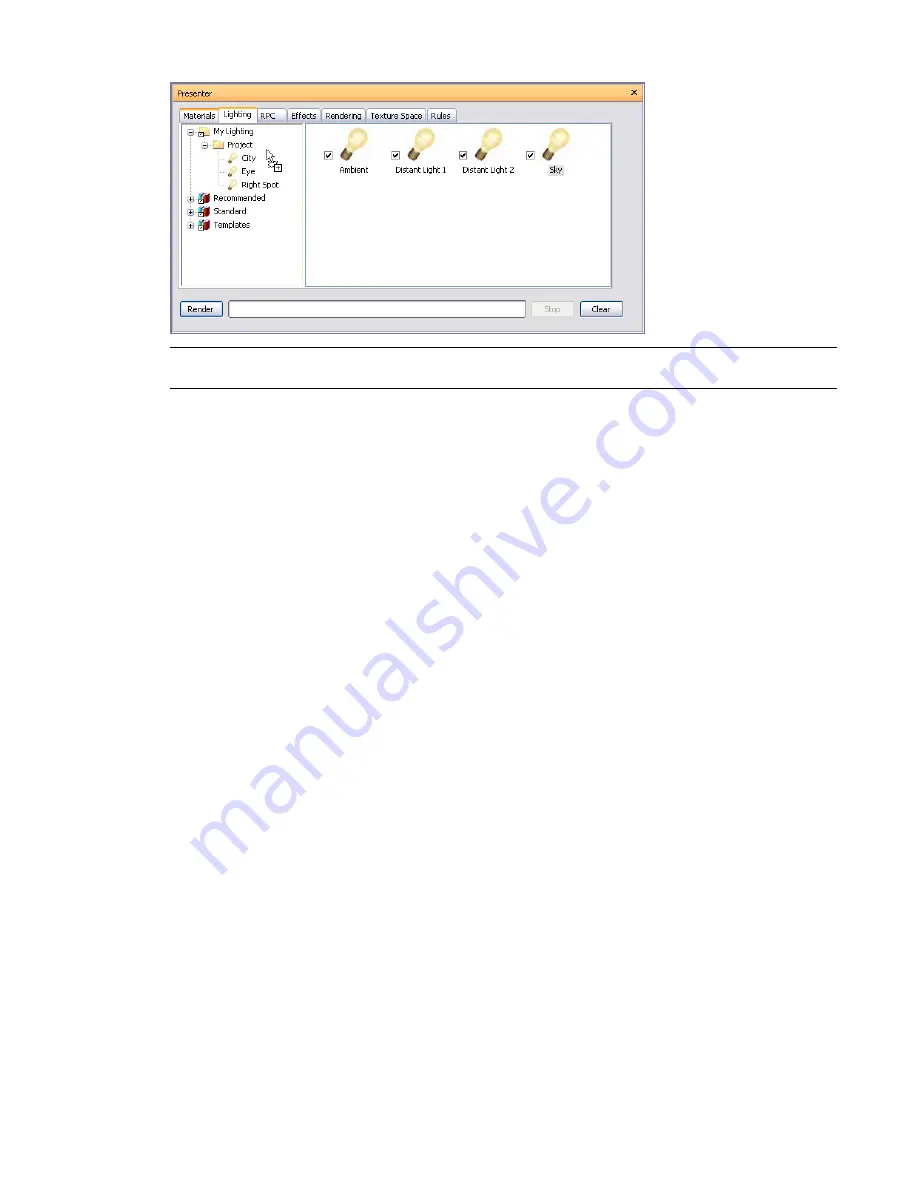
Release the left mouse button to drop the lighting effect into the folder.
NOTE
You can also copy lighting effects between the folders on the left pane by either dragging and dropping
them, or using the Copy and Paste options on the shortcut menu.
To manage palette lights
1
Right-click a light in the right hand pane of the Lighting tab (the palette).
2
Click Delete to delete the light from the palette. This will also remove the light from the scene.
3
Click Copy to copy the light to the clipboard. Right-click an empty space in the palette and click Paste to
paste a copy of the light with the same name suffixed with the next number in the list.
4
Click Rename to rename the light. You can also select the light and press F2 to rename it.
5
Click Clear Palette to delete all the lights from the palette and hence from the scene.
6
Click Edit or simply double-click a light to open the Light Editor dialog box, allowing you to edit its
parameters. See “
” on page 313 for more information.
Edit Lights
You can edit a light in the palette by double-clicking it, or right-clicking and choosing Edit on the shortcut menu.
There are six types of light visible in both OpenGL interactive renders and photorealistic renders:
■
Ambient lights give a general background light to the scene and therefore only have intensity and color
parameters.
■
Eye lights are located at the viewpoint and also only have intensity and color parameters.
■
Point lights have a location but shine in all directions. They also have an intensity and color and additionally
can cast shadows (only available in a full photorealistic render).
■
Distant lights are directional and so have a location and target. However, the location and target merely set
up an axis down which the light shines, as these light types are infinitely far away and their beams are parallel.
As well as intensity and color parameters, they can also cast shadows in a photorealistic render.
■
Spot lights are also directional and therefore have a location and target, as well as intensity, color and shadow
parameters. In addition, they also have parameters for affecting the light's fall off and cone angle, as these
light types are not infinitely far away, so do spread their light over a cone and the intensity does diminish
away from the light.
■
Sun simulates the sun's light. The orientation of your model is defined by north and up directions. The
position of the sun is specified as azimuth and altitude. If the sun's mode includes “Position”, you can input
your location on earth, the time (using local time zone) and date and Presenter will calculate the sun's azimuth
Edit Lights | 313
Summary of Contents for 507B1-90A211-1301 - NavisWorks Manage 2010
Page 1: ...Autodesk Navisworks Manage 2010 User Guide March 2009 ...
Page 12: ...xii Contents ...
Page 14: ...2 Part 1 Welcome to Autodesk Navisworks Manage 2010 ...
Page 64: ...52 Chapter 3 Installation ...
Page 97: ...Get a Whole Project View 85 ...
Page 98: ...86 Part 2 Get a Whole Project View ...
Page 136: ...124 Chapter 5 Work with Files ...
Page 178: ...To toggle ViewCube Click View Head Up Display ViewCube 166 Chapter 6 Explore Your Model ...
Page 262: ...250 Chapter 9 Use Viewpoints and Sectioning Modes ...
Page 270: ...258 Chapter 11 Work Within a Team ...
Page 282: ...270 Chapter 12 Share Data ...
Page 346: ...334 Chapter 14 Create Photorealistic Visualizations ...
Page 460: ...448 Chapter 17 Autodesk Navisworks Reference ...
Page 466: ...454 Glossary ...


