


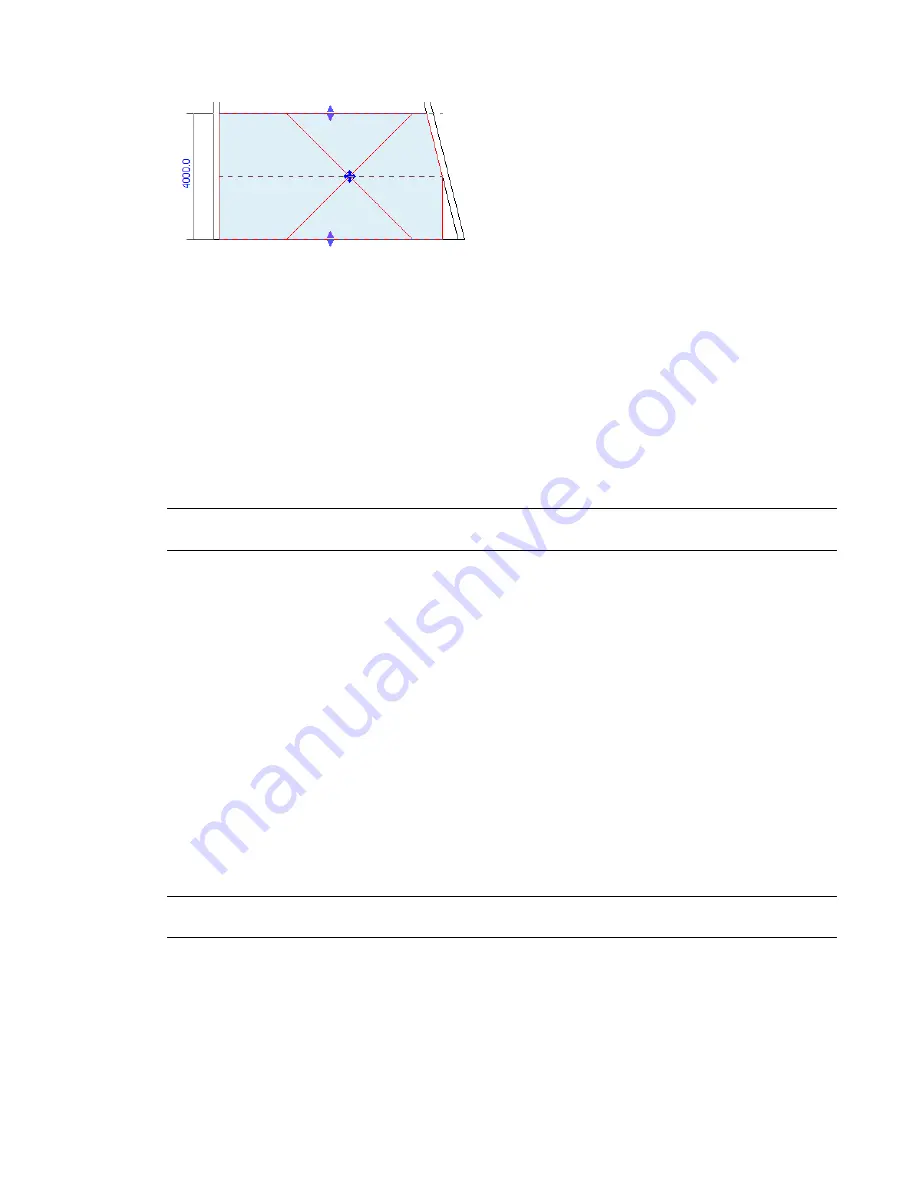
A selected room in a section view
Move a selected room by dragging it using the move control. If the room has a tag, move the tag with the
room by selecting both and dragging them to the new location. As an alternative, you can delete the tag
before moving the room, and then tag the room in its new location.
When you select a room in a section view, you can visually check its upper and lower boundaries and use
the arrow controls to adjust them, if needed. See
on page 980 and
on page 995.
Controlling the Visibility of Rooms
By default, rooms do not display in plan views and section views. However, you can change visibility/graphic
settings to make rooms and their reference lines visible in these views. These settings become part of the
view properties.
BEST PRACTICE
Create view templates with the desired room visibility settings. Apply these view templates to
views in which you want to display and work with rooms. See
on page 507.
To display rooms
1
Open the plan view or the section view.
2
Type
vg
, or click View tab
➤
Graphics panel
➤
Visibility/Graphics.
3
On the Model Categories tab of the Visibility/Graphic Overrides dialog, scroll down to Rooms,
and click to expand it.
4
To display rooms in the view using an interior fill color, select Interior Fill.
5
To display reference lines for rooms, select Reference.
6
Click OK.
Room Boundaries
Revit Architecture uses room boundaries when computing the area, perimeter, and volume of a room. You
can check room boundaries in plan views and section views.
To check room boundaries, you can select rooms or change visibility/graphic settings for the view. See
on page 978 and
Controlling the Visibility of Rooms
on page 979.
TIP
When working with rooms, open a plan view and a section view, and type
wt
to tile the windows. This strategy
allows you to see the perimeter of the room and its upper and lower boundaries at the same time.
Related topics
■
on page 989
■
on page 991
Controlling the Visibility of Rooms | 979
Summary of Contents for 256B1-05A761-1301 - AutoCAD Revit Structure Suite 2010
Page 1: ...Revit Architecture 2010 User s Guide March 2009 ...
Page 4: ......
Page 42: ...xlii ...
Page 84: ...42 ...
Page 126: ...84 ...
Page 166: ...124 ...
Page 229: ...Schedule Field Formatting Calculating Totals Specifying Schedule Properties 187 ...
Page 230: ...Schedule with Grid Lines Schedule with Grid Lines and an Outline 188 Chapter 5 Project Views ...
Page 304: ...262 ...
Page 427: ...Defining the first scale vector Defining the second scale vector Resizing Graphically 385 ...
Page 454: ...Before painting applying material to stairs 412 Chapter 8 Editing Elements ...
Page 456: ...414 ...
Page 486: ...444 ...
Page 674: ...632 ...
Page 809: ...Curtain wall Curtain Grid Curtain Walls Curtain Grids and Mullions 767 ...
Page 994: ...952 ...
Page 1016: ...974 ...
Page 1204: ...1162 ...
Page 1290: ...1248 ...
Page 1318: ...1276 ...
Page 1372: ...1330 ...
Page 1382: ...1340 ...
Page 1462: ...1420 ...
Page 1492: ...1450 ...


