background image

UM-CV-751-CV-S101-Q215V1 www.austin-hughes.com

P.2

KB Mouse

Power

LED

Status

LED

Local

Computer

VGA

Power

USB

Remote I/O

LED


Status


Description


Power


Solid Red

Power is on ( from the local computer or power adapter )

No Light

There is no Power

Status


Solid Blue

The connection to Receiver is active

Flashing Blue

Transmitter is sending or receiving data

No Light

No connection established

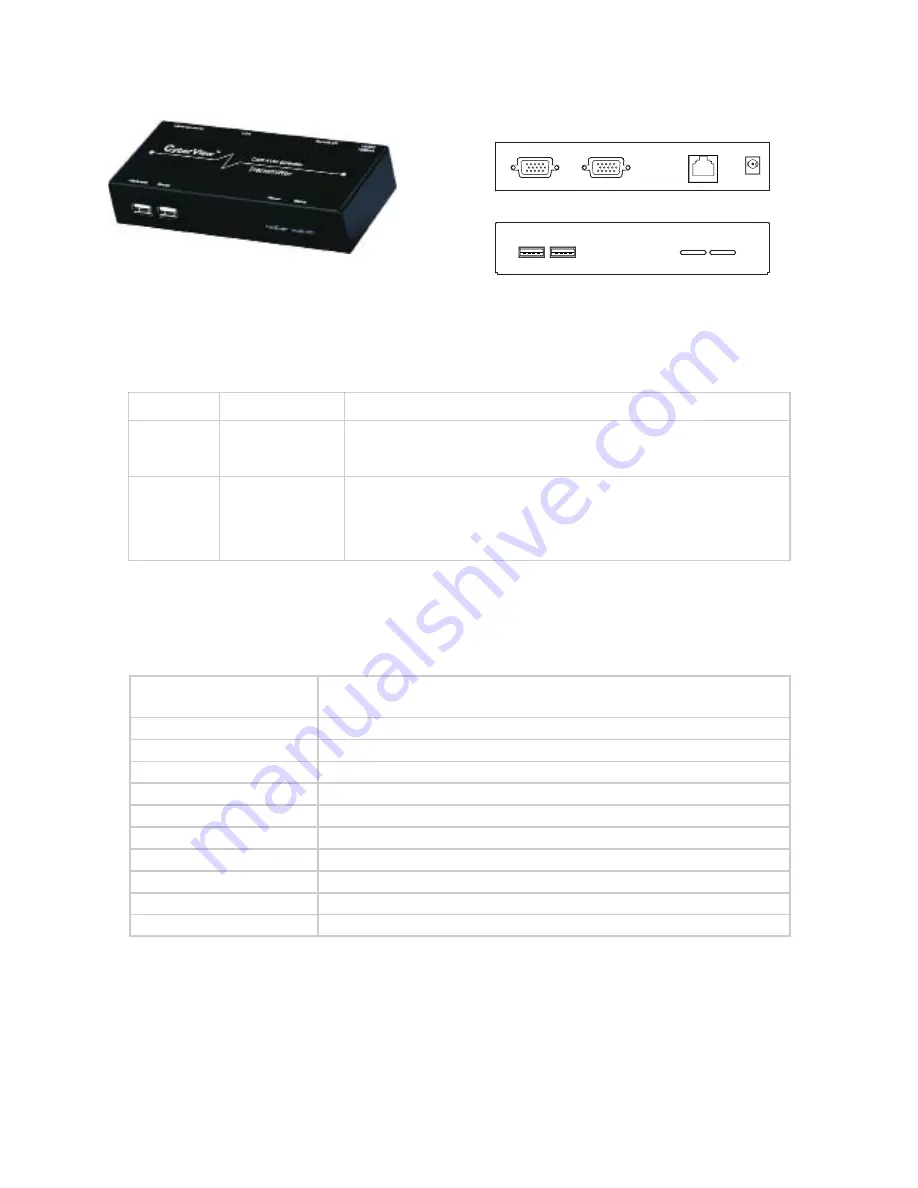
< 1.2 > Transmitter

CV-S101

Transmitter Specifi cation

Console Port

1 x DB-15 VGA, up to 1600 x 1200
2 x USB connector for KB & mouse

Remote I / O

1 x RJ-45, connect the receiver up to 150 meters via Cat5/6 cable

Local computer

1 x DB-15 combo KVM port

LED

Power ( red ) & Status ( blue )

Power

From attached local computer or optional 12V power adapter

Operation Temperature

0 ~ 55 °C

Storage Temperature

-20 ~ 60 °C

Humidity

0~80%, Non-Condensing

Dimension

157.8 x 70 x 30.6 mm

Weight

370g

Environmental

RoHS2 & REACH compliant

Front

Rear

Summary of Contents for CyberView CV-S101

Page 1: ...UM CV 751 CV S101 Q215V1 www austin hughes com Designed and manufactured by Austin Hughes 751 User Manual CV S101 Combo KVM Extender dedicated KVM switch and rackmount screen technology ...

Page 2: ...ervice personnel should open the chassis Opening it yourself could damage the equipment and invalidate its warranty If any part of the equipment becomes damaged or stops functioning have it checked by qualified service personnel What the warranty does not cover Any product on which the serial number has been defaced modified or removed Damage deterioration or malfunction resulting from Accident mi...

Page 3: ...ommand P 7 Part 2 Application 2 1 Extending the KVM console port to 150 meters 2 2 Extending the computer to KVM port to 150 meters 2 3 Extending the computer up to 150 meters P 4 P 5 P 6 Part 1 CV S101 1 1 Package Contents 1 2 Transmitter 1 3 Receiver Contents P 1 P 2 P 3 ...

Page 4: ...ust dirt heat water moisture and vibration The equipment comes with the standard parts shown in package content Check and make sure they are included and in good condition If anything is missing or damaged contact the supplier immediately Unpacking Before Installation P 1 1 1 Package Contents Receiver CV S101 Part 1 Transmitter CV S101 Receiver and Transmitter X 1 CE 6 6ft Combo KVM cable X 1 Powe...

Page 5: ...ata No Light No connection established 1 2 Transmitter CV S101 Transmitter Specification Console Port 1 x DB 15 VGA up to 1600 x 1200 2 x USB connector for KB mouse Remote I O 1 x RJ 45 connect the receiver up to 150 meters via Cat5 6 cable Local computer 1 x DB 15 combo KVM port LED Power red Status blue Power From attached local computer or optional 12V power adapter Operation Temperature 0 55 C...

Page 6: ...te port is pressed auto adjusting the signal Moderate Flashing Blue Remote port is pressed no connection established No Light Remote port is not selected or the power is off 1 3 Receiver CV S101 Receiver Specification Console Port 1 x DB 15 VGA up to 1600 x 1200 2 x USB connector for KB mouse Remote I O 1 x RJ 45 connect the receiver up to 150 meters via Cat5 6 cable Local computer 1 x DB 15 combo...

Page 7: ...50 meters CV S101 Part 2 Application CE 6 combo KVM cable USB Console 2 4 6 8 10 12 14 16 1 3 5 7 9 11 13 15 18 20 22 24 26 28 30 32 17 19 21 23 25 27 29 31 KVM switch Transmitter Rear Monitor Front Transmitter Cat6 cable up to 150 meters Monitor Receiver CE 6 6ft combo KVM cable Front Rear ...

Page 8: ...4 6 8 10 12 14 16 1 3 5 7 9 11 13 15 18 20 22 24 26 28 30 32 17 19 21 23 25 27 29 31 Cat6 KVM port 1 2 3 4 5 6 7 8 DB 15 KVM port Cat5 6 dongle OR KB Mouse USB VGA 2 2 Extending the computer to KVM port to 150 meters CV S101 Rear Front Monitor Transmitter CE 6 6ft combo KVM cable Front Rear ...

Page 9: ...1 Q215V1 www austin hughes com Cat6 cable up to 150m Receiver Transmitter 2 3 Extending the computer up to 150 meters CV S101 P 6 Monitor CE 6 6ft combo KVM cable Monitor CE 6 6ft combo KVM cable Front Rear Front Rear ...

Page 10: ...se quences made by the remote console side To send commands to the Receiver you must press the hotkey default is Scroll Lock twice within 2 seconds You will hear a beep sound confirming you are in the hotkey mode If you do not press any key during hotkey mode over 2 seconds the hotkey mode will be terminated and back to normal state The default hotkey is Scroll Lock but you can change hotkey as yo...

Page 11: ......

Page 12: ...odify product specifications without prior notice and assumes no responsibility for any error which may appear in this publication All brand names logo and registered trademarks are properties of their respective owners Copyright 2015 Austin Hughes Electronics Ltd All rights reserved ...

Reviews: