background image

Digital Video Recording System 

19 of 36                                            DVR SYSTEM 

   2-6. 

: move the start point of the recoding backward      

   2-7. | : move backs one frame      

   2-8. 

: move the place of event conducting      

   2-9.  |: move forward one frame      

   2-10.

: move the end point of the recording forward      


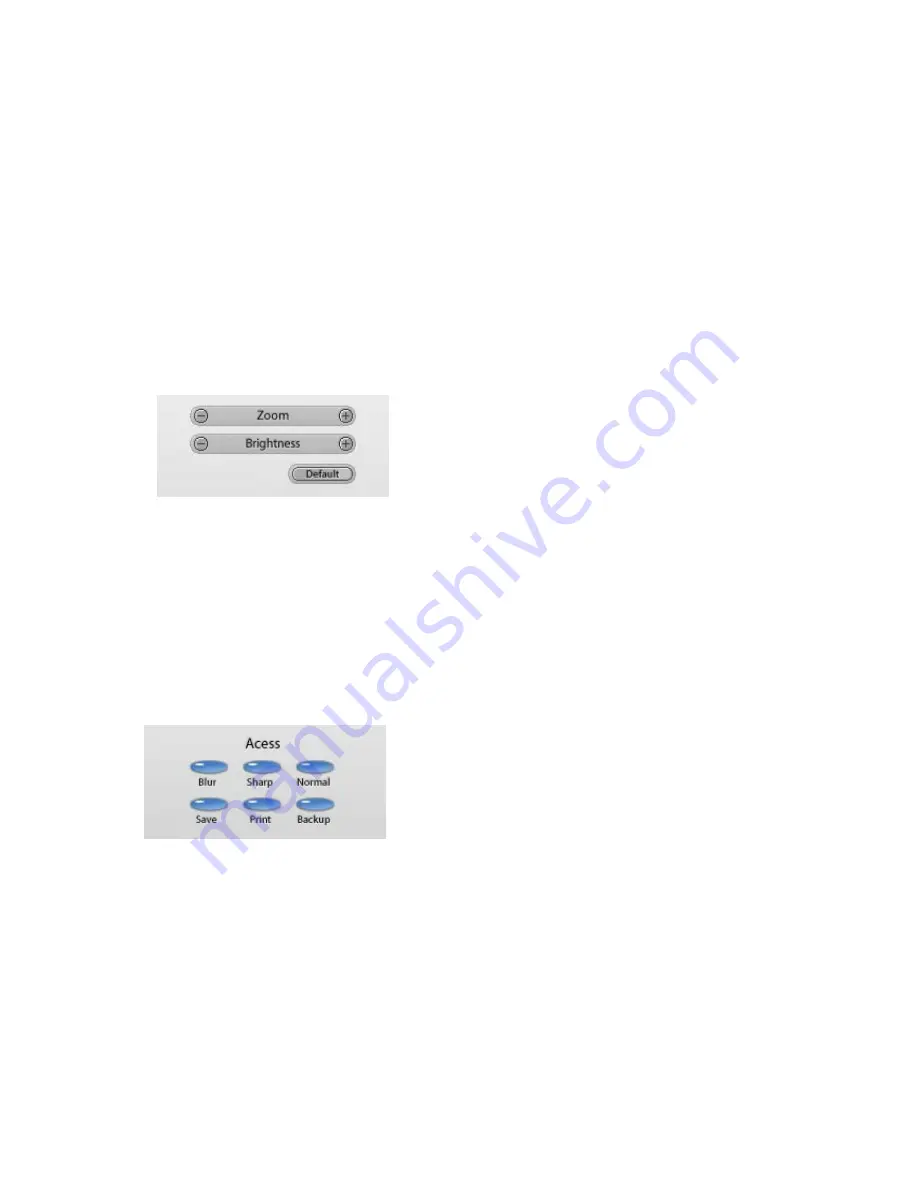
3. Zoom & Brightness

:

 control zoom in/out & brightness of recorded images


   3-1. Zoom: adjust zoom in/out      

   3-2. Brightness: adjust brightness      

   3-3. Default: reset to the default settings      


4. Zoom & Brightness

:

 edit, save, and print recorded images 


4-1. Blur: soften the selected image    

4-2. Sharp: sharpen the selected image      

4-3. Normal: reset to the default settings 

4-4. Save: save an image as a BMP file      


Summary of Contents for DVR40 series

Page 1: ...Digital Video Recording System 1 of 36 DVR SYSTEM DIGITAL VIDEO RECORDING SYSTEM DVR Model DVR40xx USER MANUAL Ver 2 0 Austar Security 2006 ...

Page 2: ...lication S W Installation 5 DVR Application S W Control Part 9 DVR Application S W Status Part 13 DVR Application S W Search Part 18 DVR Application S W Capture Full Screen Part 25 DVR Application S W Replay Full Screen Part 28 DVR Application S W System Setup Part 29 DVR Trouble Shooting 36 ...

Page 3: ...B or higher VGA ATI Compatible AGP Graphic Card VIP Video Input Port Existence Resolution 1024 768 32bit Color HDD 30GB or more Backup Storage CD R W Tape Backup System DVD RAM etc S W Direct X 7 0 or later Driver DVR Driver 3 DVR System Structure DVR System User Manual DVR System Capture Board DVR System Live Board DVR Application Software Diskette ...

Page 4: ...stem logo file DVRinstall DVR System Application install file 6 Attention Before setup check system for DVR driver check if Direct X 7 0 or higher is installed remove HDD Automatic Disk clean options Select Drive Property Disk Clean Setup When a shortage of HDD Drive space do automatically disk clean remove a checked option set image resolution to 1024 768 mode 32bit color ...

Page 5: ...ing System 5 of 36 DVR SYSTEM DVR Software Installation 1 Setup 1 1 Insert DVR Application Disk in Floppy Drive 1 2 Double Click on Install file 1 3 Choose the folder you wish to install this software to and click Install ...

Page 6: ...Digital Video Recording System 6 of 36 DVR SYSTEM 1 4 Complete setup and system reboot ...

Page 7: ...stem icon appears on the Start Program 1 10 Software installation has been completed successfully 1 11 Remove Install disk 2 DVR software Reinstall 2 1 Pay attention when deleting data files during program reinstallation 2 2 Previous data files will be removed automatically if No more Query is selected 2 3 Follow the steps for initial installation to complete the process ...

Page 8: ...ital Video Recording System 8 of 36 DVR SYSTEM 3 DVR Software Uninstall 3 1 run Uninstall in the DVR system Folder 3 1 Click Yes to uninstall 3 2 Click Ok 3 3 The software has been successfully uninstalled ...

Page 9: ...Digital Video Recording System 9 of 36 DVR SYSTEM DVR Control Panel ...

Page 10: ...urn alarms on off 2 4 Setup configure system settings 2 5 Network configure network settings 2 6 WebCam Configure Web Cam settings 3 Adjust adjust the color and brightness settings 3 1 Brightness adjust Brightness 3 2 Contrast adjust Contrast 3 3 Saturation adjust Saturation 3 4 Hue adjust Hue 3 5 Default restores settings to default setup mode only applies to the selected camera 4 PTZ adjust Pan ...

Page 11: ...ion only applies t o the selected camera 5 Tabmode change between system panels 6 Camera Select select the camera you wish to view or adjust only applies to the camera selected 7 Mode Select control the split screen mode 7 1 Fullscreen mode displays full screen 7 2 1 split mode display one screen 7 3 4 splits mode displays 4 screens ...

Page 12: ...its mode displays 9 screens 7 6 13 splits mode displays 13 screens 7 7 16 splits mode displays 16 screens 7 8 Auto Switching rotates between split screen modes at a regular interval 8 Power Close Application To close the application either use the power button or System Shut Down in the Setup mode ...

Page 13: ... displays date other system information 2 Recording Camera display the status of each camera 2 1 Gray indicates an inert camera 2 2 Green indicates an active camera 2 3 Red indicates a camera is recording Indicator lights start at camera 1and move to the right then down to camera 16 ...

Page 14: ... camera 16 4 Motion Detect displays the status of motion sensors 4 1 Gray indicates an inert motion sensor 4 2 Green indicates an active motion sensor 4 3 Red indicates a sensor has been activated Indicator lights start at camera 1and move to the right then down to camera 16 5 Alarm displays the status of Alarms 5 1 Gray indicates an inert alarm 5 2 Green indicates an active alarm 5 3 Red indicate...

Page 15: ...em 15 of 36 DVR SYSTEM 6 HDD Capacity displays current HDD capacity 8 Event displays information for each event in the system as hey occur displays all system activities example system start shutdown recording alarm activation etc ...

Page 16: ...t log 9 2 Date select the date you wish to view 9 3 Event List displays all event information for the selected date 9 4 Refresh refreshes the screen 9 5 Exit closes EventLog Dialogue Box 9 6 Delete delete selected event 9 7 DeleteAll delete all events for the selected date 10 Tabmode change between system panels ...

Page 17: ...display 12 1 Fullscreen mode displays full screen mode 12 2 1 split mode displays one screen 12 3 4 splits mode displays 4 screens 12 4 7 splits mode displays 7 screens 12 5 9 splits mode displays 9 screens 12 6 13 splits mode displays 13 screens 12 7 16 splits mode displays 16 screens 12 8 Auto Switching rotates between split screen modes at a regular interval 13 Power Close application ...

Page 18: ...Digital Video Recording System 18 of 36 DVR SYSTEM DVR Search Panel 1 Information displays date other system information 2 Play Control 2 1 Fast backward 2 2 Backward 2 3 Stop 2 4 Play 2 5 Fast forward ...

Page 19: ...nd point of the recording forward 3 Zoom Brightness control zoom in out brightness of recorded images 3 1 Zoom adjust zoom in out 3 2 Brightness adjust brightness 3 3 Default reset to the default settings 4 Zoom Brightness edit save and print recorded images 4 1 Blur soften the selected image 4 2 Sharp sharpen the selected image 4 3 Normal reset to the default settings 4 4 Save save an image as a ...

Page 20: ...Digital Video Recording System 20 of 36 DVR SYSTEM 4 5 Print print out selected image ...

Page 21: ...f 36 DVR SYSTEM 4 6 Backup backup recorded data to an alternate storage device 4 6 1 Date select the period for data to be backed up 4 6 2 Target Drive select backup drive location 4 6 3 StartBackup Start Backup 4 6 4 Close Close Backup ...

Page 22: ... BookMark of recorded image 5 1 To Open click BookMark 5 2 BookMark List displays the date and time of the BookMark 5 3 Add add selected Bookmark 5 4 Delete deleted selected Bookmark 5 5 Delete All delete all Bookmarks in the list 5 6 Ok close the BookMark dialogue box ...

Page 23: ...to view recorded images 7 Tabmode change between system panels 8 TimeBar display recorded videos for a selected date and time 8 1 change camera 8 2 move forward or backward on the calendar 8 3 Zoom adjust the time intervals for the selected date 8 4 Refresh refresh the Time Bar ...

Page 24: ...1 Full screen mode converts to full screen mode 9 2 1 split mode displays 1 screen 9 3 4 splits mode displays 4 screens 9 4 7 splits mode displays 7 screens 9 5 9 splits mode displays 9 screens 9 6 13 splits mode displays 13 screens 9 7 16 splits mode displays 16 screens 10 Power Close Application ...

Page 25: ...re mode converts to previous mode 1 2 1 splits mode displays 1 screen 1 3 4 splits mode displays 4 screens 1 4 7 splits mode displays 7 screens 1 5 9 splits mode displays 9 screens 1 6 13 splits mode displays 13 screens 1 7 16 splits mode displays 16 screens 1 8 Auto Switching rotates between split screen modes at a regular interval ...

Page 26: ...the camera you wish to view or adjust You can only select one camera for full screen mode DVR Replay Full Screen mode 1 Mode Select control split screen display 1 1 Restore mode converts to previous mode 1 2 1 split mode displays 1 screen 1 3 4 splits mode displays 4 screens ...

Page 27: ...plits mode displays 16 screens 2 Play Control 2 1 Fast backward 2 2 Backward 2 3 Stop 2 4 Play 2 5 Fast forward 2 6 move the start point of the recoding backward 2 7 move backs one frame 2 8 move to the time of the event occurrence 2 9 move forward one frame 2 10 move the end point of the recording forward 2 9 move forward to a frame 2 10 move the ending of recorded data ...

Page 28: ...Data Directory select the folder you wish to save data too 1 3 Auto Switching Interval select the time period for auto switching 1 4 Power On Off select this option to shut the computer down when closing this application 1 5 Display Channel Text turn channel information display on off 1 6 Video Signal Type select video input signal 1 7 Hard Disk Usage set HDD user mode ...

Page 29: ...Flow control 1 9 Set Password 1 9 1 On Setup confirm Password on setup 1 9 2 On Recoding Stop confirm Password on recording stop 1 9 3 On Shut Down confirm Password on system shut down 1 9 4 Change Passwords 1 9 5 User Level select user level 1 9 6 Current Password input current password 1 9 7 New Password input new password 1 9 8 Confirmation input new password again 1 9 9 Ok 1 9 10 Cancel 1 10 A...

Page 30: ...ecording Setup 2 1 Channel change the name of a camera 2 2 On Off set recording to on off 2 3 Resolution select the desired resolution for each camera 2 4 Quality select the quality require for compressed images 2 5 Speed select the desired recording speed ...

Page 31: ...m 31 of 36 DVR SYSTEM Motion Detection Setup 3 1 Channel select the desired camera 2 2 On Off enable disable motion detection 2 3 Sensitive select the desired sensitivity for motion sensors 2 4 Zone select the active detection zone ...

Page 32: ...on detection zone 2 4 2 Clear Zone clear motion detection zone 2 4 3 Ok 2 4 4 Cancel 2 5 Link select which cameras will begin recording upon activation of the motion sensors 2 5 1 Select which cameras will record 2 6 Recording Linkage Status display a number of connected cameras ...

Page 33: ...up 4 1 Channel recording target camera 4 2 Link Sensor link between recording target camera and sensor 4 3 Sensor Linkage Status display sensor linkage status 4 4 Link Alarm link between recording target camera and Alarm 4 5 Motion Latency Time set motion detection time ...

Page 34: ...l Select which cameras will respond to an event 5 2 Record set to record when an event occurs 5 3 Record Latency Time select how long to record for following an event 5 4 Motion select which sensors will respond to an event 5 5 Motion Latency Time set motion latency time ...

Page 35: ...t cameras you wish to program 5 2 On Off enable disable camera scheduling 5 3 Event select which events the cameras will respond to 5 4 Day select which dates the camera will be active 5 5 Time select which times the camera will be active 5 6 Clear All clear the scheduled settings ...

Page 36: ...lor in the recording panel 2 3 Check HDD capacity 3 Errors during Replay mode 3 1 Check the date and time of the recording 3 2 Check recording timetable 4 No response to PTZ controls 4 1 Check the PTZ connections 4 2 Check PTZ support is selected in the setup menu 4 3 Check PTZ settings in the setup system 5 Errors with the HDD 5 1 Check the Disk Clean Option in the property menu 5 2 Check the HDD...

Reviews: