background image

244

266

Power 
cord

5

Summary of Contents for D-025

Page 1: ...Please read this manual carefully before using your dehumidifier If you have any question about using your dehumidifier please contact your distributor ...

Page 2: ...1 2 4 9 12 15 16 18 19 20 21 22 INSTALLATION CONTENTS ATTACHMENT LPHW ILLUSTRATION DISTRIBUTOR DETAILS TECHNICAL PARAMETERS 19 ...

Page 3: ...is manual are designed to adjust the indoor dehumidification from 10 RH to 90 RH indoor They are designed to optimize indoor air humidity within the ambient temperature range from 20 to 35 Generally it would be comfortable when humidity is in the range of 40 60 RH ...

Page 4: ...ion it may cause a fire hazard etc In this case consult your distributor If this is done incorrectly it may cause a fire electric shock water leakage or other hazard Consult your distirbutor Never put anything on top of the unit Do not connect a grounding wire to a gas pipe water pipe lightning rod or ground wire of a telephone If a grounding is incorrect it may cause an electric shock If dirt adh...

Page 5: ... the power or turn off the circuit breaker When the unit is not going to be used for a long time disconnect the power or turn off the circuit breaker there are flammable gases This may cause fire hazard It may cause an injury or damage to unit It may cause an injury etc by falling down Consult your distributor Since the fan rotates at high speed during operation it may cause an injury ...

Page 6: ...pliance by a person responsible for their safety Children should be supervised to ensure that they do not play with the appliance If the power supply cord is damaged it must be replaced by the manufacturer its service agent or similarly qualified persons in order to avoid a hazard For units with fixed wiring with permanent connection to the supply mains a means for disconnection must be incorporat...

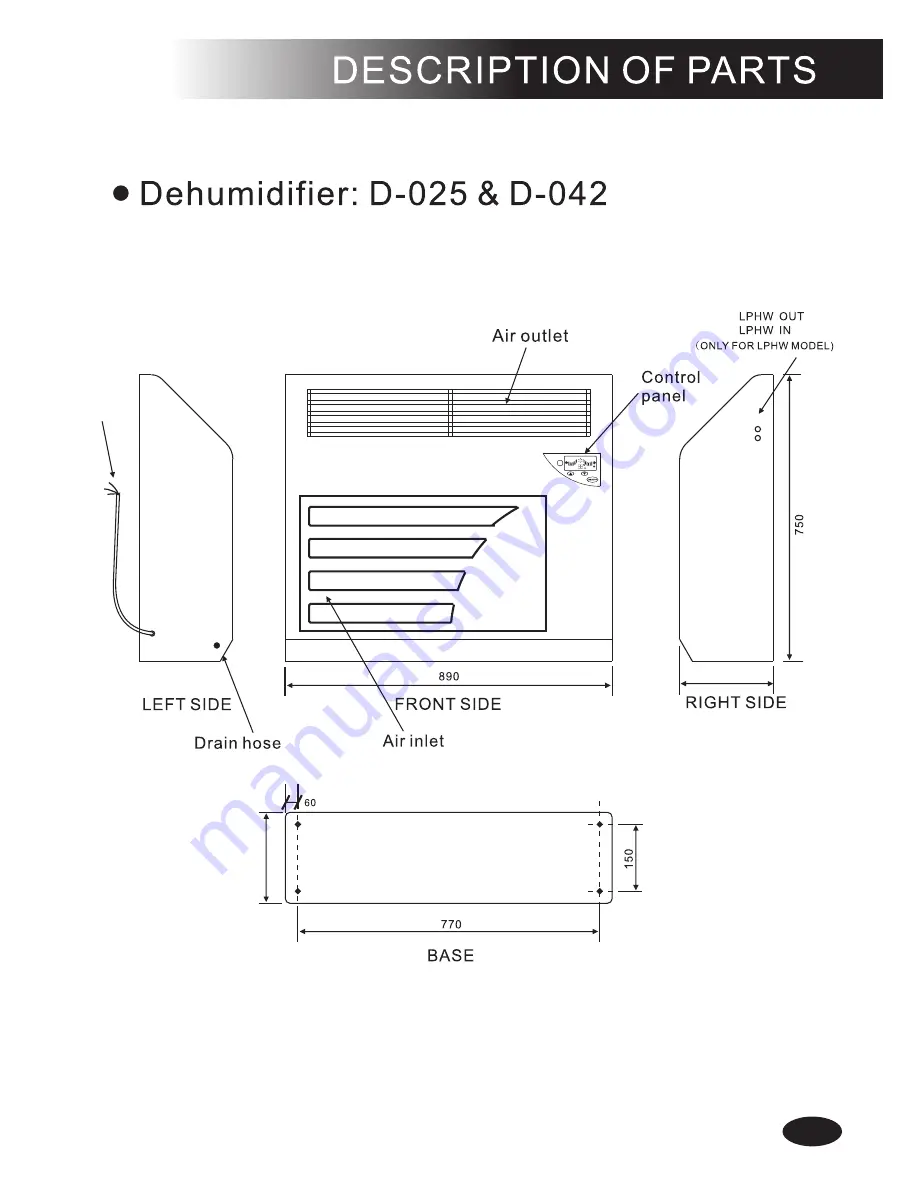
Page 7: ...244 266 Power cord 5 ...

Page 8: ...336 308 905 Power cord 6 ...

Page 9: ...Power cord 7 ...

Page 10: ...s 4 units per dehumidifier used for wall mounted installation Floor mounted stands 4 units per dehumidifier used for floor mounted installation Universal wheels 4 units per dehumidifier used for mobile installation Water drain hose 1 unit per dehumidifier Wall mounted bracket 2 units per dehumidifier ...

Page 11: ...g sensor ON COM TRAN IN AC N ON COM LP HP CN6 DISPLAY Transformer Power supply 230V 50Hz Low pressure protect High pressure protect Main controller PCB RLY2 RLY1 To display PCB CN7 Dehumidifying sensor TRAN OUT Ambient temperature sensor Tube temperature sensor Ambient temperature sensor Tube temperature sensor PIPE ROOM CN8 CN9 CN2 FAN MOTOR COMP C R S CN1 LOWMID HI N D 025 9 ...

Page 12: ...Dehumidifying sensor ON COM TRAN IN AC N ON COM LP HP CN6 DISPLAY Transformer Power supply 230V 50Hz Low pressure protect High pressure protect Main controller PCB RLY2 RLY1 To display PCB CN7 Dehumidifying sensor TRAN OUT Ambient temperature sensor Tube temperature sensor Ambient temperature sensor Tube temperature sensor PIPE ROOM CN8 CN9 CN2 FAN MOTOR COMP C R S CN1 LOWMID HI N ...

Page 13: ...ng sensor COM TRAN IN AC N LP HP CN6 DISPLAY Transformer Power supply 230V 50Hz Low pressure protect High pressure protect Main controller PCB RLY2 RLY1 To display PCB CN7 Dehumidifying sensor TRAN OUT Ambient temperature sensor Tube temperature sensor Ambient temperature sensor Tube temperature sensor PIPE ROOM CN8 CN9 CN2 FAN MOTOR COM ON CN1 S C R COMP Y Gn Wh Bk Re Relay LOW MID HI N CN5 ...

Page 14: ...a 1 How to install the dehumidifier wheels Step 1 Place dehumidifier on chocks or plinth as per diagram Step 2 Secure supplied wheels to dehumidifier base Step 3 Place dehumidifier on level surface Step 4 Adjust wheel height to ensure dehumidifier is level Step 5 Install drain hose to drainage point Hose must be lower than the dehumidifier outlet to drain water away Ensure hose has no kinks Step 6...

Page 15: ...ep 3 Place dehumidifier on level surface Step 4 Adjust stand height to ensure dehumidifier is level Step 5 Install drain hose to drainage point Hose must be lower than the dehumidifier outlet to drain water away Ensure hose has no kinks Step 6 Turn on dehumidifier to check for vibrations If vibrating re adjust levels Step 7 Installation is complete and dehumidifier is ready for use ...

Page 16: ...Check for level Step 3 Drill 10mm holes min 65mm deep and insert supplied anchor bolt with hammer Step 4 Secure brackets to wall Check they are level and aligned with dehumidifier base bolt holes Step 5 Position dehumidifier on brackets and secure with supplied bolts Step 6 Install drain hose to drainage point Hose must be lower than the dehumidifier outlet to drain water away Ensure hose has no k...

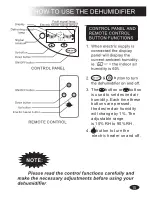
Page 17: ...on is used to set desired air humidity Each time these buttons are pressed the desired air humidity will change by 1 The adjustable range is 10 RH to 90 RH 4 button to turn the electric heater on and off Electric heater button ...

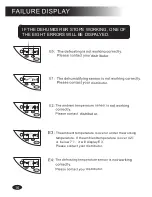
Page 18: ...E EIGHT ERRORS WILL BE DISPALYED distributor distributor distributor distributor The ambient temperature is over or under the working temperature If the ambient temperature is over 42 or below 7 it will display E3 Please contact your distributor E3 ...

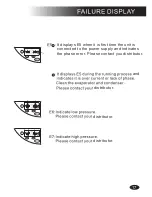
Page 19: ...17 and distributor distributor distributor It displays E5 when it is first time the unit is connected to the power supply and indicates the phase error Please contact you distributor ...

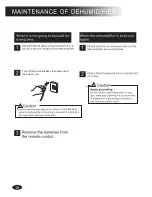
Page 20: ...18 Turn off the circuit breaker then disconnect the power cord circuit breaker ...

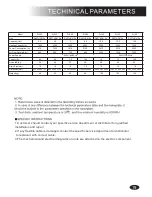
Page 21: ...rrent A 4 3 6 0 7 8 10 2 18 13 15 5 Noise dB A 46 48 52 56 60 60 62 Drain Pipe mm 16 16 16 16 16 16 16 Dimension mm 890 x 266x 750 890 x 266x 750 1120x336x905 1120x336x905 1360 x 385 x 900 1360 x 385 x 900 1360 x 385 x 900 Weight kg 48 52 82 86 120 120 128 19 1 Customer should contact your specific service department or distributor for qualified installation and repair 2 If any flexible cable is d...

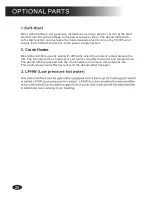
Page 22: ...instantaneous electric current by 30 50 and supply the maximum protection to the power supply system Most dehumidifiers usually start with difficultly when the ambient temperature is too low The lubricant of the compressor can t work smoothly due to the low temperature The dehumidifier equipped with the crank heater can remove this potential risk This useful design will effectively extend the dehu...

Page 23: ...21 ATTACHMENT ...

Page 24: ...22 Proudly distributed by Ausclimate Pty Ltd For all enquiries and contact details please visit our website ...

Reviews: