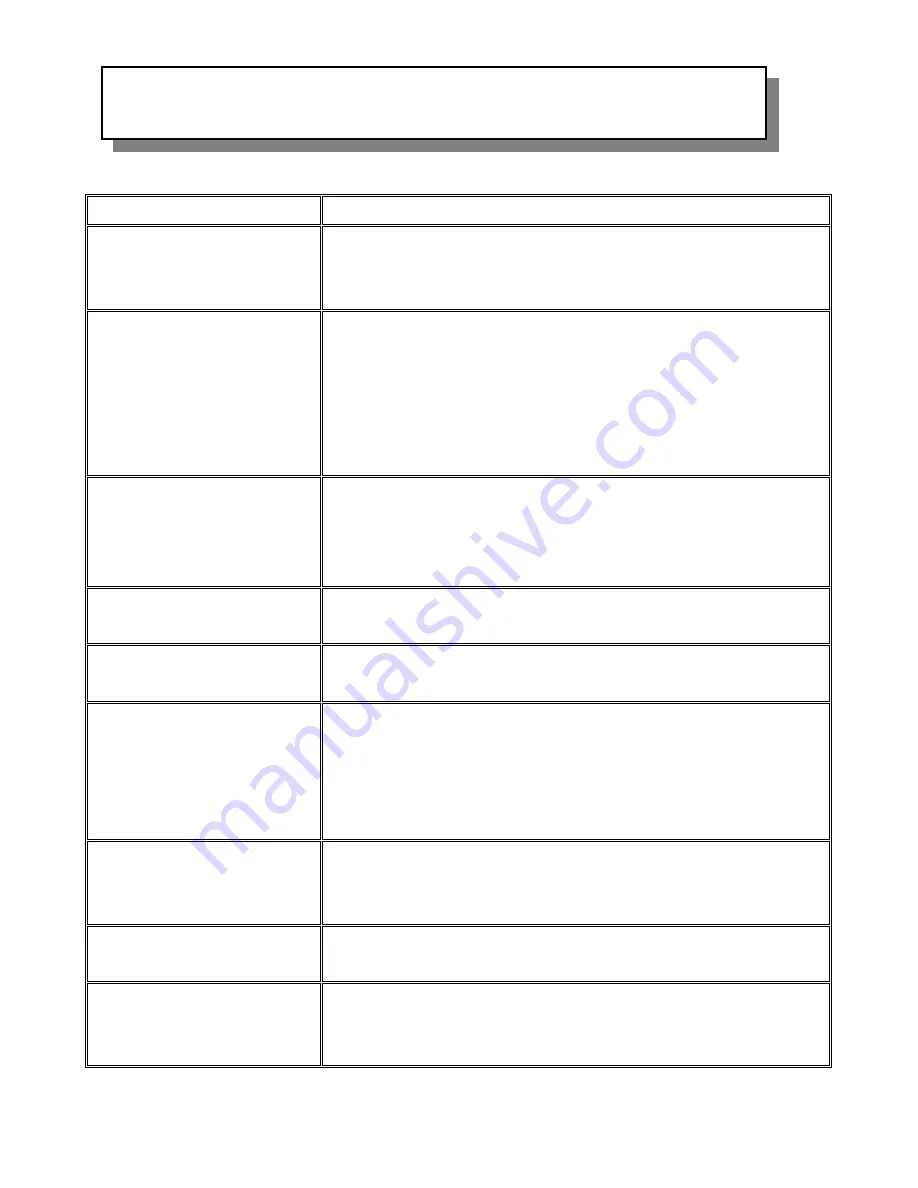
Audiovox VE920 Owners And Installation Manual Download Page 32


31


 Solution 


Problem

Powe

• 

Check 

d into the wall 

• 

Check if the batteries of the remote control unit are not 
deplete

r does not turn on 

if the power cord is securely plugge

d. 

Disc f

• 

Check i

p). 

• 

Check i

estriction selected. 

• 

Check if the disc is the proper region code. 

• 

Not all discs are playable in the DVD. 

• 

Check with the beginning part of the manual on whether the 
disc is 

ails to play 

f the disc is inserted properly into tray (Label Side U

f the disc has viewing r

playable. 

Came

changed 

The disc being play

 support ANGLE functions. 

• 

In order to ch

e disc supports the ANGLE 

functions, see if the ANGLE indicator on the upper part of the 

main display is illuminated. 

ra angles cannot be 

• 

ed does not

eck whether th

Subtitles cannot be changed 

• 

The disc being played does not support subtitle functions. 

• 

The disc is prohibited from changing subtitle languages. 

Vocal languages (AUDIO) 

canno

• 

The di

DIO functions. 

). 

sc being played does not support AU

t be changed 

• 

The disc is prohibited from changing vocal languages (AUDIO

No sound output 

• 

Check 

playback mode   (if 

it is case, then just press PLAY button for normal playback) 

• 

Check whether the MUTE function is on. 

• 

If the internal speakers are being used, make sure they are 
turned o

whether the player is in slow or fast 

n and volume is turned up. 

Remote control doesn’t work 

• 

Remote too far from the unit. 

• 

Batterie

• 

Angle o

s in the remote control are dead. 

f remote to unit too extreme. 

Setup menu does not operate 

• 

DVD must have a setup menu; if the disc does not have a setup 
you will not be able to display a menu. 

TV MODE functions don’t 

work 

• 

Confirm Antenna is connected. 

• 

Confirm Air/Cable connection. 

• 

Confirm that unit is in TV mode. 


TROUBLESHOOTING CHECK LIST 

Summary of Contents for VE920

Page 1: ...YER OWNER S and INSTALL 0 Slot in DVD Player 9 TFT LCD Monitor Multi function Remote Control Built in Hands Free Speaker Phone Cable Ready 125 Channel TV Tuner AM FM Radio 2 A V Inputs Intercom Ready...

Page 2: ...FER SERVICING TO QUALIFIED SERVICE PERSONNEL 1 This symbol alerts the user to the fact that exposed dangerous voltages reside within this product s enclosure and contact with any of these voltages wil...

Page 3: ...radio or television reception which can be determined by turning the equipment off and on the user is encouraged to try to correct the interference by one or more of the following means Reorient or r...

Page 4: ...y the manufactures or sold with the product Mounting of this product should be in accordance the manufacture s instructions and should use the mounting hardware provided with the unit by the manufactu...

Page 5: ...stalling an outside antenna system extreme care should be taken to keep from touching such power lines or circuits as contact with them might be fatal 17 Overloading Do not overload wall outlets exten...

Page 6: ...should be situated away from heat sources such as radiators heating vents stoves or other products including amplifiers that produce heat Cable System Installation Note to CATV system installer This...

Page 7: ...17 Setting the Alarm Tones 17 Setting the Cable TV Mode 17 Setting the Air TV Mode 18 Setting the Speaker Mode 18 Setting the Intercom Mode 18 Setting the Presets FM and AM or TV Modes 18 Using the D...

Page 8: ...untin B 2 1 2 Mounting screws C 3 Mounting screws 4 D Foot 4 E Hole cap mote Control 4 Multi Height Spac 5 Battery AAA nna Adaptor le Template al 6 FM Dipole Ante 7 Right Angle Coaxial 8 FM Antenna Ba...

Page 9: ...lifting and rotating the spacer in the mounting hole Choose a spacer height which will allow the VE920 to clear the edge molding 3 Measure the thickness of the bottom of the cabinet or shelf and the s...

Page 10: ...at blade screwdriver inserted into the removal slots Unscrew the mounting screws 2 Remove the connector from the unit 3 be careful not to damage the screen 5 or wires 4 Turn the unit over and remove t...

Page 11: ...ALK button and keep it pressed while talking CALL and TALK buttons are working while Intercom function is selected 8 INT BUTTON Selects the Intercom function 9 MUTE BUTTON Press this button to mute th...

Page 12: ...to adjust the contrast 24 Color Control Used this control to adjust the color 25 Brightness Control Used this control to adjust the brightness 1 AC LINE CORD Connects to AC outlet 2 AUDIO LINE OUT Co...

Page 13: ...BATTERY INSTALLATION 12 Rear View Battery Size AAA...

Page 14: ...8 STOP 9 PREV IWW 10 Digit 0 9 Select 11 TITLE 12 DISPLAY 13 SUB TITLE 14 AUDIO 15 SCREEN 16 ANGLE AP 17 ON OFF 18 A V 19 AM FM 20 TEL 21 CH CH 22 ENTER 23 MUTE 24 FF XX 25 SF IX 26 NEXT XXI 27 PLAY...

Page 15: ...tton to enlarge the screen The screen will be enlarged in the following order TV MODE Normal default Full AV DVD MODE Full default Normal CDDA MP3 Full default Normal LCD MONITOR OFF 16 ANGLE If a DVD...

Page 16: ...decrease the volume 33 Delete Use to remove selected channel from memory 34 Step Add Use to add a selected channel to memory RADIO REMOTE FUNCTION 5 SEEK DN UP Use these buttons to advance to the next...

Page 17: ...de search HRC IRC STD and channel search mode automatically During this time the unit will not respond to any commands The unit will respond normally once the cable mode and channel search mode is con...

Page 18: ...ess the P3 button once The set time will disappear from the Display Window and a series of dashes will appear Alarm DEACTIVATED mode 3 Press the ON OFF button The alarm is now deactivated NOTE The set...

Page 19: ...the SET button four times to enter the speaker configuration mode ISP or ESP appears on the VFD 2 Press the seek button to toggle between the I SP and E SP 3 When the desired mode is reached press th...

Page 20: ...g the Chapter Number 1 Pressing the SEARCH button once will display the Time Title Chapter input screen 2 Input the chapter number or time that is desired and press the ENTER button The player will co...

Page 21: ...ishing part of the section SET B 3 Press the button until OFF is displayed on the screen this will turn off the repetitive function A TO B OFF Changing the Subtitle Language 1 If the disc contains cap...

Page 22: ...t disc playback options using the DVD root menu 1 A menu installed in discs appears when pressing the MENU button The menu must be previously saved in the disc 2 Use the navigation buttons to select t...

Page 23: ...sc is being read 3 The number of total titles 14 The number of total subtitle languages 4 The number of current chapter 15 Current subtitle language 5 The elapsed time of title 16 Dolby audio mode 6 T...

Page 24: ...n loops LAYING MP3 DISCS dio format An audio CD quality song is compressed into the MP3 format with player will initialize the disc and the directory folder will be shown hen an MP3 disc is inserted i...

Page 25: ...ugh the options the repeat option changes Selected repeat option loops repeatedly until you turn it off OTICE will be listed Use o song To move back the screen make sure that the disc is paused and pr...

Page 26: ...into 3 You can preview 4 Pressing the left or right button 5 When browsing the photos you can reverse the ph button or you can reverse the photos vertically by pressing the 6 You can return the root...

Page 27: ...e sub menu 5 Each sub menu item provides a number of option items to its right Use the or buttons to highlight the desired option item for selection 6 Press the ENTER button to select the option item...

Page 28: ...player is connected to a normal TV and a wide picture is shown on the full screen 4 3 LB When the player is connected to a normal TV and a wide picture is shown on the screen with a black strip at bo...

Page 29: ...s using the default password to set the parental level and change the password you can record this default password in another area and delete it from this manual Some discs can be limited depending o...

Page 30: ...29 settings...

Page 31: ...be Backlighting Life Expectancy 30 000Hrs Resolution 1920 W X 220 H Screen 9 TFT LCD 16 9 DISC AVAILABLE DVD Linear Velocity 3 49m sec Maximum Playback Time 135minute CD Linear Velocity 1 2 1 4m sec M...

Page 32: ...being played does not support subtitle functions The disc is prohibited from changing subtitle languages Vocal languages AUDIO canno The di DIO functions sc being played does not support AU t be chang...

Page 33: ...32 2003 Audiovox Electronics Corp Hauppauge NY 11788 128 7342...

Reviews: