


E - 28
USING TO YOUR iPod
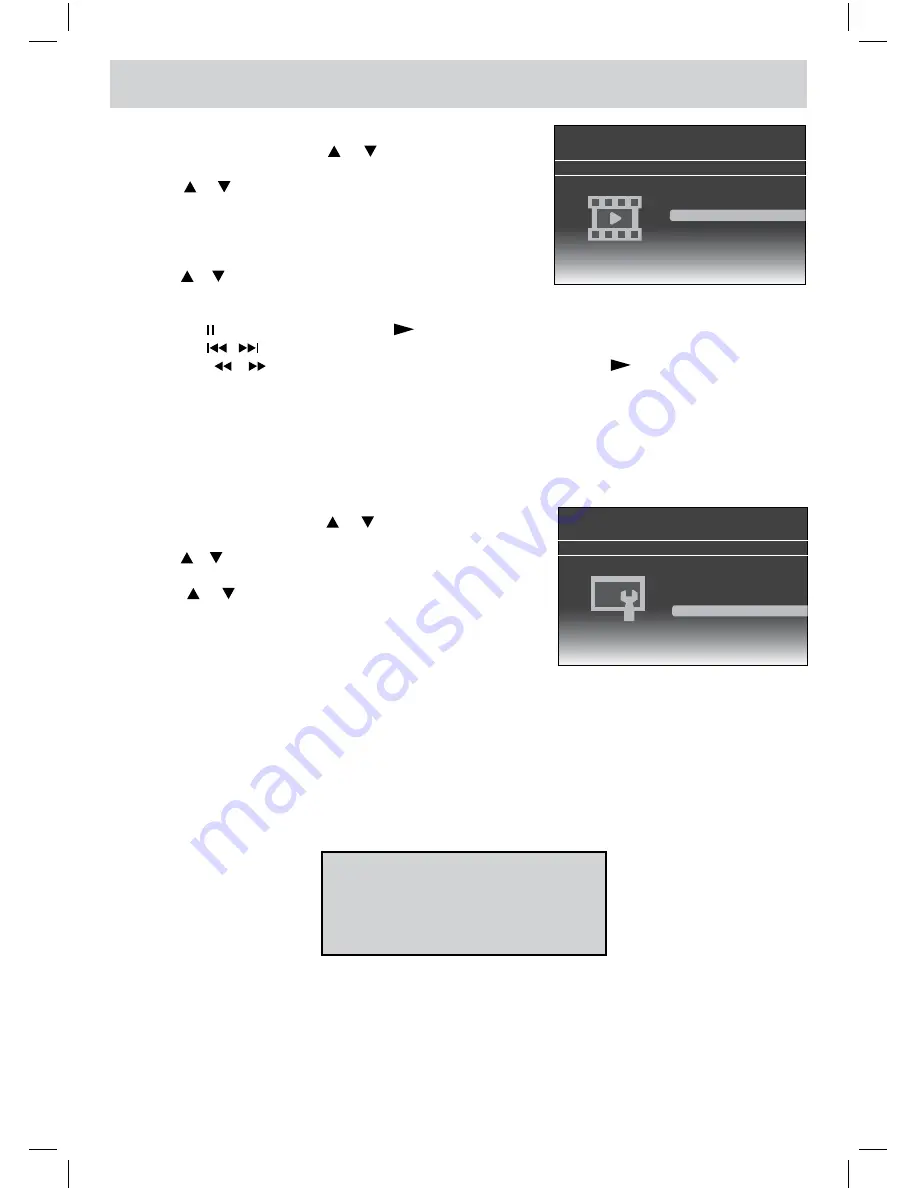
Playing Videos
1. In iPod Home menu, use the or button to select Videos
and press the
ENTER•OK
button.
2. Use the or button to select from
Movies, Music Videos,
TV Shows or Video Podcasts
. Press the
ENTER • OK
button
to enter.
(“Navigate your iPod Video Library directly from your iPod”
appears on the screen if your are using an iPod touch.)
3. Use the or button to navigate the iPod menu lists and select
a video, press the
ENTER • OK
button to begin playback. (You
may also use the control wheel and key on your iPod to operate it.)
Settings
1. In iPod Home menu, use the or button to select Settings
and press the
ENTER • OK
button.
2. Use the or button to select from
Shuffle, Repeat or Lanuage
.
Press the
ENTER • OK
button to enter the settings.
3. Use the or button to select a setting, press the
ENTER •
OK
button to confirm.
4. Press the
iPod RETURN
button to go back to the previous
menu.
WARNING
Due to the i-Pod limitation, not all functions of some i-Pod models can be controlled via the remote
control.
Please Navigate directly on your iPod
OR
Press The
[iPod Switch]
key
to go back to main menu
If the above screen appears, you may need to control the iPod Library directly from your iPod.
iPod is a trademark of Apple Computer, Inc., registered in the U.S. and other countries.
• Press the
button to pause, press the
button to resume.
• Press the / button to skip to the previous / next song.
• Press the / button to begin fast reverse / forward, press the
button to resume normal
playback.
4. Press the
iPod RETURN
button to go back to the previous menu.
NOTE
Make sure TV Out in iPod is set to ON when you are playing the video.
• Shuffle : Select from Shuffle Off, Shuffle Songs and Shuffle
Albums.
• Repeat : Select from Repeat Off, Repeat One and Repeat
All.
• Language : Select OSD language.
Docking System for iPod
Please Insert iPod
Music
Photos
Videos
Settings
Docking System for iPod
Please Insert iPod
Music
Photos
Videos
Settings


