background image

12

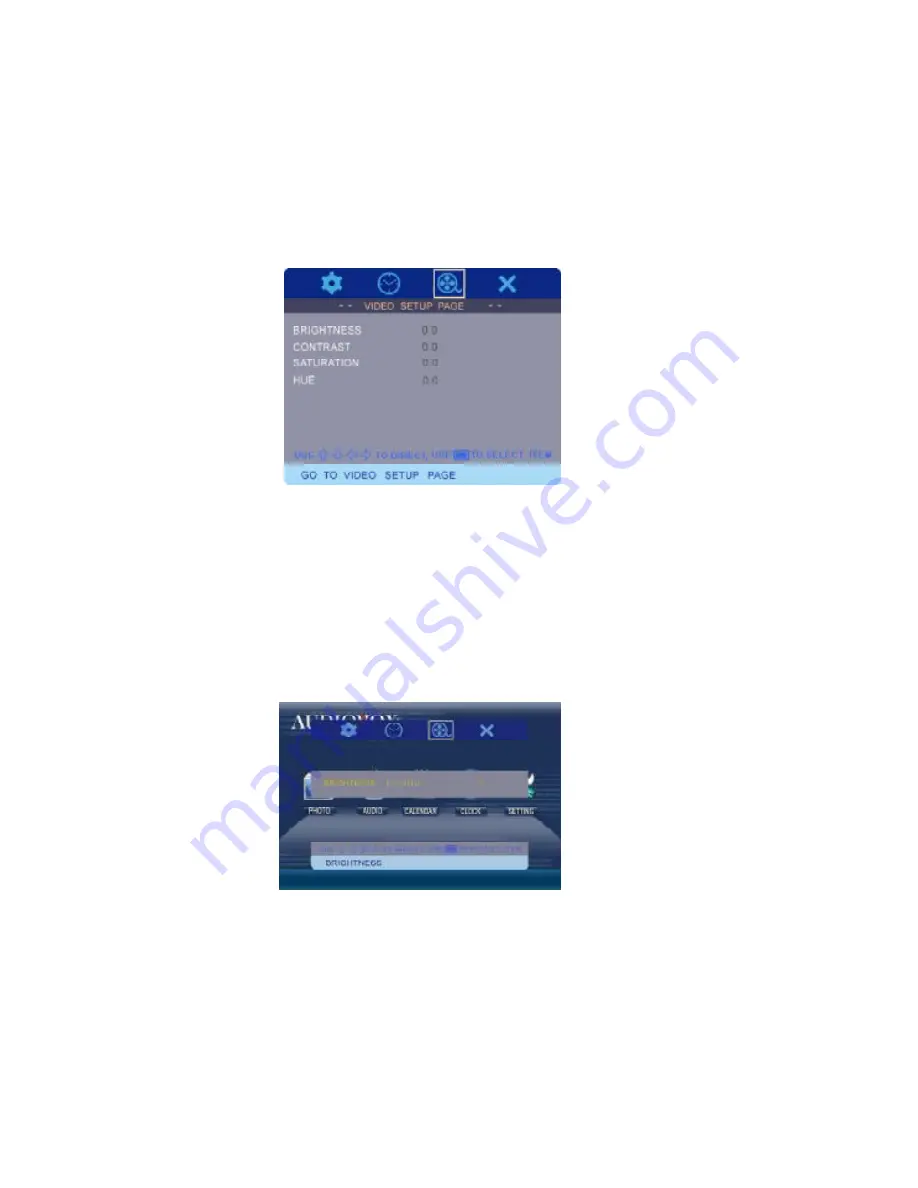
BRIGHTNESS SETTING

m).Select  BRIGHTNESS using the DOWN button and then press

the RIGHT button to enter  the submenu. The BRIGHTNESS can
be changed using the LEFT  or RIGHT buttons. The range is
adjustable from -20 to a +20. Press MODE to confirm the setting.
Press the LEFT button to return to the main menu.

l).Select the VIDEO SETUP PAGE using the RIGHT button. Press

MODE to access the submenu.

VIDEO SETUP PAGE

PDF created with FinePrint pdfFactory Pro trial version 

http://www.fineprint.com

Summary of Contents for DPF700 - Digital Photo Frame

Page 1: ...DPF700 7 DIGITAL PICTURE FRAME ...

Page 2: ... bracket or table to prevent it from falling Keep the unit away from strong magnets heat sources direct sunlight and exces sive dust 2 Installation Ensure that the DPF700 is used in accordance with the instructions and illustrations provided in this manual 3 Object and Liquid Do not push objects of any kind into the unit through openings do not spill or spray liquid of any kind on or in the system...

Page 3: ...E scroll up or copy delete a photo Press to DOWN ROTATE Press to scroll down or rotate a photo NEXT Press to scroll right or view the next photo PREV RETURN scroll left Press to or view the previous photo POWER Power ON OFF Indicator LED Right and Left Side Top Side BRIGHTNESS Adjust the brightness DC 9V Plug the AC adapter Snap On Frame Covers White Black and Wood Grain The snap on frame covers a...

Page 4: ...EXT RIGHT PLAY PAUSE MODE DOWN ROTATE REPEAT UP COPY DEL CAL TIME Remote Control E Remote Control Controls and Indicators Positioning Your Frame Keep the frame away from strong magnets heat sources direct sunlight or excessive dust Adjustable Stand Rotate the stand to position the frame vertically or horizontally ...

Page 5: ...F SETUP Press MENU to display the Main Menu on the screen Main SETUP Menu Screen 1 Using the cursor buttons move the selection box to SETTING and press the PLAY button The general setup page will be displayed on the screen ...

Page 6: ...e show is displayed The factory setting is OFF Press MODE to confirm the setting Press the LEFT button to return to the main menu a Select SLIDE SHOW TIME using the DOWN button and then press the RIGHT button to enter the submenu Select the slide show display time for each photo 3 5 or 8 seconds The fac tory setting is five seconds Press MODE to confirm the setting Press the LEFT button to return ...

Page 7: ...ck bands will appear on the screen This is normal Press the ZOOM button Remote Control to enlarge the photo and use the LEFT and RIGHT button to view the photo d Select MATTING using the DOWN button and then press RIGHT button to enter the submenu The matting feature displays a frame around the displayed picture Mode 1 Christmas Mode 2 Photo Album One Page Mode 3 Flower Print Mode 4 Photo Album Tw...

Page 8: ...n controls the transition from one photo to another WT Wipe from top WLT Wipe left top diagonal TCH Top Bottom Horizontal Center TCV Left Right Vertical Center WH Horizontal bars WV Vertical bars DTC Fade box FIFO Morph to another picture Press MODE to confirm the setting Press the LEFT button to return to the main menu MATTING ...

Page 9: ...submenu Select RESET RESET will return all of the features to the factory default settings Press MODE to confirm the setting Press the LEFT button to return to the main menu DEFAULT g Select the CLOCK SETUP PAGE using the RIGHT button Press MODE to access the submenu CLOCK SETUP PAGE ...

Page 10: ...g Press the LEFT button to return to the main menu Note If the frame is unplugged for more than 10 minutes the clock and the calendar will have to be reset i Select ALARM SETTING using the DOWN button and then press the RIGHT button to enter the submenu Select the hours min utes on the display Using the UP or DOWN buttons set the hour to the correct time Repeat for the minutes and AM PM Press MODE...

Page 11: ... using the UP and DOWN buttons Press MODE to confirm the setting Press the LEFT button to return to the main menu k Select ALARM MODE using the DOWN button and then press the RIGHT button to enter the submenu The alarm can be set to ON or OFF Press MODE to confirm the setting Press the LEFT button to return to the main menu ALARM MODE ...

Page 12: ...ter the submenu The BRIGHTNESS can be changed using the LEFT or RIGHT buttons The range is adjustable from 20 to a 20 Press MODE to confirm the setting Press the LEFT button to return to the main menu l Select the VIDEO SETUP PAGE using the RIGHT button Press MODE to access the submenu VIDEO SETUP PAGE ...

Page 13: ...e from 16 to a 16 Press MODE to confirm the setting Press the LEFT button to return to the main menu o Select SATURATION using the DOWN button and then press the RIGHT button to enter the submenu The SATURATION can be changed using the LEFT or RIGHT buttons The range is adjustable from 9 to a 9 Press MODE to confirm the setting Press the LEFT button to return to the main menu SATURATION SETTING ...

Page 14: ...he setting and return to the main menu HUE SETTING p Select HUE using the DOWN button and then press the RIGHT button to enter the submenu The HUE can be changed using the LEFT or RIGHT buttons The range is adjustable from 9 to a 9 Press MODE to confirm the setting Press the LEFT but ton to return to the main menu ...

Page 15: ...the PREV and NEXT button to select a photo 5 Press PLAY PAUSE MODE two times to view photos as thumbnails The thumbnail images appear in a table Use the PREV NEXT UP and DOWN button to navigate through the thumbnails Copying Photos to Your Frame To copy photos from a SD MMC MS Card or a USB memory device set the frame to slide show mode Select the photo and press UP COPY DELETE button The frame wi...

Page 16: ...t from a card or a USB memory device H Selecting Audio Files Using the SD MMC MS Card or the USB Memory Device 1 Insert the SD MMC MS Card into the SD MMC MS slot or connect the USB adapter cable to the USB memory device 2 Press the MENU button to display the main menu page Using the LEFT button highlight the AUDIO icon 3 Press PLAY PAUSE MODE once to enter audio mode The audio tracks are displaye...

Page 17: ... Using the UP or DOWN buttons select the month and the year Using the PREV or NEXT button select the day J SPECIFICATIONS Audio format MP3 Photo format JPEG Panel size 7 inch Power source DC 9V Power consumption 5 W Operating temperature 41 95 F 5 35 C Weight 1 03lb 0 47Kg Dimensions W x H x D 9 5 X 6 7 X 1 3 inches 240 X 170 X 33 mm Note The date is set in F Setup Step J The above procedure is fo...

Page 18: ...the opinion of the Company has suffered or been damaged through alteration improper installation mishan dling misuse neglect accident or by removal or defacement of the factory serial number barcodelabel s THE EXTENT OFTHE COMPANY S LIABILITY UNDERTHIS WARRANTY IS LIMITEDTOTHEREPAIRORREPLACEMENTPROVIDEDABOVEAND INNOEVENT SHALL THECOMPANY SLIABILITYEXCEEDTHEPURCHASEPRICEPAIDBYPURCHASERFORTHE PRODUC...

Page 19: ...128 7958 2007 Audiovox Electronics Corporation ...

Reviews: