C
H
4
85
CAMERA
C
H
4
84
CAMERA
5
Under Message, press . The picture will
come up with the flashing cursor underneath.
Enter the message and press [OK].
HELP
1
Press [MENU] and scroll down to option 11.
Camera, then press .
The following will be displayed:
You can take a picture using the digital camera. When you
are taking a picture, control resolution using up/down key
and the brightness using the left/right key. You can check
your photo in the photo gallery.
1. Sub LCD : On taking a picture with sub LCD mode.
2. Flash : On/Off setting.
3. Contrast : Control of Photo’s Contrast.
4. Quality : Control of Photo’s Quality.
5. Shutter Sound : Select a shutter sound.
6. LED : Controls LED indicator.
7
If you want to send the picture to any additional
recipients, enter their information under CC: or
BCC:.
6
Under Subject, enter a subject line for the
message. Press [OK].
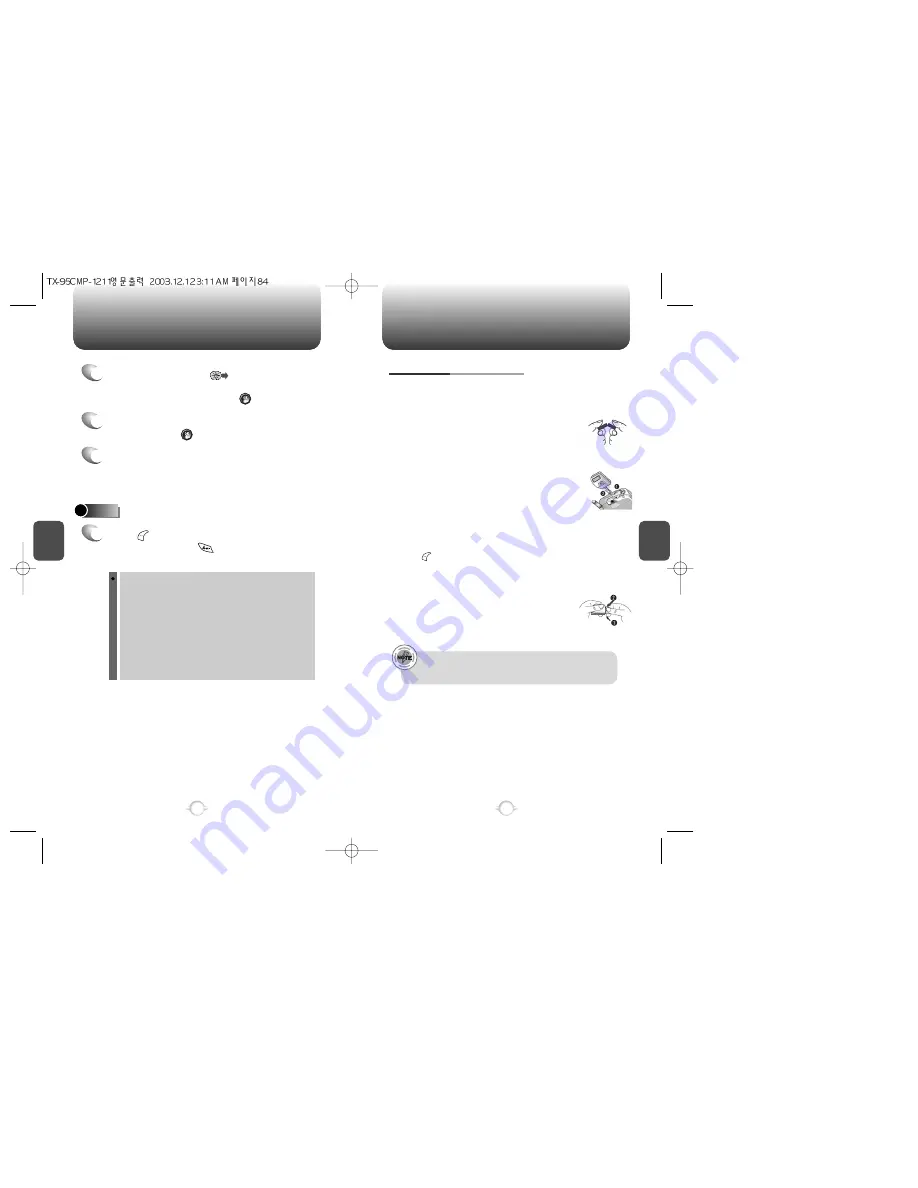
FLASH (SOLD SEPARATELY)
1. Remove the protective cap.
- Hold the flash unit securely between thumb and
pointer finger. With other hand, place thumb over
plastic protective cap and press downward.
(similar to if you were breaking in half,
see figure 1).
2. Open the earphone microphone terminal cap
to expose the port.
3. Insert the flash into the earphone microphone port.
The front of the flash should be facing the object
of photography.
4. Set up the flash on the camera menu.
(See page 82. When in camera mode,
press [MENU], then flash.)
5. Press camera button. The flash will light when the picture is
taken.
Install the protective cap. The protective cap has
securing feet on either side. Place (1) securing foot
in one end of groove then press other foot (2) upwards
into groove.
TO USE THE FLASH KIT
You should be at least 2 feet (about 60cm) away from object
of photography to ensure proper lighting. If you are too close
the picture will come out white.


