background image

18

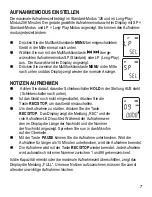
SETTING THE RECORDING MODE 

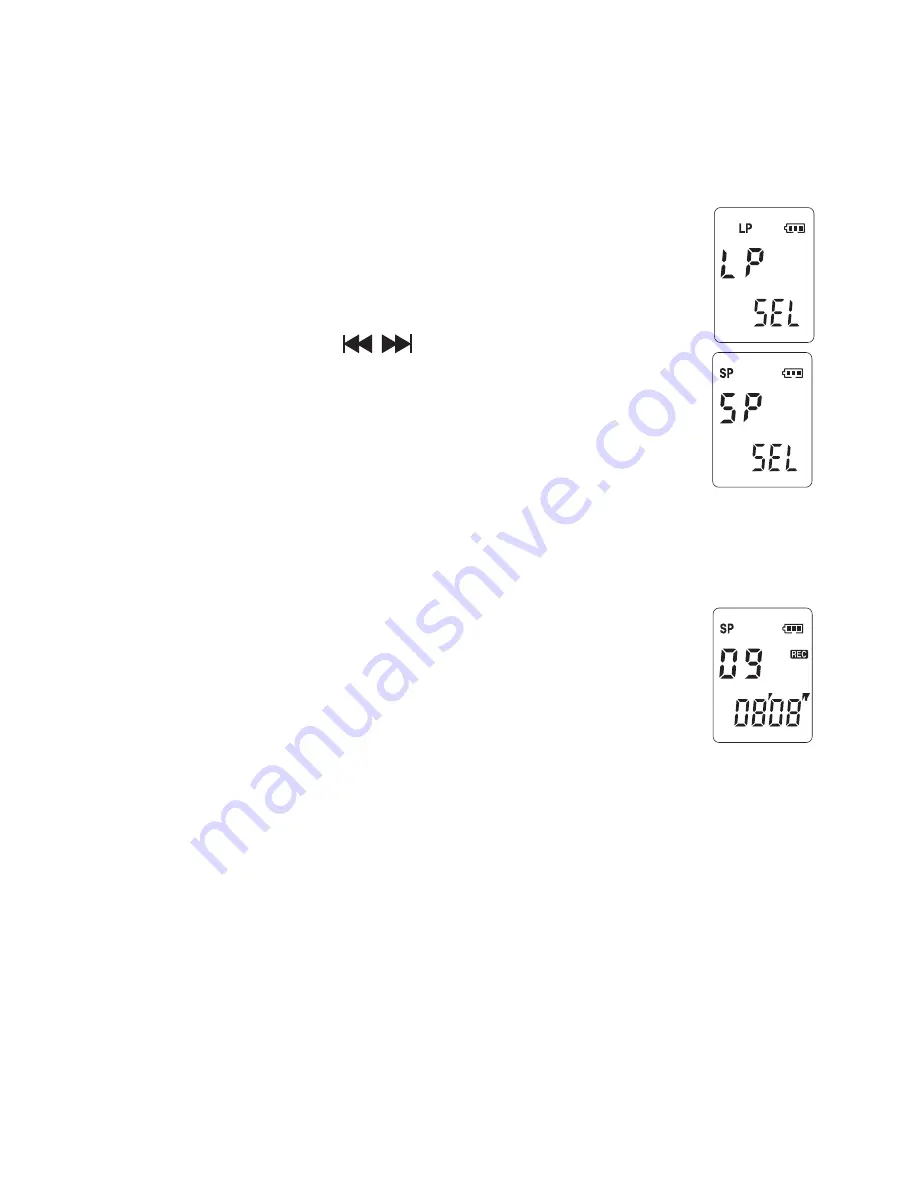
The maximum recording time is 126 minutes in standard mode and 256 minutes in 
long-play mode. The recording mode currently selected will be shown in the display 
with SP = Standard mode and LP = Long-play mode. You can change the recording 
mode at any time.  

„

Press the 

MENU

 multifunction button down in the middle 

once with the unit switched on.  

„

Now select the required recording mode SP (Standard) or 
LP (Long-play) with the 

 multifunction button.  The 

selection will be shown in the display. 

„

Press the 

MENU

 multifunction button down in the middle 

twice and the display will return to normal. 

RECORDING NOTES 

„

Make sure that the 

HOLD

 slide switch is in the OFF position (slide switch down). 

„

If the unit has not yet been switched on, press the 

REC/STOP

 button to switch the unit on. 

„

Press the 

REC/STOP

 button to start recording.  The 

display will show the message "REC" and the red re-
cording LED will come on. During recording, the length of 
the message and the number of the message will be 
shown in the display. Now speak into the microphone at 
the top of the unit. 

„

You can interrupt the recording with the 

PAUSE

 button. If the recording is 

interrupted for more than 10 minutes, the recording will be terminated. 

„

The recording is terminated by pressing the 

REC/STOP

 button again. Each 

recording is automatically identified with a number between 1 and 99. 

If the capacity is reached or if the maximum recording time is exceeded, the display 
will show the message "FULL". In order to record new notes, you must first delete old 
or unimportant recordings. 

Summary of Contents for VR-C10

Page 1: ...VR C10 Bedienungsanleitung Operating Instructions Digitaler VoiceRecorder Digital VoiceRecorder...

Page 2: ...memodus einstellen 7 Notizen aufnehmen 7 Aufnahme VOS Sprachgesteuerte Aufnahme 8 N chste Aufnahme direkt beginnen 8 Restaufnahmezeit 8 Notizen abspielen 9 Notiz automatisch suchen AUTO Scan 9 Einzeln...

Page 3: ...hwertige Batterien Entsorgung Ist die Gebrauchszeit der Batterien oder der gesamten Anlage abgelaufen entsorgen Sie diese bitte umweltfreundlich gem ss den gesetzlichen Bestimmungen Ver brauchte Batte...

Page 4: ...che Polung kann sowohl die Batterien als auch das Ger t besch digen Schliessen Sie das Batteriefach Die aktuelle Batteriekapazit t wird im Display angezeigt Voll Leer Tauschen Sie die Batterien niemal...

Page 5: ...Anschluss EAR Ohrh rer 11 Mikrofon DISPLAYANZEIGEN 1 SP Standard Modus LP Long Play Modus 2 VOS Modus ein aus 3 Anzeige der Batteriekapazit t 4 Aufnahme ist aktiv 5 Wiedergabe ist aktiv 6 Benutzerspe...

Page 6: ...gern der Lebensdauer der Batterien ausgestattet ist und sich daher selbst ausgeschaltet Wenn innerhalb von einer Minute keine Bedienvorg nge ausgef hrt werden schaltet sich das Ger t automatisch aus D...

Page 7: ...in der Stellung AUS steht Schiebeschalter nach unten Ist das Ger t noch nicht eingeschaltet dr cken Sie die Taste REC STOP um das Ger t einzuschalten Um die Aufnahme zu starten dr cken Sie die Taste R...

Page 8: ...etem VOS Modus erscheint im Display die Anzeige VOS Dr cken Sie einmal die Multifunktionstaste MENU in der Mitte nach unten und das Display zeigt wieder die normale Anzeige Um die sprachgesteuerte Auf...

Page 9: ...Tasten VOL und VOL in 20 Stufen eingestellt werden W hrend des Abspielens M chten Sie in einer langen Notiz vor oder zur ckspulen halten Sie die Multifunktionstaste oder solange fest bis Sie die gew...

Page 10: ...ste ERASE erneut um alle Notizen zu l schen M chten Sie den L schvorgang aber abbrechen war ten Sie bis die Anzeige ALL ERAS erlischt TASTENSPERRE Auf der rechten Seite befindet sich der Schiebeschalt...

Page 11: ...niemals an einen feuchten oder staubigen Platz Vermeiden Sie die N he zu W rmequellen wie Heizk rpern und setzen Sie das Ger t keiner direkten Sonnenbestrahlung aus GARANTIE AUDIOLINE Ger te werden n...

Page 12: ...gen ber Ihrem Fachh ndler geltend zu machen Nach Ablauf von zwei Jahren nach Kauf und bergabe unserer Produkte k nnen Gew hrleis tungsrechte nicht mehr geltend gemacht werden TECHNISCHE DATEN Aufnahme...

Page 13: ...ng the recording mode 18 Recording notes 18 Recording using VOS voice controlled recording 19 Starting the next recording immediately 19 Remaining recording time 19 Playing back notes 20 Searching for...

Page 14: ...the useful life of the batteries or the complete equipment has expired please dis pose of these in accordance with the statutory requirements and in a manner friendly to the environment Never open us...

Page 15: ...polarity is correct The wrong polarity can damage both the batteries and the unit Close the battery compartment The current battery capacity is shown in the display Full Low Never change the batterie...

Page 16: ...STOP 9 Display 10 EAR connector 11 Microphone DISPLAY INDICATORS 1 SP Standard mode LP Long play mode 2 VOS mode on off 3 Indication of battery capacity 4 Recording active 5 Playback active 6 User HOL...

Page 17: ...ith a circuit for extending the battery life and will therefore switch itself off If no control actions are performed within one minute the unit will switch itself off automatically The display will g...

Page 18: ...position slide switch down If the unit has not yet been switched on press the REC STOP button to switch the unit on Press the REC STOP button to start recording The display will show the message REC...

Page 19: ...is switched on the VOS indicator will appear in the display Press the MENU multifunction button down in the middle once and the display will return to normal Press the REC STOP button to start voice...

Page 20: ...s on the right hand side During playback If you want to fast forward or fast rewind within a long note hold the or multifunction button pressed until you reach the required position While you are list...

Page 21: ...n again to delete all notes If how ever you want to cancel the erase procedure wait until the ALL ERAS message goes off USER LOCK The HOLD slide switch is located on the right hand side If this functi...

Page 22: ...rs and do not expose the unit to direct sunlight WARRANTY AUDIOLINE equipment is manufactured and tested in accordance with the most up to date production methods Selected materials and highly develop...

Page 23: ...fied demands on the customer service department we will levy our usual service charges for materials time postage and packing Any com plaints must be reported as soon as a problem is found The guarant...

Page 24: ...er Installation sowie durch h here Gewalt oder sonstige u ere Einfl sse entstehen fallen nicht unter die Garantieleistung BITTE WENDEN SIE SICH IM GARANTIEFALL AUSSCHLIESSLICH AN DEN H NDLER BEI DEM S...

Reviews: