‘choose Utilities > Restore’ means that you select the Utilities
pull-down menu, then click on the Restore item.
Starting up the ATS Software
As part of the ATS installation process, an ‘ATS’ icon is placed on the
desktop of your PC. Click on this icon to start the software. If you have
hardware connected and powered up, the software will automatically
detect the hardware and initialize it. If you do not have hardware
connected, or it is not powered up, the software will prompt you to start
demo mode. At this point, you have three options:
§
Yes. Choose this option to invoke demo mode. In this mode, the
software presents panels and menus as if hardware were connected,
but panel meters show random data. This mode can be used for
creating tests, editing data, etc.
§
Retry. Choose this option if you have since connected the hardware
and powered it up.
§
Exit. Choose this option to exit the software.
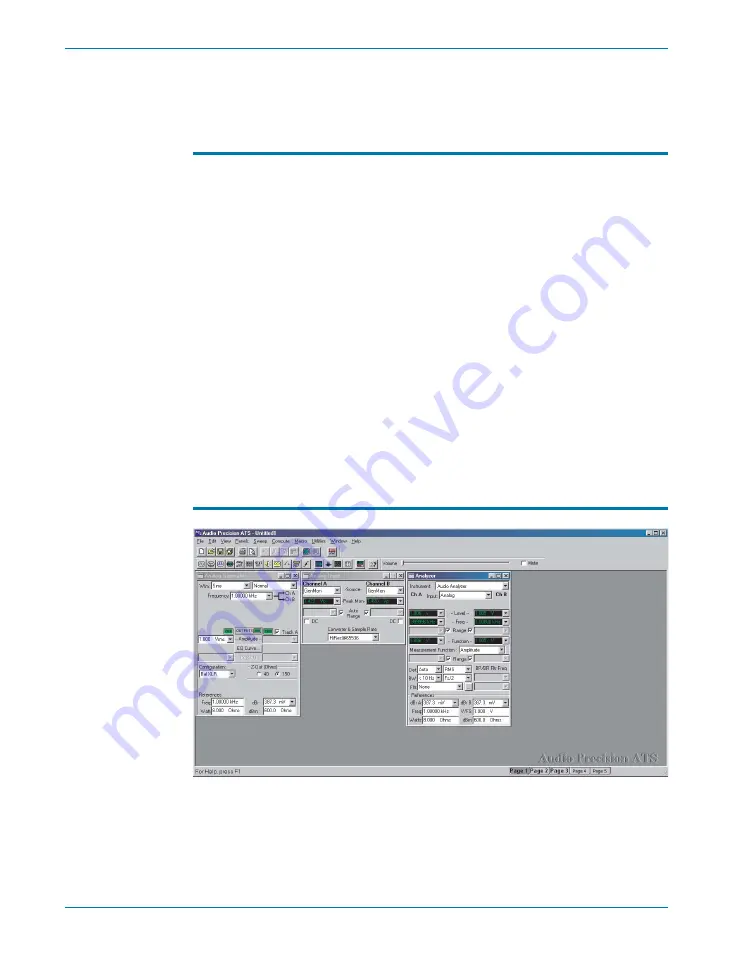
If you have chosen to run the software, ATS will start up and show the
workspace.
ATS Workspace
The ATS workspace has five pages that you can select by menu
commands (View > Page #) or by clicking the numbered tabs on the
Status Bar. The workspace is a multi-layered desktop where you can
Chapter 4: ATS-2 User Interface
Starting up the ATS Software
20
Getting Started with ATS-2
Figure 11. The ATS workspace.
Summary of Contents for ATS-2
Page 1: ...Getting Started with Your ATS 2 ATS 2 ...
Page 2: ......
Page 3: ...Getting Started with ATS 2 An Introductory Guide to ATS 2 APIB and GPIB Configurations ...
Page 8: ...iv Getting Started with ATS 2 ...
Page 16: ...Chapter 1 General Information Other Documentation for ATS 2 6 Getting Started with ATS 2 ...
Page 28: ...Chapter 3 Hardware Overview ATS 2 Rear Panel 18 Getting Started with ATS 2 ...
Page 66: ...Chapter 6 Specifications 56 Getting Started with ATS 2 ...


