background image

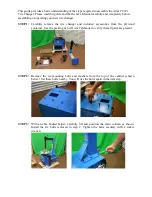
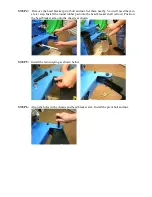
STEP 4:


 Remove the bead breaker pivot bolt and nut. Set them nearby. You will need them in 
a later step. Install the round rubber pad onto the bead breaker shaft (arrow). Position 
the bead breaker arm onto the chassis as shown.  


STEP 5:


Install the return spring as shown below.  


STEP 6:


Align the holes in the chassis and bead breaker arm. Install the pivot bolt and nut. 


Summary of Contents for Atlas TC221

Page 1: ......

Page 2: ...anger and included accessories from the plywood container Use the packing list or Owner s Manual to verify that all parts are present STEP 2 Remove the six mounting bolts and washers from the top of the cabinet shown below Set these bolts nearby You will use the bolts again in the next step STEP 3 With an able bodied helper carefully lift and position the main column as shown Install the six bolts...

Page 3: ...d them in a later step Install the round rubber pad onto the bead breaker shaft arrow Position the bead breaker arm onto the chassis as shown STEP 5 Install the return spring as shown below STEP 6 Align the holes in the chassis and bead breaker arm Install the pivot bolt and nut ...

Page 4: ...you may pull the breaker shaft outward to access the shaft and nut with a wrench STEP 8 Use the locking handle to lock the hex shaft into place Remove the bolt and cap from the top of the hex shaft Set the cap and bolt nearby STEP 9 Slide the coil spring over the hex shaft Push the spring downward and install the cap and bolt removed in step 8 to hold the spring into place ...

Page 5: ...e changer This is a push lock fitting Press the hose completely into the fitting It will lock into place STEP 12 The assembly of your new TC221 tire changer is now complete Double check your work Make sure there are no loose bolts screws or connections Refer to the Owner s Manual for operating instructions and safety warnings before using your new tire changer ...

Reviews: