9
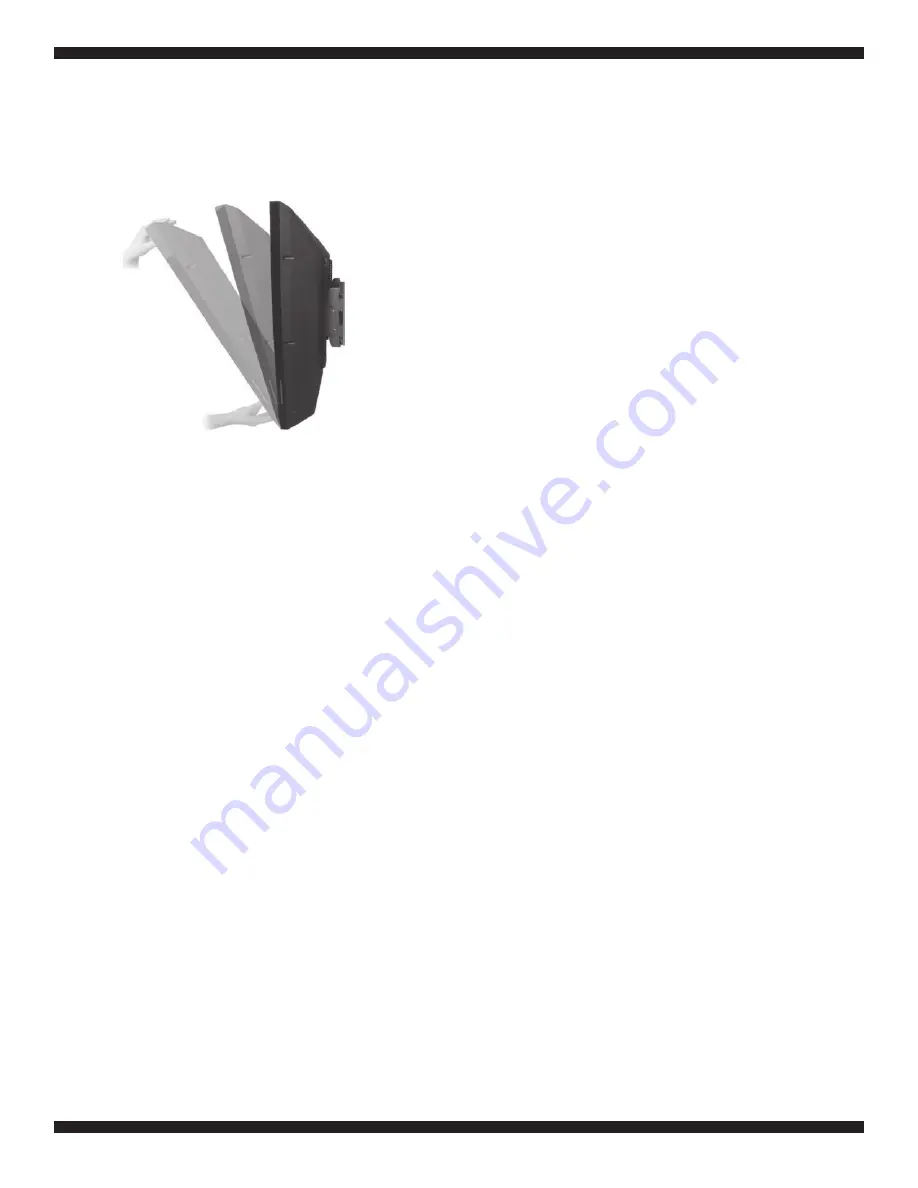
Fig. 5
Step 5: Adjusting the tilt angle
This patented design features an unique tilt angle mechanism that can easily be adjusted by just one
person. No tools are required for this step. As shown in Fig. 5, grasp the top and bottom of the mounted
flat panel and gently pull the top of the flat panel toward you or back to adjust the viewing angle.
3. Use the Box wrench (6) to tighten all four of these nuts (two nuts on each
bracket)
1/4 turn to the
right.
After tightening, replace the black plastic caps over each scre
w.
4. Carefully lift up the TV and properly attach the
brackets
to the mount bar and secure the safety
latches
5. Adjust the “angle-free” tilt to your proper
viewing
position and without letting go of the TV, lessen
your hand pressure to see if the angle tilt is properly held in place by the mount. If additional tension
is still required, repeat steps 1 – 5. Do not
over-tighten
these nuts or the “angle-free” tilt adjustment
will not function at all.
6. Once the proper tension is
achieved,
replace the
black
rubber caps on the exposed ends of the
screw/nuts.
Mount Reference Dimensions
Adjustable bracket spacing: 200 – 700 mm
(7.87 in – 27.55 in)
Bracket height: 530 mm (20.86 in)
Bracket frame height: 180 mm (7.08 in)
Bracket frame length: 820 mm (32.28 in)
After mounting, if the TV does not stay in your preferred
viewing
angle there is not enough tension
on the two screws found on the inner side of each “angle-free”
bracket. Follow the six steps below to
adjust (tighten) the tension of the bracket screws to prevent this issue
.
1. Carefully
remove
the TV from the wall mount bars and place the screen face down on a
flat
surface
that is clean and without objects of any
kind.
The rear of the
flat
panel with the “angle-free” mount
brackets attached is facing upward towards the ceiling.
2.
Use a regular slotted
screwdriver
to
remove
the four
black
rubber screw “caps” found on the inner
side of each bracket.
In some cases depending on the weight of your TV
, the bracket angle tension may require a one-
time adjustment.
Summary of Contents for A580TM
Page 11: ...11 ...


