


©
2005 Delta-T Devices Ltd
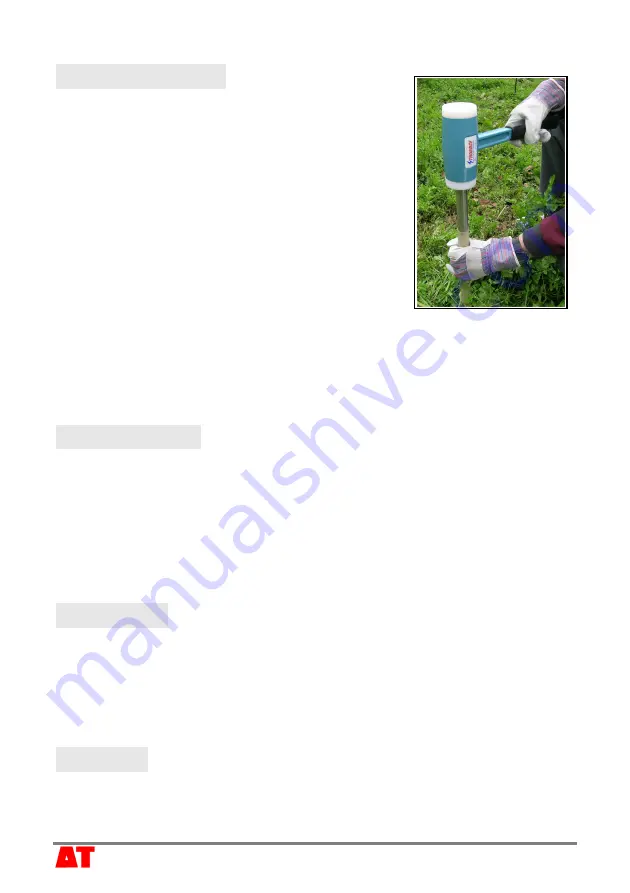
Insert access tube
Fit the yellow centring bush, and start
pushing
the access tube into the soil using the insertion
rod.
As resistance increases you may need to start
hammering, but minimise wobble. Continue until
the top of the access tube is level with the top
of the centring bush.
Remove the stabilisation plate. If you are
inserting access tubes level with the soil
surface, continue inserting until just level.
Hints
Spray a little water on the access tube walls to lubricate the insertion.
In hard soil you may have to hammer vigorously. Extreme hammering
indicates an undersize hole. Don’t proceed – adjust the auger to a larger
diameter (see Augering Manual) and then start a new hole
.
Check readings
Remove the stabilisation plate, taking care not to knock the tube.
If necessary, clean out the inside of the access tube with the cleaning rod
and a short length of paper towel or cloth.
Insert the PR2 and take 3 readings, rotating the probe through 120°
increments (see
PR2 Quick Start Guide
). Look for low readings –
these may indicate air gaps or stones, and the need to re-install.
Finishing off
Fit the collar and cap or bung.
Label and insert the flexicane
Brush any loose soil off the augers. Wash, dry and wipe them with an oily
cloth or use water repellent spray.
Extraction
Use the ladder jack. The extraction process is fairly complex - you need
to refer to the Augering Manual for detailed instructions.