


15
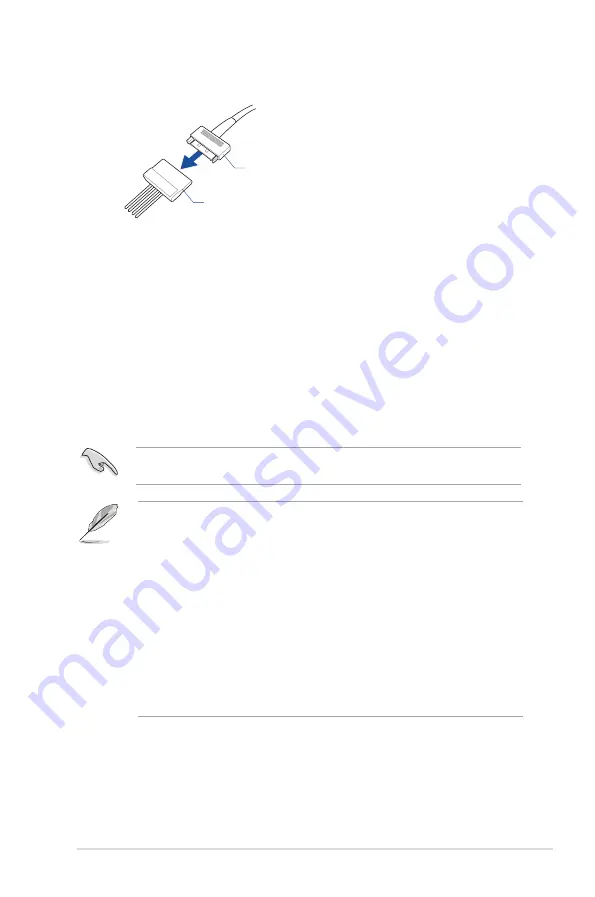
9.
Connect a SATA power cable from the power supply to the bundled SATA Express
cable.
SATA power cable from power supply
SATA Express cable
To install the Hyper Express Utility, insert the bundled support CD into the optical disc drive
then follow on-screen instructions.
8.
Installing the Hyper Express Utility
7.
Switching mode using the Mode
change button
To manually switch from Normal mode to Super Speed mode, press and hold the Mode
switch button on the front panel of the Hyper Express for 5 seconds. To switch from Super
Speed mode to Normal mode, press the Mode switch button twice.
When the Super Speed mode change LED is OFF, Hyper Express is in Normal mode. If the
Super Speed mode change LED is ON, Hyper Express in on the Super Speed mode.
Refer to the
Hyper Express hardware feature
section for more information on the LED
indications and for the location of the Mode switch button.
Always back up your data before switching mode. Hyper Express automatically formats
and initializes the installed storage device every time you switch modes.
The utility automatically initializes the disk when you switch modes.
To manually initialize the disk in Windows OS:
1. Open the Disk Management application.
2. On the
Initialize Disk
window, put a check mark on Disk 0 from the
Select disks
pane, tick GPT (GUID Partition Table) from the
Use the following partition style for
the selected disks:
then click OK.
3. Format the disk to complete the initialization. To format the disk, you can perform
either of the following:
•
From Windows Explorer, right-click on the disk that you want to format, select
Format
then click
Start
.
•
From Windows
Disk Management
, right-click on the disk that you want to
format, select
Format
then click
OK
.
Summary of Contents for Hyper Express
Page 1: ...Hyper Express User Guide ...


