


ASUS DSBV-DX Series
4-35
4.6
Security menu
Supervisor Password Is: [Clear]
User Password Is: [Clear]
These fields allow you to set passwords:
To set a password:
1. Select an item then press <Enter>.
2. When prompted, type in a password using a combination of a maximum of
eight (8) alpha-numeric characters, then press <Enter>.
3. Confirm the password by typing the exact characters again, then press
<Enter>. The password field setting is changed to
Set
.
To clear the password:
1. Select the item
Set Supervisor Password
or
Set User Password
,
depending on which password you want to clear. Press <Enter>.
The following message appears:
F1
Help
↑↓
Select Item
-/+
Change Values
F9
Setup Defaults
ESC
Exit
→←
Select Menu
Enter
Select Sub-Menu
F10
Save and Exit
Item Specific Help
Supervisor Password
controls access to the
setup utility.
Supervisor Password Is:
Clear
User Password Is:
Clear
Set Supervisor Password
[Enter]
Set User Password
[Enter]
Password Check
[Setup]
Password Lock Mode
[Disabled]
Removable Device Boot
[Enabled]
Flash Write
[Enabled]
PhoenixBIOS Setup Utility
Main Advanced Server
Security
Boot Exit
F1
Help
↑↓
Select Item
-/+
Change Values
F9
Setup Defaults
ESC
Exit
→←
Select Menu
Enter
Select Sub-Menu
F10
Save and Exit
Item Specific Help
Supervisor Password
controls access to the
setup utility.
Supervisor Password Is:
Set
User Password Is:
Clear
Set Supervisor Password
[Enter]
Set User Password
[Enter]
Password Check
[Setup]
Password Lock Mode
[Disabled]
Removable Device Boot
[Enabled]
Flash Write
[Enabled]
PhoenixBIOS Setup Utility
Main Advanced Server
Security
Boot Exit
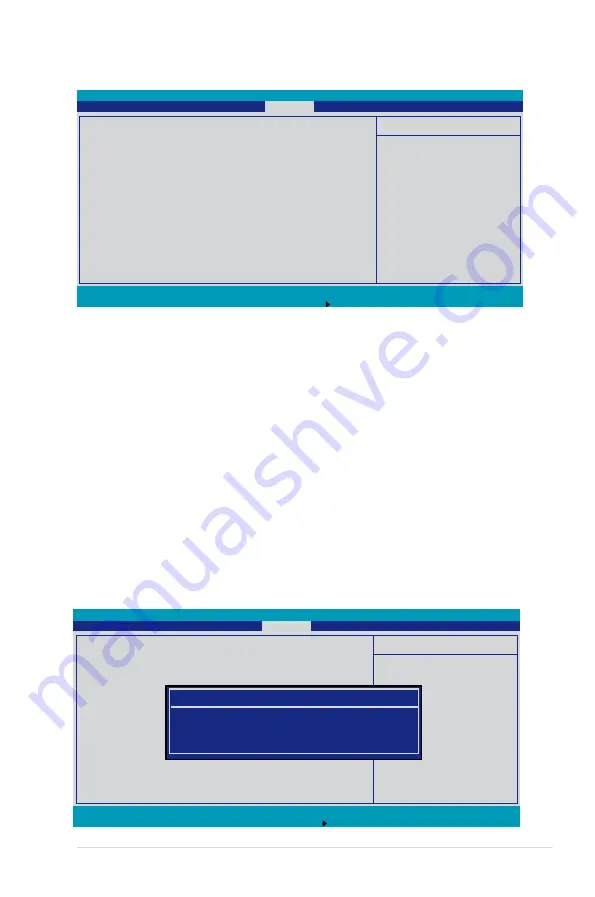
Set Supervisor Password
Enter Current Password
[ ]
Enter New Password [ ]
Confirm New Password
[ ]
Summary of Contents for DSBV-DX - Motherboard - SSI CEB1.1
Page 1: ...Motherboard DSBV DX Series DSBV DX SAS DSBV DX C DSBV DX ...
Page 14: ...xiv ...
Page 66: ...2 44 Chapter 2 Hardware information ...
Page 172: ...5 58 Chapter 5 RAID configuration ...