


3-11
ASUS LCD Monitor CP220/CP240 Series
3.3
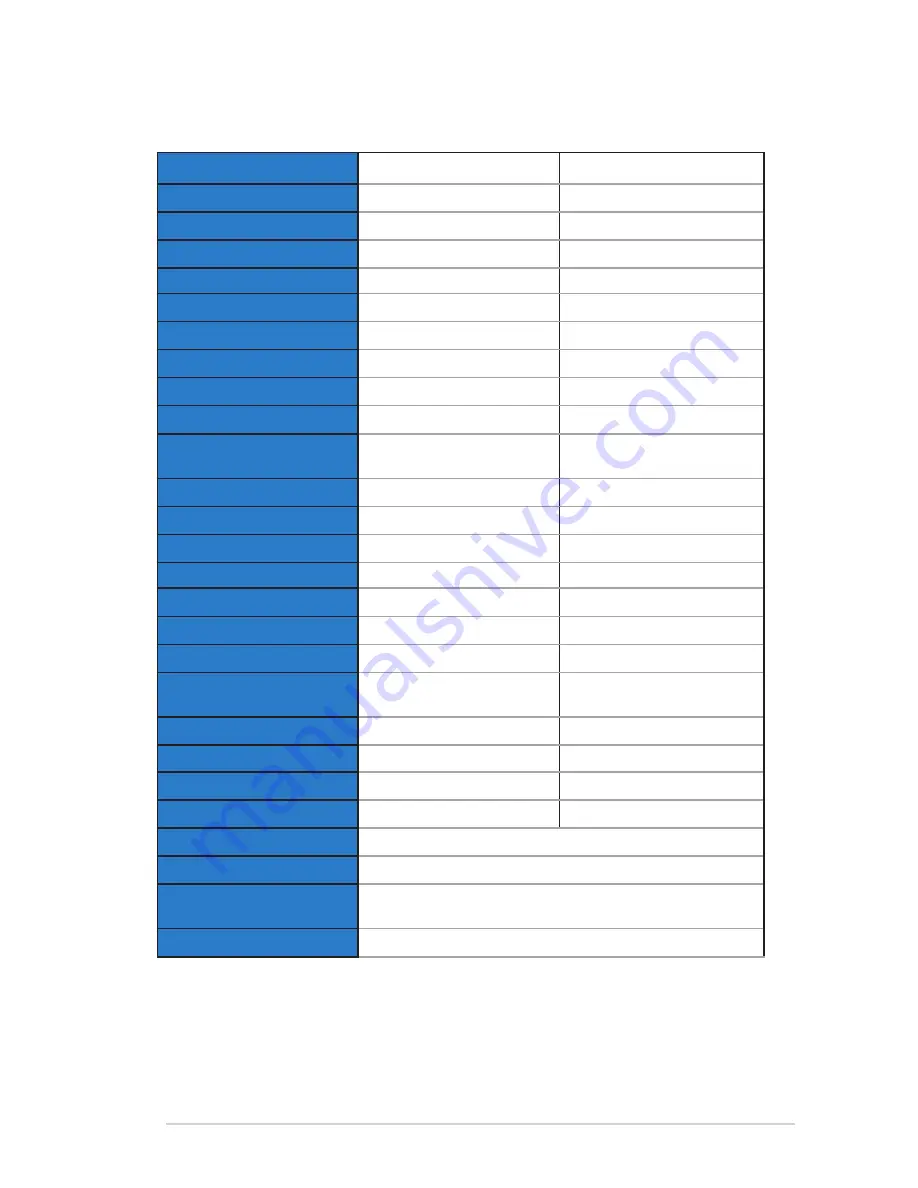
Specifications
Model
CP220
CP240
Panel Size
21.5” (54.61 cm)
23.8” (60.47 cm)
Max. Resolution
1920 x 1080
1920 x 1080
Brightness (Typ.)
250cd/m
2
250cd/m
2
Intrisinc Contrast Ratio (Typ.)
1000:1
1000:1
Viewing Angle (CR
≧
0)
160°(V); 170°(H)
178°(V); 178°(H)
Display Colors
16.7 M
16.7 M
Response Time (Typ.)
5ms
5ms (G to G)
D-Sub input
Yes
Yes
Power ON Consumption
ON Mode: <50 W*
ON Mode: <50 W*
Note
*Based on Energy Star 6.0
standard
*Based on Energy Star 6.0
standard
Speaker
Yes
Yes
Mic phone
Yes
Yes
Earphone
Yes
Yes
Power saving mode
< 6 W
< 6 W
Power off mode
< 0.5 W
< 0.5 W
Tilt
-5° to +23°
-5° to +23°
Mounting Interface
100mm x 100mm
100mm x 100mm
Phys. Dimension (WxHxD)
523.2 x 497.0 x 224.8 mm
567.60 x 517.15 x 244.81
mm
Box Dimension (WxHxD)
654 x 397 x 176 mm
685 x 421 x 179 mm
Net Weight (Esti.)
5.3 kg
6.0 kg
Gross Weight (Esti.)
7.6 kg
8.5 kg
Voltage Rating
AC 100~240V(External)
AC 100~240V(External)
Processor
SCALER TERA2321 FCBGA-396
ROM
FLASH MX25L25635FMI-10G 256MB SOP-16
RAM
DRAM H5TQ2G63D(F)FR-H9C/MT41J128M16JT-107G-K
2Gb x 2
Client solution
Vmware


