13
Knowing the Parts
2
2
3
4
5
6
7
8
9
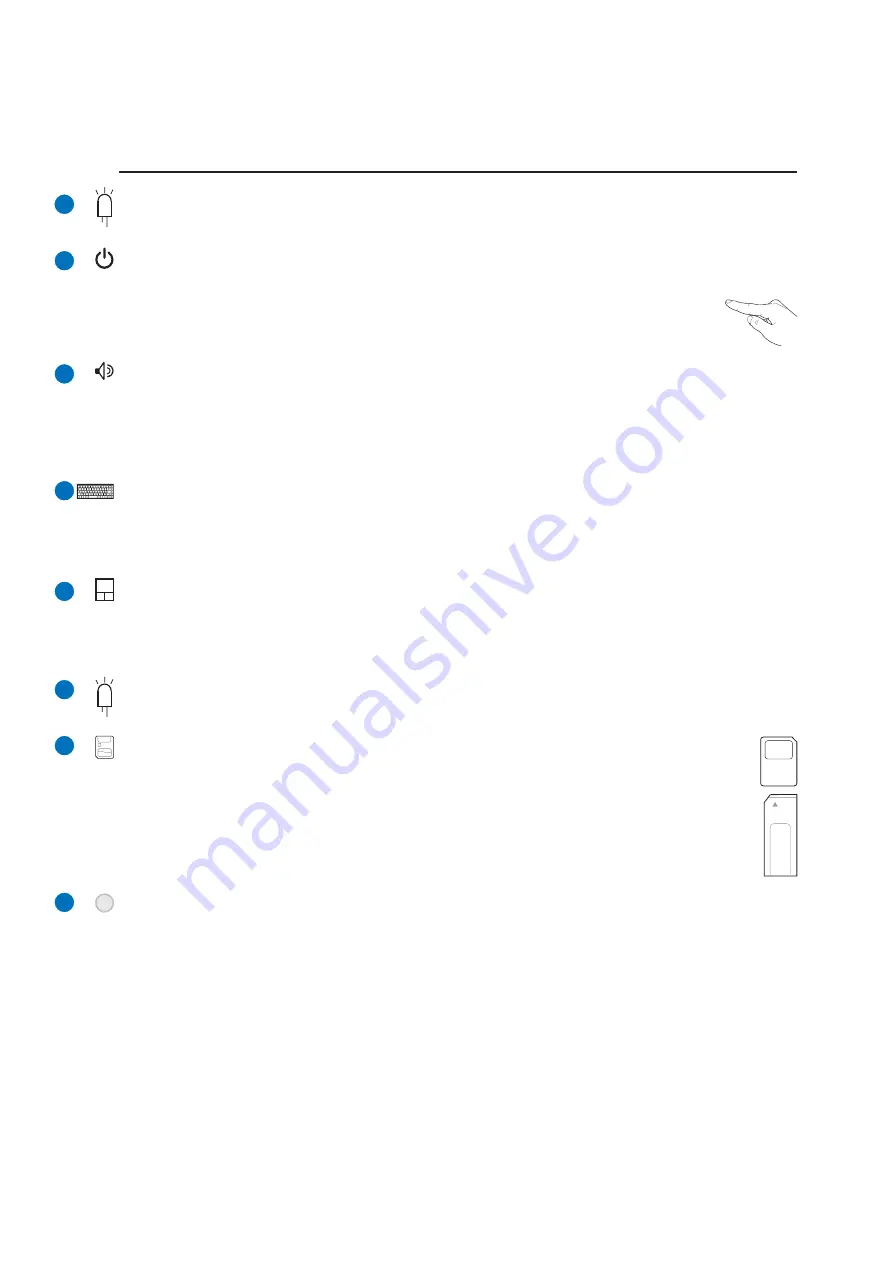
Status Indicators (top)
Status indicator details are described in section 3.
Power Switch
The power switch allows powering ON and OFF the Notebook PC and recovering from STD. Use the
switch once to turn ON and once to turn OFF the Notebook PC. In Windows XP, this button
can also be used to safely turn OFF the Notebook PC. The power switch only works when
the display panel is opened.
Keyboard
The keyboard provides full-sized keys with comfortable travel (depth at which the keys can be depressed)
and palm rest for both hands. Two Windows™ function keys are provided to help ease navigation in the
Windows™ operating system.
Touchpad and Buttons
The touchpad with its buttons is a pointing device that provides the same functions as a desktop mouse.
A software-controlled scrolling function is available after setting up the included touchpad utility to
allow easy Windows or web navigation.
Instant Keys
Instant keys allow you to launch frequently used applications with one push of a button. Details are
described in section 3.
Audio Speakers
The built-in stereo speaker system allows you to hear audio without additional attachments. The
multimedia sound system features an integrated digital audio controller that produces rich, vibrant
sound (results improved with external stereo headphones or speakers). Audio features are software
controlled.
Status Indicators (front)
Status indicator details are described in section 3.
Flash Memory Slot
Normally a PCMCIA or USB memory card reader must be purchased separately in order to
use memory cards from devices such as digital cameras, MP3 players, mobile phones, and
PDAs. This Notebook PC has a built-in memory card reader that can read many flash memory
cards as specified later in this manual. The built-in memory card reader is not only convenient,
but also faster than most other forms of memory card readers because it utilizes the high-
bandwidth PCI bus.
Summary of Contents for A9T
Page 1: ...Notebook PC Hardware User s Manual E2259 Aug 2005 ...
Page 4: ...4 Contents ...
Page 10: ...10 1 Introducing the Notebook PC ...
Page 11: ...11 2 Knowing the Parts Basic sides of the Notebook PC ...
Page 32: ...32 3 Getting Started ...
Page 48: ...48 4 Using the Notebook PC ...
Page 67: ...67 Appendix A ...


