ILLUMINATING THE RETICLE
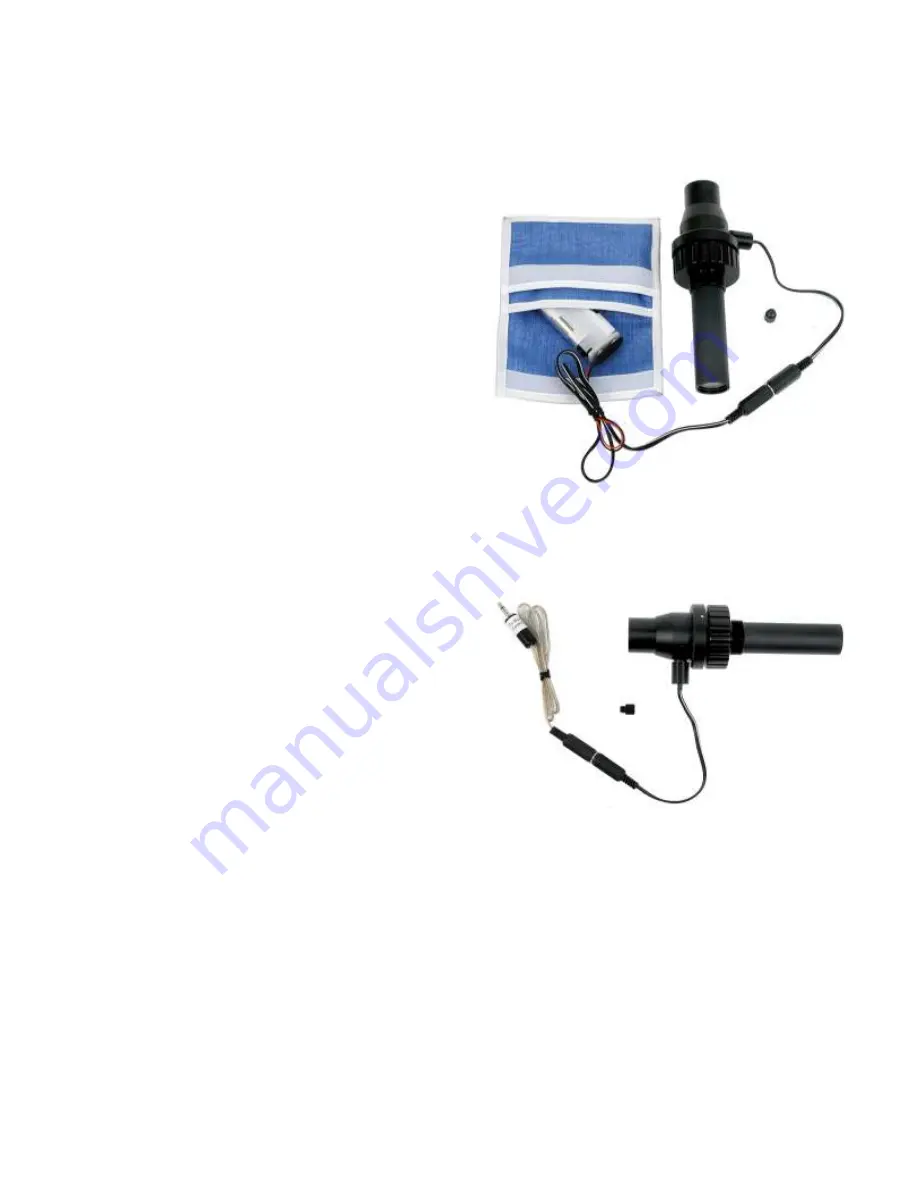
The illuminator (stored in the battery pouch) contains a red LED to light the reticle lines in the polar axis
telescope and a short cable. The reticle can be powered with either two AA batteries or with power from the
mount.
Using Ba
t
teries
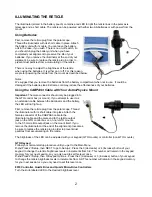
First, remove the reticle plug from the polar scope.
Thread the illuminator with its short cable in place. Attach
the battery unit with its cable. You can leave the battery
unit in the case, if you wish. There is no on-off switch, so
you should unplug the battery unit when you have
completed your alignment to preserve the life of your
batteries. If you remove the illuminator at the end of your
alignment, be sure to replace the reticle plug in order to
prevent dust particles from accumulating on the reticle.
There is no way to adjust the brightness of the reticle
when using the batteries. It is either on or off. For this reason,
we prefer powering the reticle from the mount as described below.
Notes:
We suggest that you remove the batteries from the battery compartment when not in use. It could be
damaged if the batteries leak. Extreme cold may reduce the effectiveness of your batteries.
Using the CABPAS3 Cable with Your Astro-Physics Mount
Important:
The male connector should only be plugged into
the GTO control box (or mount). If you attempt to use it as
an extension cable between the illuminator and the battery,
the LED will not light up.
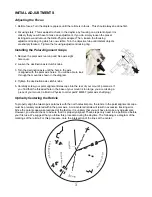
First, remove the reticle plug from the polar scope. Thread
the illuminator with its short cable into place. Attach the
female connector of the CABPAS3 cable to the
illuminator cable and the male end to the reticle output
jack on the GTO control box or, on non-GTO mounts,
to the 3.5mm reticle output jack on the mount itself. If you
remove the illuminator at the end of the alignment procedures,
be sure to replace the reticle plug in order to prevent dust
particles from accumulating on the reticle.
The brightness of the LED can be adjusted with your keypad (GTO mounts) or controller (non-GTO mounts).
GTO Keypad
Follow your normal startup procedure until you get to the Main Menu.
V.3.x:
Press 2=Setup, then NEXT to go to Setup-2. Press the 3 (decrease) or 4 (increase) button of your
keypad to change the reticle brightness levels in increments from 0-9. This number will remain in the keypad
memory for your next session, so you only need to set this level once.
V.4.x:
Press 2=Setup, then 3=Keypad Options. Press the 2 (decrease) or 3 (increase) button of your keypad
to change the reticle brightness levels in increments from 0-9. This number will remain in the keypad memory
for your next session, so you only need to set this level once.
8010 Controller, Quartz Drive and Quartz Micro-Drive Controllers
Turn the knob labeled LED to the desired brightness level.
2


