background image

A7855C

02/14

Copyright 2014, Sargent Manufacturing Company, an ASSA ABLOY Group company.  

All rights reserved. Reproduction in whole or in part without the express written  

permission of Sargent Manufacturing Company is prohibited. 

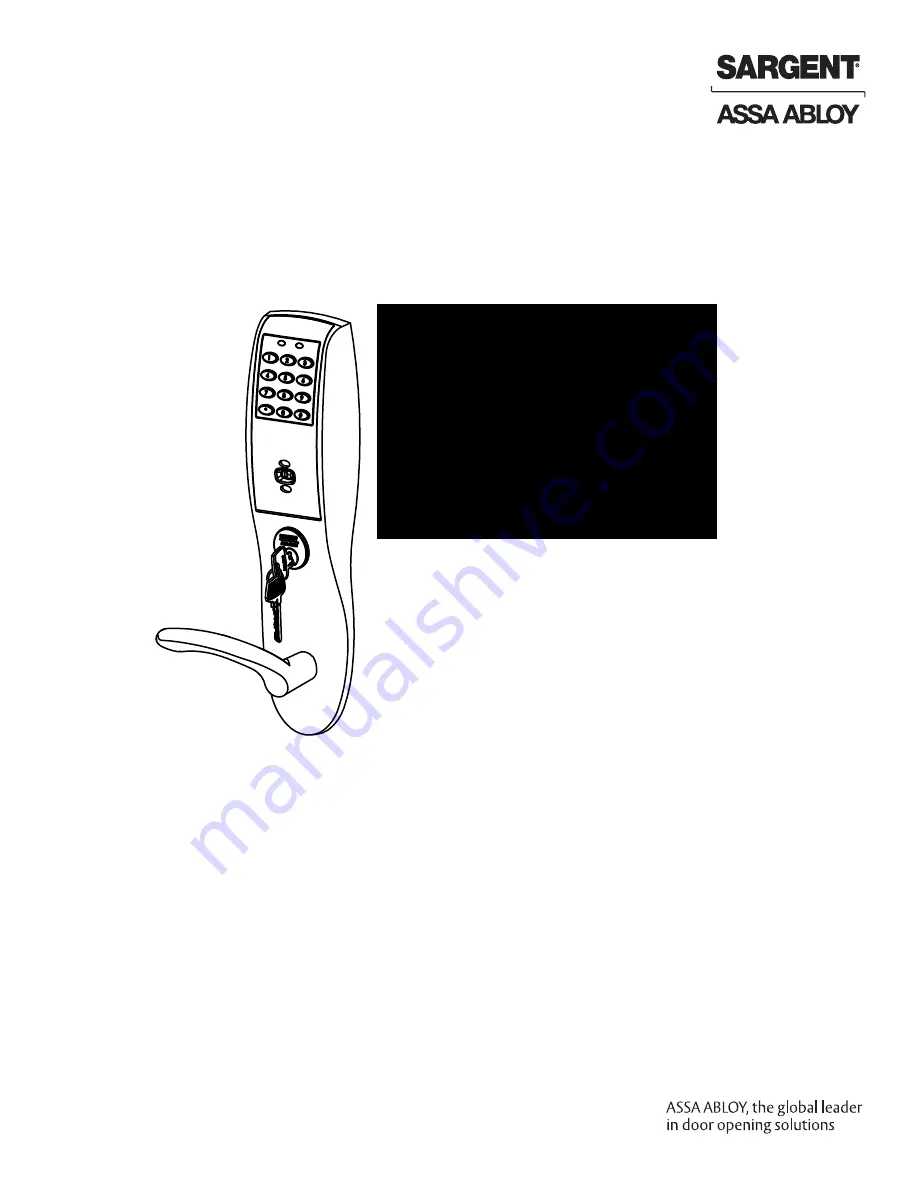
Profile

& LK Mortise Lock

Installation Instructions

v.G1.5

Summary of Contents for SARGENT Profile v.G1.5/LK

Page 1: ...acturing Company an ASSA ABLOY Group company All rights reserved Reproduction in whole or in part without the express written permission of Sargent Manufacturing Company is prohibited Profile LK Morti...

Page 2: ...se harmful interference to radio or television reception which can be determined by turning the equipment off and on the user is encouraged to try to correct the interference by one or more of the fol...

Page 3: ...ded Easily field reversible without disassembling the lock body Case 12 gauge heavy duty wrought steel 3 4 2 Outside lever controlled by any combination of keypad proximity or RF technology Inside lev...

Page 4: ...acturing Company is prohibited 01 31 14 Profile Series v G1 5 LK Mortise Lock 5 Parts Breakdown 35 2 800 810 WIRE 9473 www sargentlock com A7855B Profile Series v G1 5 05 04 09 A7855 B 11 11 27 28 29...

Page 5: ...92 Inside Escutcheon Housing Only without Thumb Turn 1 82 0494 Inside Escutcheon Housing Only with Thumb Turn 1 52 2440 100 LK User Key Pad Controller Assembly 1 52 2783 2000 G1 LU User Controller Ass...

Page 6: ...ining the door hand B Prepare Door Prep door according to Instruction Sheet A7454 and appropriate template Manufacturer Door Template 4632 Through bolt Hole Outside Cylinder Hole 76 and 78 Functions L...

Page 7: ...the screwdriver 90 to push latchbolt out until back of bolt clears lock case front 3 Rotate latchbolt 180 until the latchbolt drops back into the lock body Note Latch cannot be unscrewed Latchbolt Spa...

Page 8: ...r to template for fire stop prep locations 2 Attach with flap up and out using 2 8 x 1 2 self tapping screws for wood and metal doors B Weather Conduit P N 52 2847 Install weather conduit on NON FIRE...

Page 9: ...ecting the mounting posts through the door and lock body Fig 6B 3 Make certain the lever spindle is properly engaged in lock 4 On the inside of the door insert spindle into square hole of mortise lock...

Page 10: ...en mounted Fig 7A 2 Attach the ground wire to the bottom of the controller assembly E1 Fig 7A 3 Connect the cable from the cylindrical lock to the bottom of the controller assembly TB1 Fig 7B If Hardw...

Page 11: ...ylinder through the spring and rosette collar and screw into lock body rotating the cylinder clockwise Fig 9A Cylinder should be flush with rosette collar Note The 43 cylinder may be used when install...

Page 12: ...ws through top and bottom of the escutcheon Fig 11A Thread into outside escutcheon Note For RF Technology versions G1 TU G1 TP G1 TA refer to RF Technology Lock section on page 14 to install through b...

Page 13: ...ll and Remove Batteries A Install Batteries and Keeper 1 Place 6 AA batteries into the compartment being careful to properly align polarity Fig 12A 2 To install battery keeper insert the tabs on the b...

Page 14: ...ition The antenna board must be carefully moved to access the upper through bolt screw Care should be taken to prevent damage to the antenna retaining tabs during this process Fig 7A 1 Press the two t...

Page 15: ...door manufacturer when specified during ordering process 2 Wiring to pigtail harness is per facility wiring requirement ElectroLynx connector terminations and wire colors all match 3 If door does not...

Page 16: ...tch eon along the battery keeper back under the bottom opening between the controller and escutcheon and attach at the bottom of the controller Note Connectors go on only one way Do not offset connect...

Page 17: ...d Propped harness and hard wire to non ElectroLynx two conductor door harness b DM requires two conductors c Hard wire door harness to power transfer device d Hard wire door status switch to power tra...

Page 18: ...uires two conductors c Hard wire door harness to power transfer device d Hard wire door status switch to power transfer device IMPORTANT 6 AA batteries MUST be removed from controller when using 3267...

Page 19: ...to power transfer device d Hard wire door status switch to power transfer device IMPORTANT 6 AA batteries MUST be removed from controller when using 3267 power supply Ground Tab E3 TB2 Remote Power U...

Page 20: ...es with cylinders insert key into cylinder and rotate Check to see if 1 The key retracts the latch Key should rotate freely Key should extend and retract the deadbolt if applicable 2 The inside lever...

Page 21: ...800 810 WIRE www sargentlock com A7855C 21 Copyright 2014 Sargent Manufacturing Company an ASSA ABLOY Group company All rights reserved Reproductions in whole or in part without express written permis...

Page 22: ...vation and replacement applications The company s customer base includes commercial construction institutional and industrial markets Copyright 2014 Sargent Manufacturing Company an ASSA ABLOY Group c...

Reviews: