background image

3 8

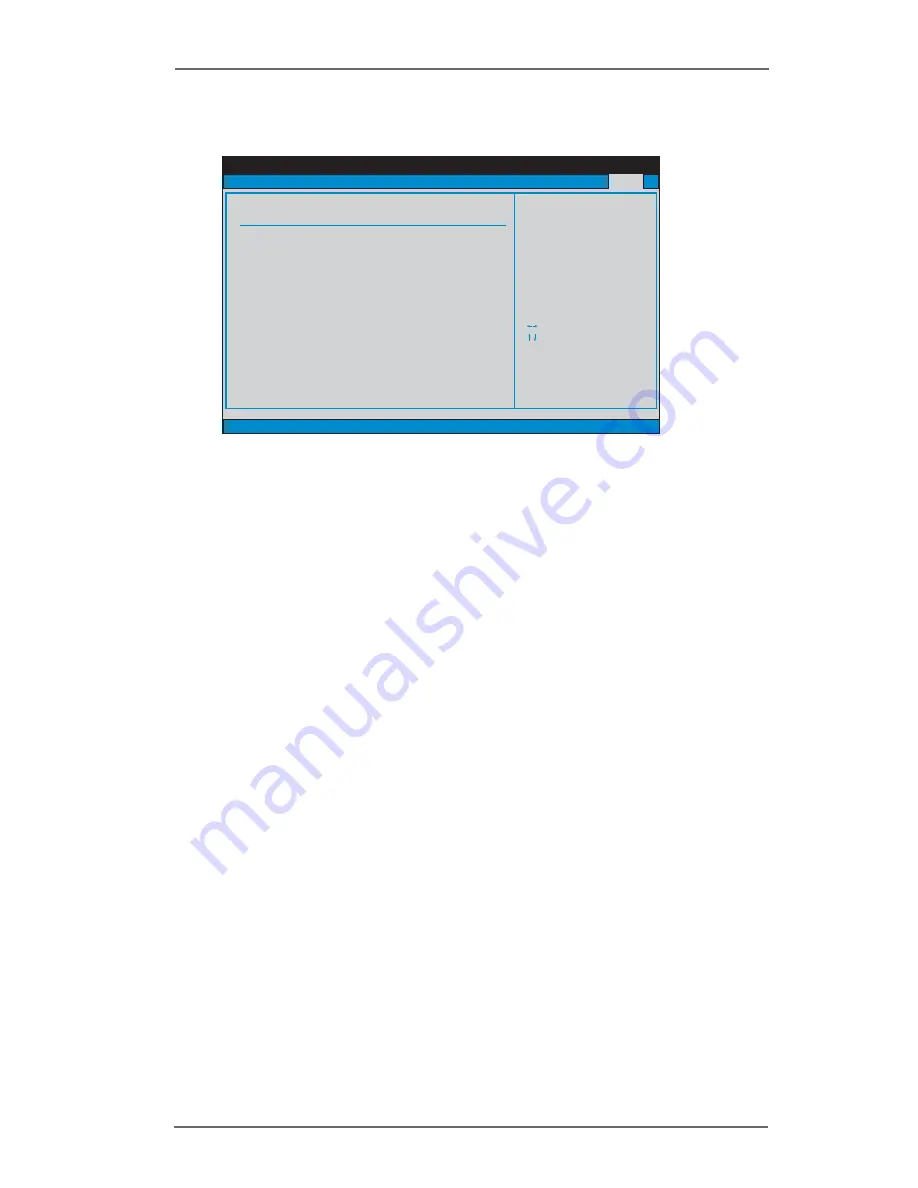
3.7 Exit Screen

Save Changes and Exit

When you select this option, it will pop-out the following message, “Save

configuration changes and exit setup?” Select [OK] to save the changes

and exit the BIOS SETUP UTILITY.

Discard Changes and Exit

When you select this option, it will pop-out the following message, “Dis-

card changes and exit setup?” Select [OK] to exit the BIOS SETUP UTILITY

without saving any changes.

Discard Changes

When you select this option, it will pop-out the following message, “Dis-

card changes?” Select [OK] to discard all changes.

Load Optimal Defaults

When you select this option, it will pop-out the following message, “Load

optimal defaults?” Select [OK] to load the default values for all the setup

configurations.

BIOS SETUP UTILITY

Main

Advanced

H/W Monitro

Boot

Security

Exit system setup
after saving the
changes.

F10 key can be used
for this operation.

Select Screen
Select Item

Enter Go to Sub Screen
F1

General Help

F10

Save and Exit

ESC

Exit

F9

Load Defaults

v02.54 (C) Copyright 1985-2003, American Megatrends, Inc.

Exit

Save Changes and Exit

Discard Changes and Exit
Discard Changes

Load Optimal Defaults

Exit Options

Summary of Contents for 775i65GV

Page 1: ...1 775i65GV User Manual Version 1 0 Published July 2004 Copyright 2004 ASRock INC All rights reserved...

Page 2: ...missions that may appear in this manual With respect to the contents of this manual ASRock does not provide warranty of any kind either expressed or implied including but not limited to the implied wa...

Page 3: ...Onboard Headers and Connectors 20 2 8 Serial ATA SATA Hard Disks Installation 23 3 BIOS SETUP UTILITY 24 3 1 Introduction 24 3 1 1 BIOS Menu Bar 24 3 1 2 Navigation Keys 25 3 2 Main Screen 25 3 3 Adv...

Page 4: ...ting System 39 4 2 Support CD Information 39 4 2 1 Running Support CD 39 4 2 2 Drivers Menu 39 4 2 3 Utilities Menu 39 4 2 4 ASRock PC DIY Live Demo Program 39 4 2 5 LGA 775 CPU Installation Live Demo...

Page 5: ...the content of this manual will be subject to change without notice In case any modifications of this manual occur the updated version will be available on ASRock website without further notice You ma...

Page 6: ...and Hot Plug functions Floppy Port Supports up to 2 floppy disk drives Audio 5 1 channels AC 97 Audio PCI LAN Speed 802 3u 10 100 Ethernet supports Wake On LAN Hardware Monitor CPU temperature sensin...

Page 7: ...ly and unplug the power cord then plug it back again To improve heat dissipation remember to spray thermal grease between the CPU and the heatsink when you install the PC system 5 Because the installe...

Page 8: ...TI500 128M Inno3D GeForce2 MX400 Leadtek WinFast A170 TH Leadtek WinFast A170 DDR Leadtek WinFast A250LE TD Leadtek WinFast GeForce2 MX MX64 Leadtek WinFast GeForce2 H MX400 MSI GF4 MX440SE PROLINK G...

Page 9: ...GeForce FX5600 LEADTEK A280 LE LEADTEK A340TDH MSI Ti4800SE VTD8X PALITGF4 MX440 8X 64MB PROLINK GeForceFX5900 PROLINK GF4 TI4200 SPARKLEGF4 MX440 8X ATI CLUB3D ATI R9800 Gigabyte GV R9000 PRO Gigabyt...

Page 10: ...r SATA1 27 Shared USB 2 0 Header USB4_5 Blue 13 Chassis Speaker Header SPEAKER 1 28 BIOS FWH Chip 14 Chassis Fan Connector CHA_FAN1 29 FSB Select Jumper FSB1 15 USB 2 0 Header USB67 Blue 30 ATX 12V Co...

Page 11: ...Port 7 USB 2 0 Ports USB01 2 RJ 45 Port 8 USB 2 0 Ports USB23 3 Line In Light Blue 9 VGA Port 4 Line Out Lime 10 PS 2 Keyboard Port Purple 5 Microphone Pink 11 PS 2 Mouse Port Green 6 Shared USB 2 0...

Page 12: ...y cause severe damage to the motherboard peripherals and or components 1 Unplug the power cord from the wall socket before touching any component 2 To avoid damaging the motherboard components due to...

Page 13: ...e lever by depressing down and out on the hook to clear retention tab Step 1 2 Rotate the load lever to fully open po sition at approximately 135 degrees Step 1 3 Rotate the load plate to fully open p...

Page 14: ...p Pick and Place Cap Use your left hand index finger and thumb to support the load plate edge engage PnP cap with right hand thumb and peel the cap from the socket while pressing on center of PnP cap...

Page 15: ...eatsink Below is an example to illustrate the installation of the heatsink for 775 Pin CPU Step 1 Apply thermal interface material onto center of IHS on the socket surface Step 2 Place the heatsink on...

Page 16: ...identical memory modules it is unable to activate the Dual Channel Memory Technology Installing a DIMM Please make sure to disconnect power supply before adding or removing DIMMs or the system compon...

Page 17: ...nstall the add on AGP VGA card the system will automatically set the onboard VGA as the primary graphics adapter In that case if you want to install the add on AGP VGA card you need to remove the onbo...

Page 18: ...is placed on pins the jumper is Open The illustration shows a 3 pin jumper whose pin1 and pin2 are Short when jumper cap is placed on these 2 pins Jumper Setting Description PS2_USB_PWR1 Short pin2 pi...

Page 19: ...urn off the computer and unplug the power cord from the power supply After waiting for 15 seconds use a jumper cap to short the Clear CMOS jumper for 5 seconds After shorting the Clear CMOS jumper ple...

Page 20: ...er to the instruction of your IDE device vendor for the details Besides to optimize compatibility and performance please connect your hard disk drive to the primary IDE connector IDE1 blue and CD ROM...

Page 21: ...USB ports 4 5 on ASRock I O PlusTM will not be able to function Infrared Module Header This header supports an 5 pin IR1 optional wireless transmitting see p 10 No 17 and receiving infrared module In...

Page 22: ...If you use a 3 pin CPU fan cable insert it to the connector by aligning it with the pins GND 12V and CPU_FAN_SPEED ATX Power Connector Please connect an ATX power 20 pinATXPWR1 supply to this connect...

Page 23: ...into the drive bays of your chassis STEP2 Connect the SATA power cable to the SATA hard disk STEP3 Connect one end of the SATA data cable to the motherboard s SATA connector STEP4 Connect the other en...

Page 24: ...restart by turning the system off and then back on Because the BIOS software is constantly being updated the following BIOS setup screens and descriptions are for refer ence purpose only and they may...

Page 25: ...system overview System Time Hour Minute Second Use this item to specify the system time System Date Day Month Date Year Use this item to specify the system date BIOS SETUP UTILITY Main Advanced H W M...

Page 26: ...ns may cause system to malfunction Configure CPU Select Screen Select Item Enter Go to Sub Screen F1 General Help F9 Load Defaults F10 Save and Exit ESC Exit v02 54 C Copyright 1985 2003 American Mega...

Page 27: ...ology To enable this feature it requires a computer system with an Intel Pentium 4 processor that supports Hyper Threading technology and an operating sys tem that includes optimization for this techn...

Page 28: ...uration options 4 Clocks 3 Clocks and 2 Clocks DRAM RAS to CAS Delay This controls the latency between the DRAM active command and the read write command Configuration options 4 Clocks 3 Clocks and 2...

Page 29: ...off mode PCI Devices Power On Use this item to enable or disable PCI devices to turn on the system from the power soft off mode PS 2 Keyboard Power On Use this item to enable or disable PS 2 keyboard...

Page 30: ...ration options Disabled Primary Secondary Both When Compatible Mode is selected Combined Mode Option It allows you to select between Pri IDE SATA and SATA Sec IDE If it is set to Pri IDE SATA then the...

Page 31: ...ead data from the hard disk Make sure to set the partition of the Primary IDE hard disk drives to active CD DVD This is used for IDE CD DVD drives ARMD This is used for IDE ARMD ATAPI Removable Media...

Page 32: ...on options Disabled Auto Enabled 32 Bit Data Transfer Use this item to enable 32 bit access to maximize the IDE hard disk data transfer rate 3 3 5 PCIPnP Configuration PCI Latency Timer The default va...

Page 33: ...py Configuration Select the type of floppy drive connected to the system Select Screen Select Item Change Option F1 General Help F9 Load Defaults F10 Save and Exit ESC Exit v02 54 C Copyright 1985 200...

Page 34: ...PP If this option is set to ECP EPP it will show the EPP version in the following item EPP Version Configuration options Normal Bi Directional and ECP EPP EPP Version Use this item to set the EPP vers...

Page 35: ...ure motherboard temperature CPU fan speed chassis fan speed and the critical voltage BIOS SETUP UTILITY Hardware Health Event Monitoring Select Screen Select Item F1 General Help F9 Load Defaults F10...

Page 36: ...urity Exit Boot Settings Configure Settings during System Boot Select Screen Select Item Enter Go to Sub Screen F1 General Help F9 Load Defaults F10 Save and Exit ESC Exit v02 54 C Copyright 1985 2003...

Page 37: ...t Item Enter Change F1 General Help F10 Save and Exit ESC Exit F9 Load Defaults v02 54 C Copyright 1985 2003 American Megatrends Inc Security Change Supervisor Password Change User Password Clear User...

Page 38: ...t the following message Dis card changes Select OK to discard all changes Load Optimal Defaults When you select this option it will pop out the following message Load optimal defaults Select OK to loa...

Page 39: ...ck on a specific item then follow the installation wizard to install it 4 2 4 ASRock PC DIY Live Demo Program ASRock presents you a multimedia PC DIY live demo which shows you how to install your own...

Reviews: