


9
Configuring Advanced Projector Settings
Your projector has a setup menu that you can use to configure advanced settings.
Displaying the Setup Menu
Pressing the [MENU] key displays the menu shown below in the center of the projection
screen.
Note
You can position the setup menu in the center or on the left edge of the projection
screen. For details, see “Menu Position” under “Option Settings 1 Main Menu” on page
20.
To exit the setup menu
Press the [MENU] key.
Configuring Setup Menu Settings
1
Press the [MENU] key to display the setup menu.
2
Use the [
T
] and [
S
] keys to select the main menu item you want by
highlighting it.
3
Press the [ENTER] key.
4
Use the [
T
] and [
S
] keys to select the sub-menu item you want by highlighting
it.
5
Perform the required operation on the selected sub-menu item screen.
z
The guidance text explains the operations you need to perform to configure each setting.
6
To return to the main menu from the sub-menu, press the [ESC] key.
7
To exit the setup menu, press the [MENU] key.
Basic Setup Menu Operations
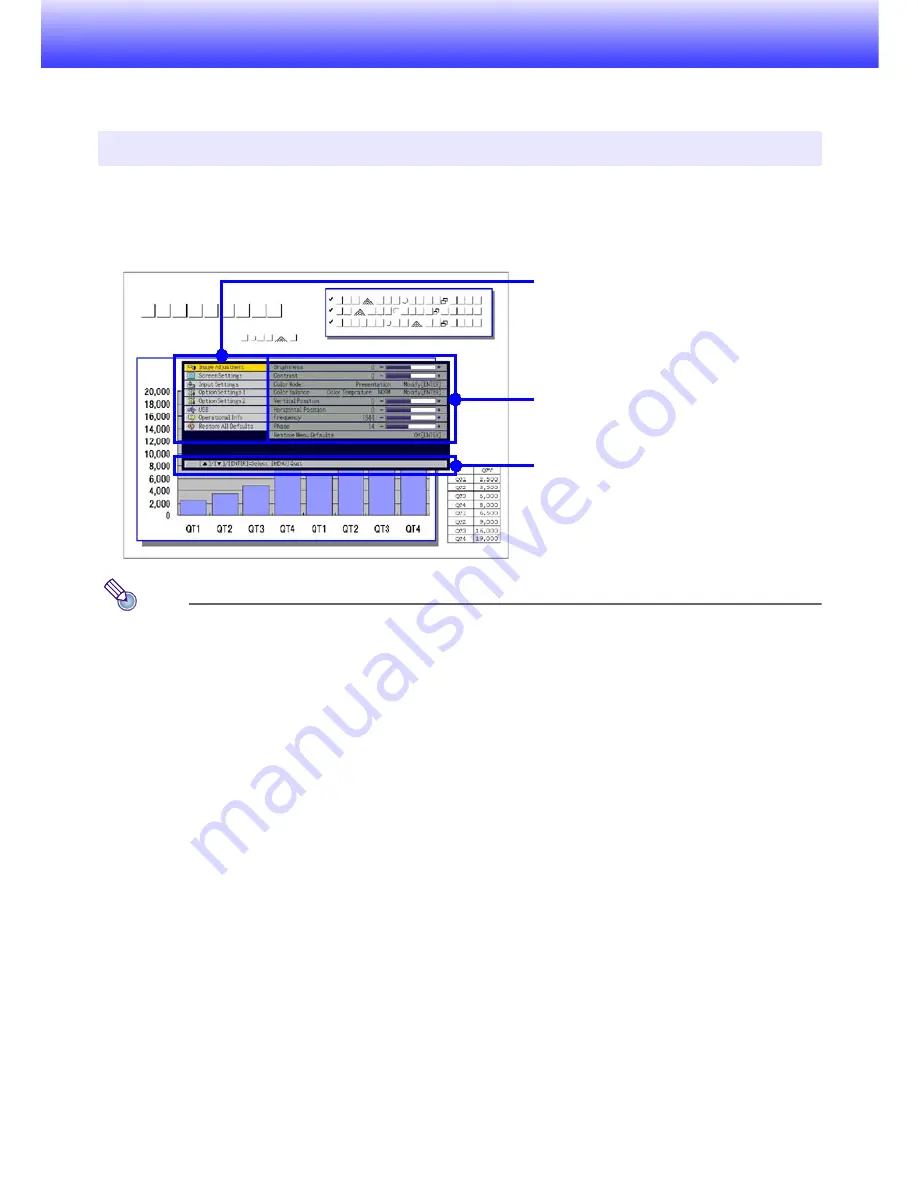
Main menu
The main menu includes seven main menu
items. The currently selected main menu item is
the one that is highlighted.
Sub-menu
The sub-menu shows each individual setting
under each main menu item, and its current
setting.
Guidance text
Guidance text provides a brief description of the
main key operations available for the operation
you are currently performing.
Summary of Contents for M8
Page 1: ......


