TD 92679EN
22 November 2013 / Ver. G
Installation Guide
Elise3
24
4. Installation and Configuration
9
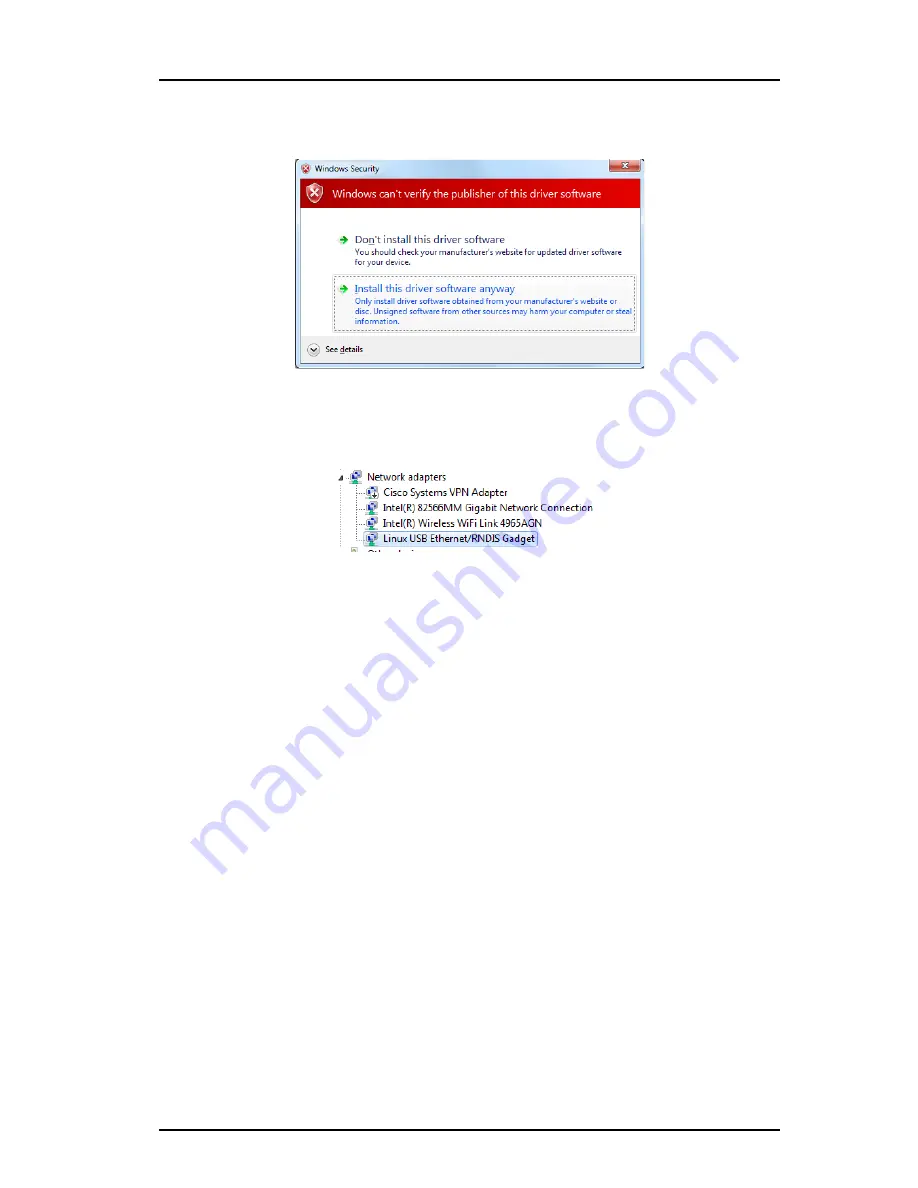
Browse to the folder where the port driver is saved and click “Next”. A Windows
security window opens.
10
Click “Install this driver software anyway”. The installation of the port driver begins.
11
Click “Close” when the installation has finished.
12
The port driver “Linux USB Ethernet/RNDIS Gadget” is now installed in Control Panel
> Hardware and Sound > Devices and Printers > Device manager > Network adapters.
4.6
Basic Configuration
The Elise3 needs to be configured with basic settings. Some settings can be set in the Setup
Wizard accessible from the web interface. The Setup Wizard starts automatically the first
time the Elise3 is accessed from the web browser and every time until the configuration has
been saved. Follow the wizard and fill in the required data (IP address, NTP server, license
etc.). After it has been saved the wizard can always be opened from the Start page. Other
settings are set from the product’s configuration page and are described in the product’s
manual.
For products not having a Setup Wizard, all settings are set from the products Advanced
Configuration page, see
4.6.2 Setup from Advanced Configuration Page
on page 24
4.6.1
Setup via Setup Wizard
1
Access the Elise3 either via the network or via the management port, see
4.5
Accessing Elise3
on page 20.
2
Enter user name “admin” and the password “changeme”.
3
Complete the Setup Wizard.
(If the Elise3’s network IP address has not been assigned by an DHCP server, it must
be set manually in the wizard).
4
Select “Restart immediately” when the setup wizard has finished.
The Elise3 will restart with the new configuration.
4.6.2
Setup from Advanced Configuration Page
1
Access the Elise3 either via the network or via the management port, see
4.5
Accessing Elise3
on page 20.


