6
7
NOTE:
1- If you have started ironing those fabrics that require higher temperatures and
if you wish to iron such fabrics requiring the lowest temperature, then set the
temperature switch from the position “•••” to the position “•”, and wait to allow
cooling down.
CAUTION: There is a thermal safety fuse to protect the steam iron from over-
heating. However; for your safety always disconnected your iron from the
electrical outlet after finishing the iron or before taking a rest.
DRY IRONING
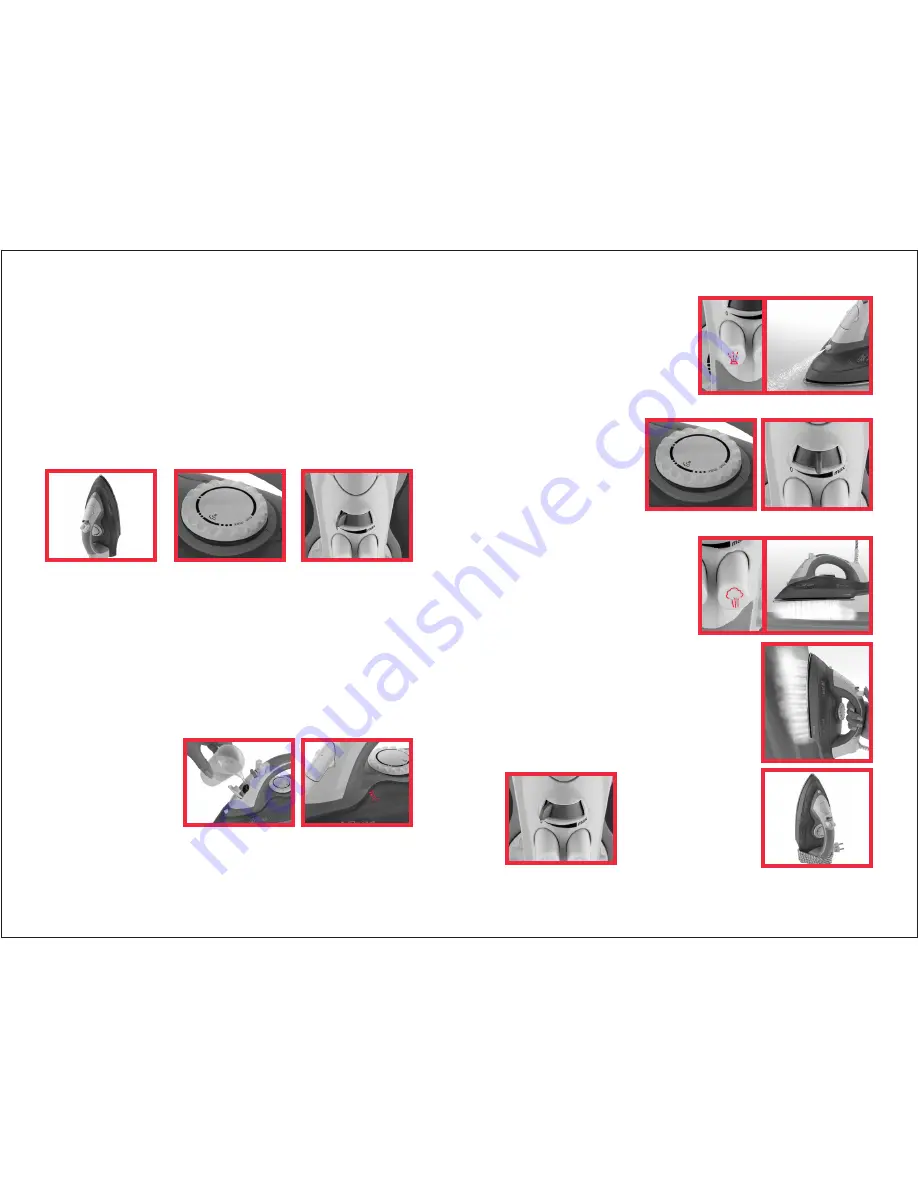
• Place your iron on a flat surface and on its heel. Turn the temperature switch to
the position lowest temperature, i.e. “min”.
• Set the variable steam button to the position of no steam, i.e. “0”. This will
prevent the steam flow; even there is water in the water tank.
• Adjust the temperature switch according to the kind of fabrics you want to iron.
• You can start ironing after the temperature display light disappears, indicating that
the selected temperature is being maintained.
NOTE: Pilot light may again turn on to maintain the selected temperature of
soleplate during ironing, which is suitable for the article being ironed.
FILLING WITH WATER
(For steam ironing and spraying)
• Remove the mains plug from the wall socket before filling your iron, set the
variable steam button the
position of dry, i.e. “0”.
• Open the water filling
inletcover, with the iron held
on an angle, use the water
filling beaker supplied to
pour water slowly into the
filling hole. Do not fill higher than indication “MAX” of the water tank.
• You can use tap water, unless it is very hard (hardness higher than 17º PH).
Otherwise, it is advisable to use distilled water. However, the distilled water must be
subjected to an actual distillation process before filling.
SPRAYING
• At any temperature by pressing on the
spray button a couple of times, the laundry
to be ironed can be damped down.
STEAM IRONING
• Steam ironing with your iron is only
possible in the higher temperatures as indicated in the temperature switch and in
the table.
• Ensure that there is
enough water in the water
tank.
• Set
the
temperature
switch to the correct position
for steam flows.
• As soon as the temperature display light disappears you can start ironing.
SHOT OF STEAM
• When and if required, in order to
supply more steam you can iron quite
easily your hard iron able and too wrinkly
cloths through shot of steam during both
steam and dry ironing.
VERTICAL STEAM
• Set the temperature control dial to the position max,
and the variable steam button to the position max. Stand
against the cloths and curtains that you would iron in the
vertical position. Depress the shot of steam button.
WARNING: NEVER ATTEMPT TO IRON ANY
CLOTHS WHEN WORN BY YOU OR OTHERS.
AFTER USE
•Set the variable steam
button to the position “0”.
• Remove the mains plug
from the wall socket and
wait for the soleplate to cool
down completely.
• Hold the iron downward, and pour out the water contained in the tank by shaking it.


