artisan WM217 Operation Instruction Manual Download Page 1

OPERATION    INSTRUCTION

Turn off the power switch when carrying out inspection,
adjustment and maintenance

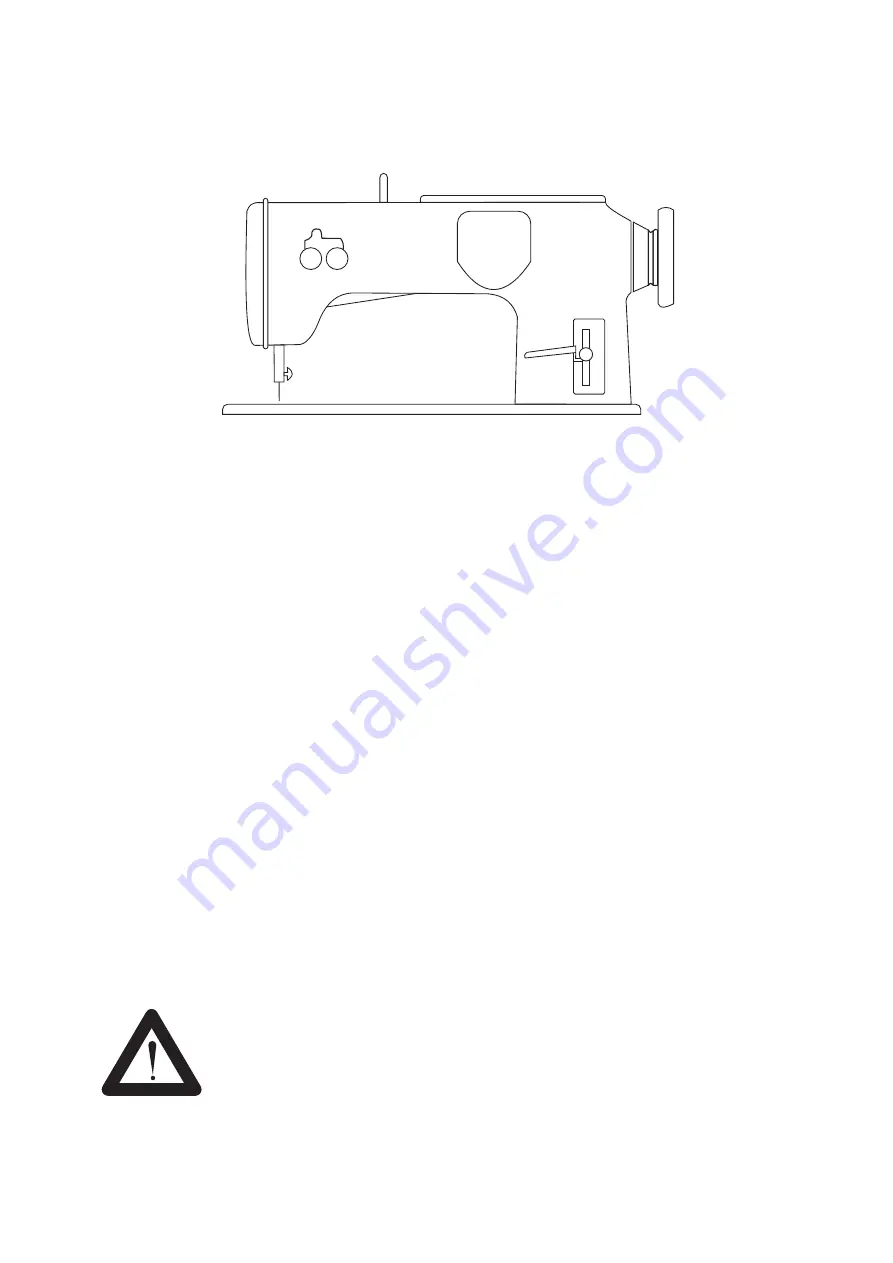
M e d i u m - w e i g h t  M a t e r i a l s  U t i l i t y - d e c o r a t i v e

                         s t i t c h  Z i g z a g  I n d u s t r i a l  S e w i n g  M a c h i n e

Summary of Contents for WM217

Page 1: ...rn off the power switch when carrying out inspection adjustment and maintenance M e d i u m w e i g h t M a t e r i a l s U t i l i t y d e c o r a t i v e s t i t c h Z i g z a g I n d u s t r i a l S e w i n g M a c h i n e ...

Page 2: ...itch stability durable and precision integrated zigzag stitch seaming and lock stitch sewing and utility decorative sewing The usage of triangular cam mechanism guarantees smooth and stable zigzag stitch the maximum sewing width can reach 12 mm Through a unique switching mechanism it can be switched from 2 to 3 step 4 point stitch without changing the cam manually The external cam can achieve util...

Page 3: ...itch stability durable and precision integrated zigzag stitch seaming and lock stitch sewing and utility decorative sewing The usage of triangular cam mechanism guarantees smooth and stable zigzag stitch the maximum sewing width can reach 12 mm Through a unique switching mechanism it can be switched from 2 to 3 step 4 point stitch without changing the cam manually The external cam can achieve util...

Page 4: ...l should turn anti clockwise if it dose not reverse the terminals on the motor Use only recommended needle system Clean machine regularly Do not start machine until the fabric is in position under the presser foot When removing fabric always bring thread take up lever at highest position For the first 2 weeks run machine at only 3 4 of its maximum speed The presser foot can be raised either with t...

Page 5: ...Thread guide pin Embroidery machine thread draw off 12 Am cover 13 Lever for needle position 14 Lever for stitch width 15 Stops for limited stitch width 16 Belt guard 17 Hand wheel 18 Hub for synchroniser 19 Lever for stitch length 20 knob for fine setting of stitch length for sewing satin stitch 21 Buttonhole density stop 22 Bobbin winder 23 Thred stand List of parts 1 2 3 4 5 6 7 8 9 10 11 12 13...

Page 6: ...g 2 The needle size is correct if the thread runs smoothly through the eye and the long groove of the needle left and right twisted thread Z twist S twist Left right Removing the bobbin case Lift the latch 25 Fig 3 with the index finger of the left hand grip with thumb and index finger and remove bobbin case When the latch is released the bobbin is free and can be taken out of the bobbin case Wind...

Page 7: ...g 2 The needle size is correct if the thread runs smoothly through the eye and the long groove of the needle left and right twisted thread Z twist S twist Left right Removing the bobbin case Lift the latch 25 Fig 3 with the index finger of the left hand grip with thumb and index finger and remove bobbin case When the latch is released the bobbin is free and can be taken out of the bobbin case Wind...

Page 8: ...e slowly moves down Hand still bobbin case still Fig 1 UPPER THREAD TENSION Adjust the upper thread tension to that of the lower thread is pulled in evenly Fig 3a c A The upper and lower thread tension is correct The knot is formed in the centre of the two layers of fabric B The upper thread tension is too loose The knots can be seen on the underneath of the fabric 2 2 1 Sequence of threading Fig ...

Page 9: ...e slowly moves down Hand still bobbin case still Fig 1 UPPER THREAD TENSION Adjust the upper thread tension to that of the lower thread is pulled in evenly Fig 3a c A The upper and lower thread tension is correct The knot is formed in the centre of the two layers of fabric B The upper thread tension is too loose The knots can be seen on the underneath of the fabric 2 2 1 Sequence of threading Fig ...

Page 10: ...erse by turning the knob 19a Fig 3 Fine setting for satin stitch Press lever 19 downwards Slide stop 21 to left Fine setting with knob 20 If the stop 21 is pushed right again the machine Changing the cams Figs 1 2 The cams are easy to change Place lever 31 in up position Loosen screws 46 Pull off protective cover 45 upwards Loosen nut 28 and remove cam 29 Position new cam the number must face the ...

Page 11: ...erse by turning the knob 19a Fig 3 Fine setting for satin stitch Press lever 19 downwards Slide stop 21 to left Fine setting with knob 20 If the stop 21 is pushed right again the machine Changing the cams Figs 1 2 The cams are easy to change Place lever 31 in up position Loosen screws 46 Pull off protective cover 45 upwards Loosen nut 28 and remove cam 29 Position new cam the number must face the ...

Page 12: ... regulating screw 35 Fig 2 Roller pull If for special work you wish the roller to pull slightly to the left or right this can be done as follows Place lever 32 on A roller lies on fabric Turn screw 36 slightly and turn roller a little Removing the roller Loosen screw 33 and pull out to the back place lever 32 on B loosen screw 37 with 2 5mm hex wrench and remove roller support downwards The machin...

Reviews: