background image

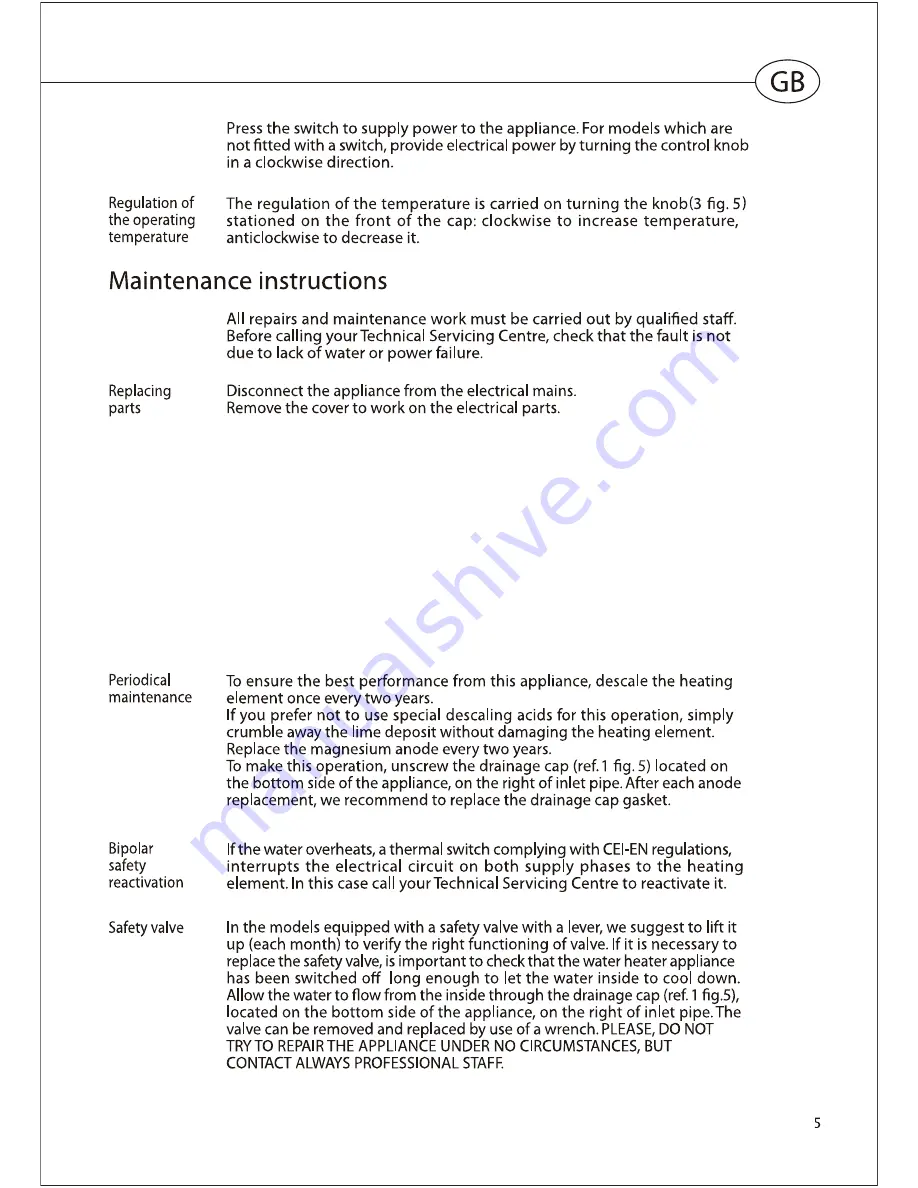
To work on thermostat remove it from the housing and disconnect it from the

mains.

To work on the heating element, first empty the appliance by closing the

mains tap and allow the water to flow from inside the same through the

supply pipe after having opened the emptying tap and opening the hot water

tap.

In the case of the models with self - locking flange, remove the nut, then the

flange fixing bracket and push the flange outwards from the inside and

remove it with a semi-circular movement.

when remounting, remember to replace the flange gasket, the thermostat

and the heating element into their original position. When removing the

above, we recommend replace the flange gasket.

Summary of Contents for SL2 20 LUX WI-FI 2.5 FE

Page 1: ......

Page 2: ......

Page 3: ...lack 3 UNIT INLET PRESSURE Max 500 Min 100 kPa 20 11 8 20 kg IPX1 Boiler protection Power frequency Approval mark ...

Page 4: ...ce intended to permanently connected to water mains shall not be connected by a hose set Non return valve shall be installed when connected to the water mains so as to prevent back siphonage into the water mains F ...

Page 5: ... after having opened the emptying tap and opening the hot water tap In the case of the models with self locking flange remove the nut then the flange fixing bracket and push the flange outwards from the inside and remove it with a semi circular movement when remounting remember to replace the flange gasket the thermostat and the heating element into their original position When removing the above ...

Page 6: ...O Wifi Manual Eco Ready Manual ECO Wifi Manual Eco Ready ECO WIFI ECO Aesthetic There are 8 leds that shall be switched on o to give the user a feedback on machine state They depend on the particular thermostat as well HMI LEDS TERM1_MASK TERM2_MASK TERM3_MASK TERM4_MASK TERM5_MASK TERM6_MASK Description On steady if temperature is reached Blinking or steady in setting state charging mode when hea...

Page 7: ...2 is working and temperature 105 C for at least 3s This is a not volatile error the machine shall be locked until the error is removed with a reset condition NTC High Low Overheating This is a safety error It shall be detected during the initialization routines anytime data ash is the machine shall be locked This is a not volatile error and it shall be removed only resetting the machine Error Bad ...

Page 8: ...on with the TOUCH module the Touch Comm error shall be set This warning shall be shown to the user but the system shall not be locked The condition shall be maintained until communication is recovered Touch comm Wifi comm This is not a safety error If the control board cannot retrieve communication with the REM module the WiFi Comm error shall be set This warning shall be shown to the user but the...

Page 9: ... come back in lockout state but if error is removed before timeout elapses the diagnostic state is not left Errors codification is given by tables below The led on the left is the 40 C led while the one on the right is 80 C led NotVolatileErrors VolatileErrors VolatileW arnings ERROR_RELAY_STUCK ERROR_DRY_HEATING ERROR_NTC_LOW_OVERHEATING 0x0004 ERROR_NTC_HIGH_OVERHEATING 0x0008 ERROR_BAD_DATA_FLA...

Page 10: ... is achieved then it shall be maintained with 5 C hysteresis 1 3 3 Eco function The Eco function is activated deactivated by pressing the ECO button ECO led is on off The Eco function aims to produce hot water by learning the user habits So for the first week ever the product memorize the tappings and the periods in which those tappings take place From the following weeks the water heating is perf...

Page 11: ...s at the most or 25 seconds if AP mode is not correctly entered then it comes back to previous state This state is indicated by the led Wifi bliking fast In provisioning phase the led will be blinking fast twice and off once and so on To reset the Wifi configuration it is necessary to press contemporary for 10 seconds the ECO and WIFI buttons the led shall blink ultra fast for 10 s at the most bef...

Page 12: ......

Page 13: ... Áp suất nước đầu vào Tối đa 500 100 Tối thiểu kPa Khối lượng danh định IPX1 Vật liệu bảo vệ bình Tần số điện năng Dấu chứng nhận Dung tích Điện áp Cấp độ bảo vệ Công suất Áp suất tối đa cho phép Kiểu máy Số serial 30 12 ...

Page 14: ...13 ...

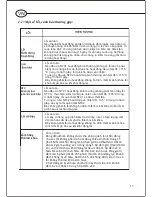
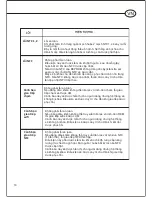
Page 15: ... kín van cấp nước mở vòi nước nóng và xả nước ra theo vòi xả Đối với các bình có nắp tự khóa tháo đai ốc cố định nắp máy và giá đỡ đẩy nắp máy vào phía trong bình xoay nửa vòng và lựa chiều tháo nắp ra khỏi bình Nhớ đặt miếng đệm nắp máy bộ điều nhiệt và thanh đốt vào đúng vị trí ban đầu Khi tháo các bộ phận trên chúng tôi khuyến nghị thay miếng đệm nắp mới 14 ...

Page 16: ...15 ...

Page 17: ...n sản phẩm Có 8 đèn tắt bật theo yêu cầu của người sử dụng Đèn báo Đèn nhiệt độ 1 Đèn nhiệt độ 2 Đèn nhiệt độ 3 Đèn nhiệt độ 4 Đèn nhiệt độ 5 Đèn nhiệt độ 6 Miêu tả Sáng khi nhiệt độ đạt như đèn báo Nháy hoặc sáng ổn định khi thiết lập Sáng khi ấn nút đèn WIFI or ECO Sáng nếu thanh đốt tắt máy hoạt động Ngoài ra thì tắt READY Table 1 1 Đèn báo Điện tử 80 C Điện tử 80 C Điện tử 80 C Thanh đốt Đồng ...

Page 18: ... 3 giây lỗi quá nhiệt NTC1 sẽ được thiết lập Tương tự nếu NTC2 hoạt động và nhiệt độ 105 C trong ít nhất 3 giây sẽ xảy ra lỗi quá nhiệt NTC2 Đây không phải là lỗi không ổn định thiết bị sẽ bị khóa tới khi lỗi bị gỡ bỏ sau khi khởi động lại Lỗi an toàn Lỗi xảy ra trong quá trình kiểm tra dữ liệu nếu có hiện tượng mất dữ liệu hoặc dữ liệu bị ghi đè thiết bị sẽ bị khóa Đây không phải lỗi do hoạt động...

Page 19: ...ặt Cảnh báo này sẽ được hiển thị cho người dùng nhưng hệ thống sẽ không bị khóa Điều kiện sẽ được duy trì cho đến khi giao tiếp được phục hồi Không phải lỗi an toàn Nếu bảng điều khiển không thể truy xuất liên lạc với mô đun REM lỗi giao tiếp wifi sẽ được đặt Cảnh báo này sẽ được hiển thị cho người dùng nhưng hệ thống sẽ không bị khóa Điều kiện sẽ được duy trì cho đến khi kết nối được phục hồi Lỗi...

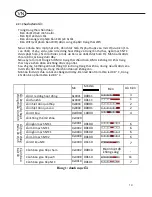
Page 20: ...này và chẩn đoán sẽ không được cập nhật Sau 25 giây hệ thống sẽ hoạt động trở lại trong trạng thái khóa nhưng nếu lỗi được xóa trước khi hết thời gian trạng thái chẩn đoán sẽ không còn Mã hóa lỗi được đưa ra bởi các bảng dưới đây Đèn led bên trái là đèn led 40 C trong khi đèn bên phải là đèn led 80 C Mã đèn Ưu tiên Mã Đèn 3 1 00011 Lỗi rơ le dừng hoạt động 0x0001 0x0002 00111 Lỗi đun khô 2 00001 L...

Page 21: ...uy trì với độ trễ 5 C 1 3 3 Chức năng Eco Chức năng Eco được kích hoạt hủy bằng cách nhấn nút ECO bật tắt đèn led ECO Chức năng Eco nhằm mục đích tạo ra nước nóng bằng cách học thói quen của người dùng Vì vậy trong tuần đầu tiên bao giờ sản phẩm ghi nhớ các lần sử dụng và thời gian các lần sử dụng Từ những tuần tiếp theo việc đun nóng nước được thực hiện liên quan đến những gì đã học trước đó Nếu ...

Page 22: ... nối trong nhiều nhất là 10 phút hoặc 25 giây nếu chế độ kết nối không được nhập chính xác thì nó sẽ trở lại trạng thái trước đó Trạng thái này được biểu thị bằng đèn led Wifi nháy nhanh Trong giai đoạn kết nối đèn led sẽ nhấp nháy nhanh hai lần và tắt một lần và cứ thế Để đặt lại cấu hình Wifi cần phải nhấn đồng thời trong 10 giây các nút ECO và WIFI đèn led sẽ nhấp nháy cực nhanh trong 10 giây t...

Page 23: ...mote control of your water heating systems via the ndroid and iOS operating systems compatible app the pp is downloadable from the Play Store and from the pple PP Store Phần mềm qua riston NET cho phép điều khiển từ xa các bình nước nóng của bạn thông qua ứng dụng tương thích với hệ điều hành ndroid và IOS Phần mềm được tải từ Google play store và pple PP store 1 pp download Tải phần mềm 2 ccount ...

Page 24: ...24 GB 3 4 3 Wi Fi configuration product registration Thiết lập wifi và kết nối tài khoản Step 1 IOS Step 1 Android ...

Page 25: ...e the ccess Point Wi Fi Led indicator fast blinking C Log in to riston NET pp and follow the wizard to connect and register your product Nhấn vào biểu tượng Wi Fi trên sản phẩm để kích hoạt chức năng Wi FI Đèn Wi Fi sẽ nhấp nháy B Nhấn và giữ biểu tượng Wi Fi trong 5 giây để khởi tạo điểm truy nhập Đèn Wi Fi sẽ nhấp nháy liên tục C Đăng nhập vào ứng dụng riston NET làm theo hướng dẫn để kết nối và...

Page 26: ...n mềm UT Following functions are included On off Bật Tắt Manual mode B Chế độ chỉnh tay B ECO mode C Chế độ ECO C Programming mode D Chế độ chương trình D Knob to select temperature E Núm điều chỉnh nhiệt độ E E1 minimum temperature E1 nhiệt độ tối thiểu E2 current temperature in the tank E2 Nhiệt độ trong bình E3 set temperature E3 nhiệt độ cài đặt E4 maximum temperature E4 nhiệt độ tối đa Number...

Page 27: ...bật khi kích hoạt chương trình này 5 3 ECO function Chức năng ECO Same with ECO manual mode which present above Tương tự với chức năng ECO điều chỉnh tay đã đề cập bên trên 5 4 Program mode Chức năng chương trình This screen is a view of the weekly scheduling divided into schedule zones which show shower s number desired at that time and for every day With a tap on the symbol you can open the prog...

Page 28: ...khóa máy malfunction s notice pops up in every current screen of the application It s not possible to continue to navigate and use the product Error code and his description are visible Push notifications also with closed app if user has not disabled the option You can close the notice with a tap and error icon will remain on the lower left of screens With a tap on this icon error message will be ...

Page 29: ...ING Hủy kết nối sản phẩm With the product registration a link bundling is created between the product and the user account In case of change of the home Wi Fi password moving or sale cession of the product is necessary to unbundle disassociate the product and the user to ensure that the product could be registered again So the product will be again clean from previous users Với đăng ký sản phẩm mộ...

Page 30: ...ả về trạng thái ban đầu b By manual 10 s pressure on Wi Fi button ECO combo wifi led blinks very fast b Bằng chỉnh tay ấn giữ 10 giây trên nút Wi Fi đèn led ECO combo đèn wifi nhấp nháy rất nhanh c By Web The unbundle can be done through the web platform too Enter in the web platform select manage appliances and click on the DELETE button c Bằng Web Việc giải quyết có thể được thực hiện thông qua ...

Page 31: ...unctional contact F Công tắc chức năng S Safety contact S Công tắc an toàn 40 80 Leds 40 80 đèn led E encoder E bộ mã hóa TS1 Button 1 TS1 nút ấn 1 TS2 Button 2 no function with ECO version TS2 Nút ấn 2 không chức năng với dòng ECO E TS1 TS2 ...

Page 32: ...32 H T ...

Page 33: ...33 20L 30L ...

Page 34: ......

Page 35: ......

Page 36: ...420011047400 ...

Reviews: