Troubleshooting
Using an 802.11ax access point on a 100 Mbps or a 1 Gbps Ethernet connection may cause WiFi performance
issues. Use the 5 Gbps Ethernet uplink for best results.
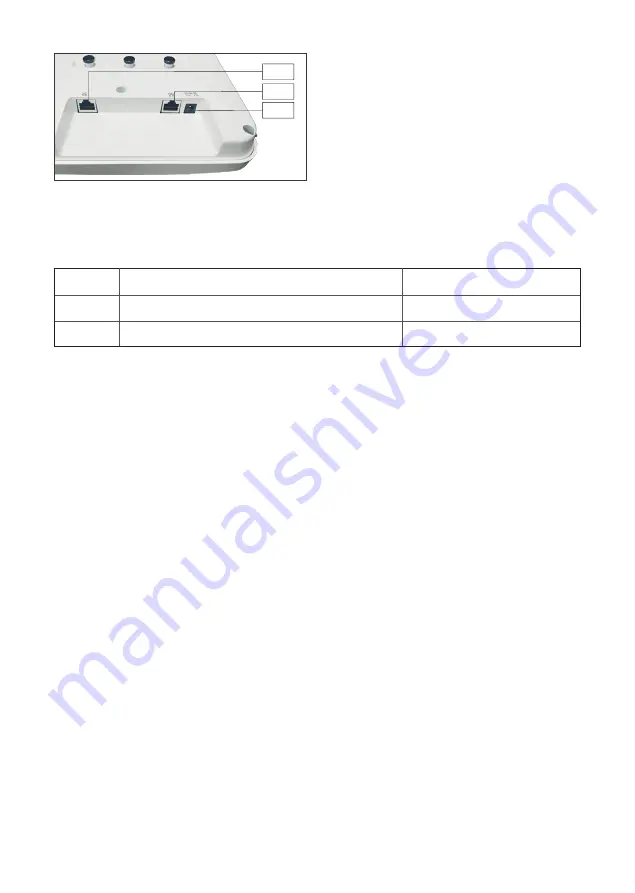
1. Check whether the Ethernet cable is plugged into the correct port (PoE+) on the AP and the other end of
the cable is plugged into an Ethernet jack or port on a switch that is turned ON.
2. If the AP did not receive a valid IP address from the DHCP server, check whether the DHCP server is ON
and available on the VLAN/subnet to which the AP is connected. If the AP still fails to get a valid IP address,
reboot the AP by pressing the reset button to see if the problem gets resolved.
3. If you are using Arista Cloud Services, then open the TCP port 443 (SSL). If you have an on-premises
installation, then open the ports UDP 3851 and port 80. If you are using a Proxy, Web Accelerator or URL
Content Filter in between the AP and the Internet, ensure that the settings allow communication between
the AP and Arista Cloud Services. If your configuration requires you to specify an exact IP address or IP
range for Arista Cloud Services, please contact Technical Support.
Step 3: Check the LED status
Power LED:
The table below describes the states of the Power LED.
Reduced capability indicates that the AP is getting less than the required maximum power from the PoE
switch, i.e., 802.3af instead of 802.3at.
LAN1 LED:
ON when the interface is up.
LAN2 LED:
ON when the interface is up and either wired guest or link aggregation is configured.
Radio LEDs
: ON when the corresponding radio is operational.
Step 2: Connect to the network
If you are using a PoE+ injector, make sure the
data connection is plugged into a suitable switch
port with proper network connectivity.
Green
Orange
Solid
Running at full capability
Running at reduced capability
Blinking
Received IP address, but not connected to the server
Did not receive an IP address
LAN 2
Power
LAN 1


