Argos Pazzaz Quick Assembly Manual Download Page 11

8.- FINAL CHECKS

A

C

D

You can now ensure your saddle and handlebars are at a comfortable riding position, and fully tighten. Always be 

aware of the minimum insertion mark and make sure these are inserted beyond this point.

This assembly guide is copyrighted to Avocet Sports Limited. Any reproduction, in whole or in part, is strictly forbidden without prior written consent.

Check that all bolts and fixings are tight and secure. You should do this before every ride.

B

Check tyre pressures regularly. Recommended tyre pressures are clearly marked on the side of the tyre.

Check functionality of brakes before every ride, you will find out more about this in the user manual included.

IMPORTANT: ENSURE ALL NUTS / BOLTS / SCREWS ARE TIGHT
RECOMMENDED TORQUES IN OWNER’S MANUAL APPENDIX
PLEASE READ OWNER’S MANUAL BEFORE RIDING THIS BIKE
ALWAYS CHECK BRAKE FUNCTIONALITY BEFORE RIDING
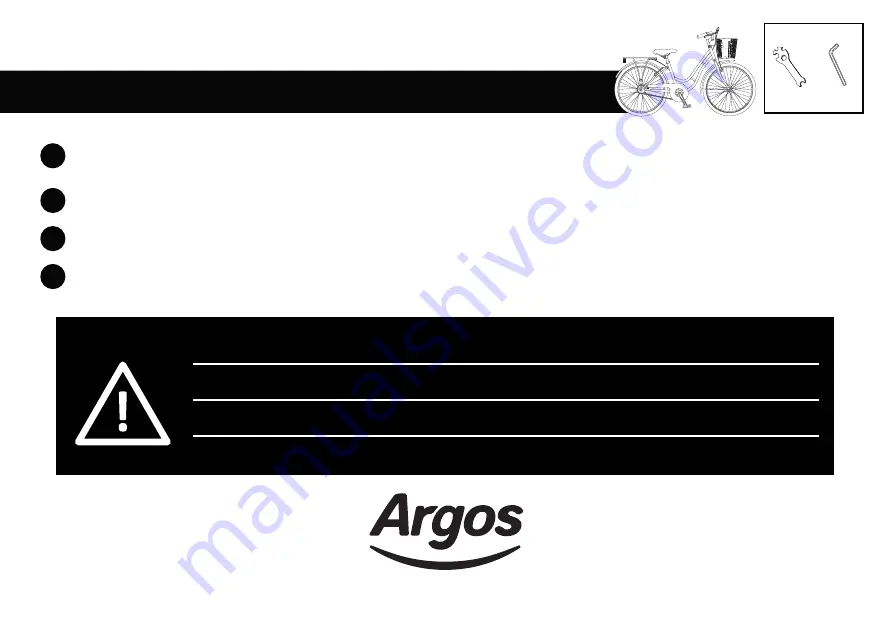
TOOLS NEEDED

SPANNER

ALLEN KEY

11

Summary of Contents for Pazzaz

Page 1: ...QUICK ASSEMBLY GUIDE Pazzaz...

Page 2: ...ury or even death Ensure all nuts bolts screws are securely tightened and checked before use Recommended torques tightness levels are available in the owners manual Check bike regularly for signs of d...

Page 3: ...ar must be straight Align this with the fork by looking downwards at it The brakes must be facing the front of the bike Use the allen key to tighten the bolt on top of the handlebar stem Do not fully...

Page 4: ...Do not fully tighten until the end as you may need to adjust the height Insert saddle into frame Make sure the minumum insertion mark is not visible once this is fitted The saddle must be inserted be...

Page 5: ...n the bolt you left in the fork as shown and screw the nut on clockwise until it is nger tight You can then screw the mudguard to the feet of the fork by replacing screws through the mudguard brackets...

Page 6: ...4 FITTING THE FRONT WHEEL IF YOU ARE EXPERIENCING ANY PROBLEMS PLEASE CALL 0161 813 1745 BEFORE RETURNING BIKE TO STORE A Before tting the front wheel you must open the brake arms by releasing the bra...

Page 7: ...ings with the tools provided Do not forget to tighten wheel nuts using spanner provided THE PIN ON THE LOCKING WASHER MUST BE PLACED IN THE HOLE C We need to install the basket bracket before we can s...

Page 8: ...e of the bike Line the holes in the basket plate and the frame bracket up and insert the screws washers xing plate as shown From behind the frame bracket place the washers on the screws and screw the...

Page 9: ...side of the bike i e left pedal to left side and right pedal to right side IMPORTANT Pedals need screwing in opposite directions so they don t fall o in use Left pedal is screwed in anti clockwise Ri...

Page 10: ...the handlebar as shown remembering to put it in a place where you can reach it easily whilst riding Then wrap the white re ector around the handlebar near the centre and wrap the red re ector in the s...

Page 11: ...r written consent Check that all bolts and fixings are tight and secure You should do this before every ride B Check tyre pressures regularly Recommended tyre pressures are clearly marked on the side...

Reviews: