
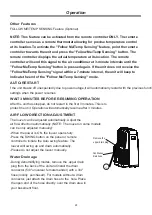

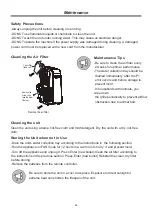


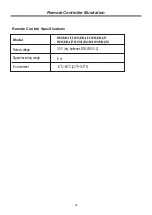


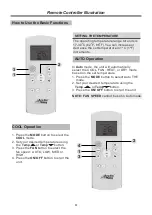
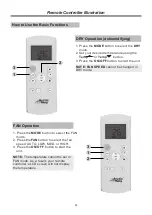
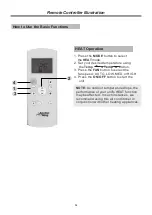


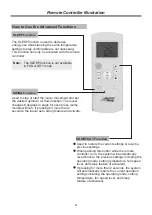


Remote Controller Illustration
25
2. Press the
TIMER ON
button repeatedly
to set the time when you want the unit to
turn on.
3. Wait 2 seconds, then the TIMER ON
function will be activated. Your remote
controller digital display will then go back
to the temperature display.
Example
hours.
:
Unit set to turn on after 2.5
2 s
ON/OFF
MODE
FAN
SHORT
CUT
TIMER ON
TIMER OF
F
TEMP
SLEE
P
1 s
x5
1
3
2
4
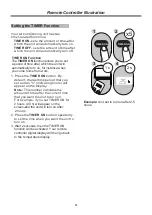
1.
This number indicates the
amount of time after the current time
that you want the unit to turn on.
For example, if you set TIMER ON for
2 hours (2.0 h) will appear on the
screen and the unit will turn on after
2 hours.
Press the
TIMER ON
button. By
default, the last time period that you
set and an "h" (indicating hours) will
appear on the display.
Note:
TIMER ON Function
The
TIMER ON
function allows you to set
a period of time after which the unit will
automatically turn on, for instance when
you come home from work.
Your air conditioning unit has two
timer-related functions:
TIMER ON
- sets the amount of time after
which the unit will automatically turn on.
TIMER OFF
- sets the amount of time after
which the unit will automatically turn off.
TIMER ON
TIMER ON
Setting the TIMER Function


