47
FC072B
FC072A
NOTE: Sealant is only required on the crankcase
seam.
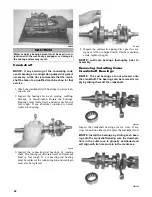
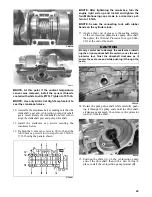
21. Position the O-ring into the water pump cover;
then install the cover. Secure with six screws; then
using the pattern shown, tighten to 96 in.-lb.
NOTE: Lubricating the O-ring with a light coat of
grease will help keep the O-ring in place.
FC134
0742-304
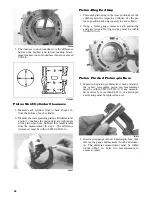
22. With the bypass valve of the thermostat directed to
the 12 o’clock position, install the thermostat cap
with thermostat. Secure the cap with cap screws
and tighten in a crisscross pattern to 96 in.-lb.
CM157A
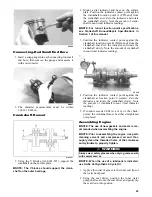
23. With new gaskets in place, install the reed valve
assemblies and intake flanges. Secure in a criss-
cross pattern to 96 in.-lb; then install the oil-injec-
tion hoses to the flanges and oil-injection pump.
Secure with the clamps.
24. With new washer gaskets, place the check-valve
assembly into position and secure with the gaskets
and union cap screw. Tighten to 48 in.-lb.
IO020A
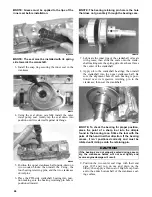
25. Install the piston rings on each piston so the letter
on the top (inclined surface) of each ring faces the
dome of the piston.
Summary of Contents for 2014 SNO PRO 500
Page 1: ...SNO PRO 500 ...
Page 16: ...12 Wiring Diagram Hood Harness p n 1686 587 0744 201 ...
Page 17: ...Wiring Diagram Ignition Main Harness p n 1686 628 0745 605 13 ...
Page 18: ...14 NOTES ...
Page 89: ......
Page 90: ...Printed in U S A Trademarks of Arctic Cat Inc Thief River Falls MN 56701 p n 2259 778 ...


