ArcSoft Funhouse Quick Start Guide
7
8
do so, you can click and drag the shadow within the preview box to place it any way you
like. When you’ve finished, you can click and drag the text to position it anywhere on
the image.
Step 5: Print Preview
Once you’ve completed your Funhouse image, you’re ready to print it.
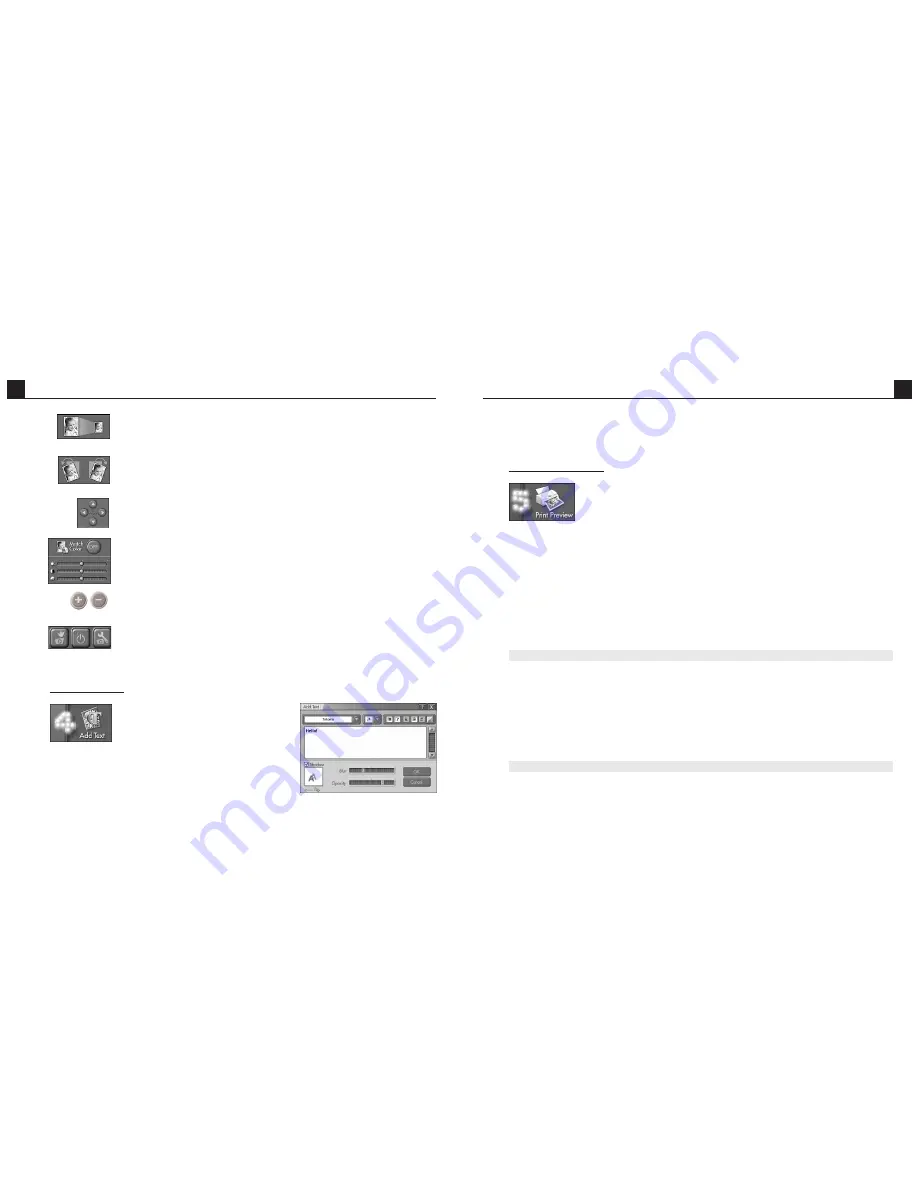
Click the
Print Preview
button on the Main Screen to go to the
Print Screen.
From this screen, you have complete control over how your image prints. Click and drag
the image to move it about the page. Click and drag the corners of the image to resize it.
You can set the number of copies you’d like printed (
Copies
), view and edit your printer
settings (
Printer Setup
), center the image on the screen (
Center
), and change the paper
orientation (
Orientation
) between portrait and landscape. If your image is taller than it
is wide, you’ll want to stay in the portrait format. If your image is wider than it is tall,
you might want to consider printing in the landscape format (you’ll be able to make a
bigger print).
Saving Images
To save your image, click
Save as
on the Main Screen. A window will appear. From the
“Save in” pull-down, choose the directory to which the file will be saved. In the “File
name” field, type in a unique name for the file. From the “Save as type” pull-down,
choose the file format. If you only plan on displaying the image on a computer, or
emailing it to others, you’ll want to use the JPG file format.
Creating Your Own Templates
From the “My Templates” category on the Get Template Screen, click
New
. You’ll be
ArcSoft Funhouse Quick Start Guide
– These buttons make the selected image larger or smaller within
the template.
– These buttons slightly rotate the selected image in the indicated
direction.
– Use these buttons to move the selected image within the template.
Alternately, you can click and drag the image directly on the preview.
– By enabling color matching, the program will apply a series of
enhancements to make the tone of the inserted image match the tone
of the template. The three sliders allow you to adjust the image
brightness, contrast, and saturation (color intensity), respectively.
– You can zoom in and out on the selected inserted image by
clicking the “
+
” and “
–
” buttons.
– Use these buttons to capture an image from an attached video device
directly into the template. Click the first button to capture. Click the
middle button to toggle your video device on/off. The third button lets
you adjust the settings specific to your selected device.
Step 4: Add Text
Add text to your scene to make it even
more unique and personal.
Click on the
Add Text
button to open
the Text Window.
Standard text options are available here. Type in your
text in the text box, and choose your formatting
options. You can even add a shadow to the text. If you


