


MANUAL
V1.0
optIoNAL fUNCtIoNALItIES > p. 49
pRE-RECoRdING SCREEN MENU ItEMS
Open scheduler
will take you directly to the Scheduler screen (see
Setting the Scheduler
).
tap on to go back to the pre-recording screen.
-
-
Hide text overlay
will hide all overlaid graphics (status bar, menu items, etc.) to only show the video image.
-
Start recording
will start recording right away.
-
Settings
will open the
Videocorder
settings screen (see next section).
once you have finished adjusting your settings, tap on
to go back to the pre-recording screen.
-
-
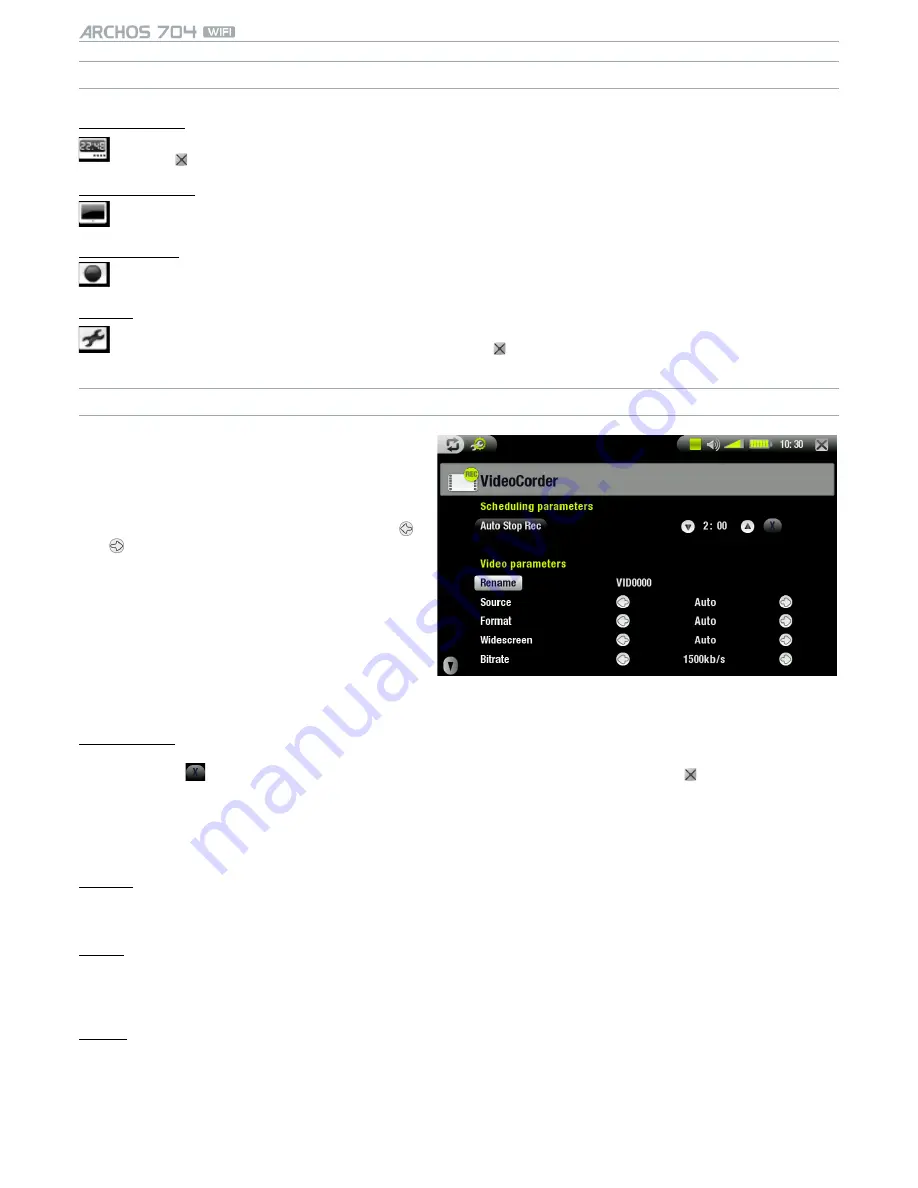
VIdEoCoRdER SEttINGS
This screen allows you to adjust the video re-
cording parameters to your personal taste.
You can access the
VideoCorder
Settings screen
via the
Settings
menu item in the pre-recording
screen.
Tap on a parameter to highlight it, then use
/ to select a different setting.
•
•
•
Scheduling parameters:
Auto Stop Rec
the duration of time after which the ARCHOS device will automatically stop recording.
if you tap on
(
Auto Stop Rec
disabled), the recording will continue until you tap on or until the entire
hard drive fills up.
-
-
Video parameters:
Rename
allows you to define the filename before the recording begins, using the virtual keyboard.
see:
Using the Virtual Keyboard
.
-
-
Source
options:
Auto
/
Composite
/
S-Video
.
you can choose which video input you want the ARCHOS device to use. Normally, with a good video signal,
you can set it to
Auto
and your ARCHOS will scan the DVR station inputs to see which one is receiving video.
-
-
Format
options:
Auto
/
4:3
/
5:3
/
16:9
/
2.35
.
this is the aspect ratio of the screen that the ARCHOS device will record. You can set this manually, but in
most cases you can just leave it on
Auto
.
-
-


