e-10
Switching the a28 on
The
powER
button switches the unit on and off;
alternatively, the unit can be switched in and out of
stand-by mode by pressing the
2
button on the remote
control handset.
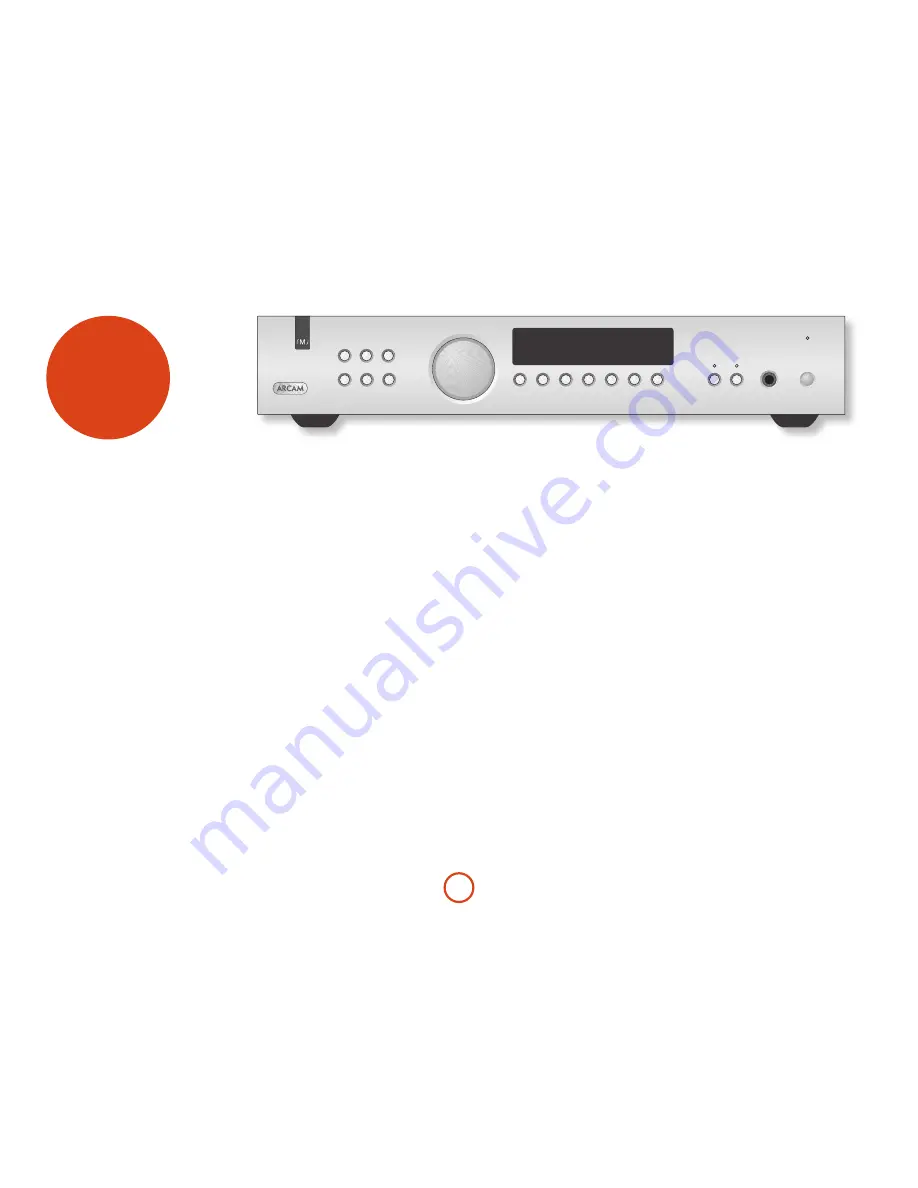
The power light (next to the ‘A28 Integrated Amplifier’
text) indicates the state of the amplifier:
1. A red light means that the amplifier is in stand-by
mode;
2. When you switch your amplifier on, the power
light glows amber for a few seconds; during this
time the outputs are muted;
3. The light changes to green when the amplifier is
ready for use.
The power light may flash if a fault has occurred –
the fault type is shown on the display. See page 15,
‘Troubleshooting’, for help in resolving fault situations.
If the fault cannot be cleared, unplug your amplifier and
contact your Arcam dealer.
changing the volume
Use the control knob to change the volume. Turn the
knob clockwise to increase the volume, anti-clockwise
to reduce it.
The output of the A28 can be silenced by pressing
MUTE
on the front panel or remote control. Press
MUTE
for a
second time (or change the volume) to cancel the mute.
SP1 and SP2
These buttons allow you to switch the main speakers
(connected to the lower set of speaker terminals) and
secondary speakers (connected to the upper set of
speaker terminals) on and off.
The light above each button glows if the corresponding
speakers are currently selected. If you have connected
the A28 to the speakers using the single-wired
configuration described on page 9, then the
Sp1
light
should be illuminated; if you have used the bi-wiring
configuration described on page 9, both
Sp1
and
Sp2
must be switched on. Note that when both lights are off,
the amplifier will appear not to work, as all speakers are
disconnected.
When listening to ‘loud’ inputs, such as CDs, the
amplifier may reach its full power before the display
shows
72
(maximum volume), in contrast, lower-level
inputs, such as tuners, will sound quieter for the same
volume level shown. To compensate for this, the input
levels of each source may be adjusted. This can be done
using the A28 setup menu (see page 11).
operation
Selecting an audio source
A source-selection button is used to select the source
that is connected to the input corresponding to the
button.
listening using headphones
The headphones socket (
phoNES
) accepts headphones
with an impedance rating between 8
Ω
and 2k
Ω
, fitted
with a 6.5mm stereo jack plug.
The pre-amp. outputs and speakers are muted when
headphones are plugged in. The headphones socket is
always active, unless the volume has been muted.
balance
In addition to the A28 setup menu (see page 11), you
can also set left-right stereo balance directly by pressing
the front-panel
BALANCE
button and adjusting the
balance with the control knob.
display
The
DISpLAY
front panel button changes the display
brightness. There are three brightness levels: ‘on’,
‘dimmed’ and ‘off’. If the A28 is switched off while the
display is set to ‘off’, the display is set to ‘dimmed’ when
the A28 is switched on again.
Recording an audio source
The A28 allows listening to and recording from the
same source, or listening to one source whilst recording
another. The signal to be recorded is sent to both the
AV
and
AUX
output sockets.
Selecting the source for recording
The recording outputs can be configured in two ways:
1. To record the source being listened to;
2. To record a particular (specified) source,
regardless of what is being listened to.
To record the source being listened to, press the
RECoRD
button and turn the control knob if necessary
until the display shows ‘
REC SRC
’. After a few seconds,
the display reverts to showing the volume level, and you
are ready to record. In this configuration, selecting a
different input changes the source that is routed to the
recording outputs.
To record one source whilst listening to another, press
RECoRD
and turn the control knob until the display
shows ‘
Rec
’ followed by the name of the input (
Sat
,
Phono
,
CD
,
Tuner
,
AUX
or
DVD
) that you wish to
record from. You are now ready to record.
Press a different source button to change the source that
you wish to listen to – this does not alter the source that
is routed to the recording outputs.
������������������������
���
�����
������
��
�����
�����
��
���
���
��
����
������
����
�������
�������
���
���
av-ph 20


